VMwareのAPIはいくつかありますが、その中の VIX API をPythonで触ってみました。
1. VIX APIとは
VMware Fusion, VMware Workstation Pro, ESXiの仮想インスタンスをプログラムで制御できるAPIです。
VIX APIを使用することでコンソールを立ち上げたり直接ゲストにログインしなくても操作(サポートしている範囲は)が可能です。
公式から提供されているバインディングは C Perl COM(VB, VBscript, C#) です。
2. VIX API ドキュメント
https://www.vmware.com/support/developer/vix-api/vix115_reference/index2.html
3. Python vix
PythonのVIX APIをバインディングしてくれるモジュールがあったのでこちらを使ってみました。
https://github.com/naim94a/vix
4. 開発環境
| 項目 | 内容 | 備考 |
|---|---|---|
| VMware ESXi | 6.5.0, 4564106 | |
| VMware VIX | 1.14.0-2306114 | 最新版の1.15では動作しませんでした |
| Python | 3.4.8 | |
| 開発環境 | CentOS 7.4 | |
| テスト用VM名 | TEST_VM |
5. インストール
5-1. VIXインストール
(1) 以下のVMwareサイトからダウンロードします。(要ログイン)
https://code.vmware.com/web/sdk/60/vix
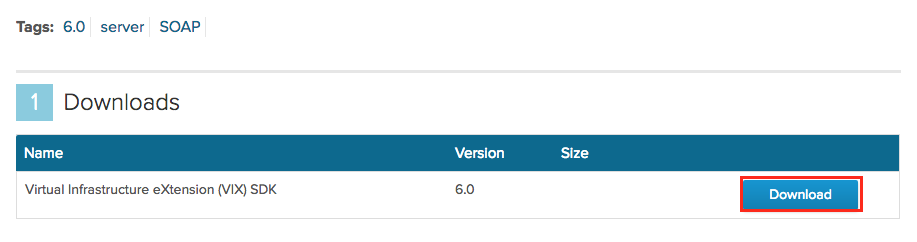
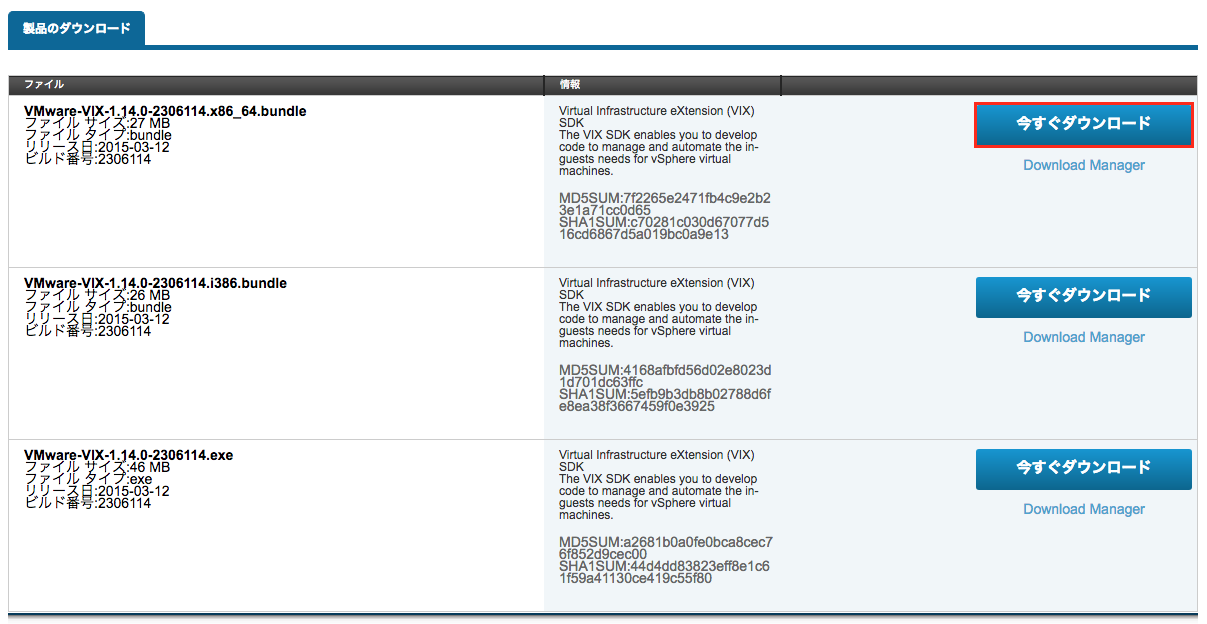
(2) ダウンロードしたVIXをインストールします。
[root@localhost ~]# sh VMware-VIX-1.15.0-2985596.x86_64.bundle
Extracting VMware Installer...done.
You must accept the VMware VIX API End User License Agreement to
continue.  Press Enter to proceed. Enterを押す
(snip)
        and enforceable to the fullest extent permitted by law.


Do you agree? [yes/no]: yes

The product is ready to be installed.  Press Enter to begin
installation or Ctrl-C to cancel. エンターを押す

Installing VMware VIX API 1.15.0
    Configuring...
[######################################################################] 100%
Installation was successful.
5-2. Pythonとvixモジュールインストール
(1) epelリポジトリをインストールします。
[root@localhost ~]# yum -y install epel-release
(2) python3をインストールします。
[root@localhost ~]# yum -y install python34 python34-pip
(3) Pythonのvixとpyvmomiモジュールをインストールします。
[root@localhost ~]# pip3 install vix
6. VIX API コード例
6-1. 電源ON
TEST_VM の電源をONにします。
#!/usr/bin/env python3
from vix import VixHost

host = "ESXi IP or HostName"
username = "root"
password = "secret"
target_vm = "TEST_VM"
vm_path = "[NVMe] TEST_VM/TEST_VM.vmx"

if __name__ == "__main__":
    host = VixHost(service_provider=VixHost.VIX_SERVICEPROVIDER_VMWARE_VI_SERVER, host=(host,0), credentials=(username, password))
    try:
        vm = host.open_vm(vm_path)
        vm.power_on()

    except Exception as e:
        print(e)
6-2. 電源OFF
TEST_VM の電源をOFFにします。
#!/usr/bin/env python3
from vix import VixHost

host = "ESXi IP or HostName"
username = "root"
password = "secret"
target_vm = "TEST_VM"
vm_path = "[NVMe] TEST_VM/TEST_VM.vmx"

if __name__ == "__main__":
    host = VixHost(service_provider=VixHost.VIX_SERVICEPROVIDER_VMWARE_VI_SERVER, host=(host,0), credentials=(username, password))
    try:
        vm = host.open_vm(vm_path)
        vm.power_off()

    except Exception as e:
        print(e)
6-3. Snapshot作成
test と言う名前のSnapshotを作成します。
test snapshot は説明文です。
#!/usr/bin/env python3
from vix import VixHost

host = "ESXi IP or HostName"
username = "root"
password = "secret"
target_vm = "TEST_VM"
vm_path = "[NVMe] TEST_VM/TEST_VM.vmx"

if __name__ == "__main__":
    host = VixHost(service_provider=VixHost.VIX_SERVICEPROVIDER_VMWARE_VI_SERVER, host=(host,0), credentials=(username, password))
    try:
        vm = host.open_vm(vm_path)
        vm.create_snapshot("test", "test snapshot", False)

    except Exception as e:
        print(e)
6-4. Snapshot戻し
init と言うSnapshotまで戻します。
#!/usr/bin/env python3
from vix import VixHost

host = "ESXi IP or HostName"
username = "root"
password = "secret"
target_vm = "TEST_VM"
vm_path = "[NVMe] TEST_VM/TEST_VM.vmx"

if __name__ == "__main__":
    host = VixHost(service_provider=VixHost.VIX_SERVICEPROVIDER_VMWARE_VI_SERVER, host=(host,0), credentials=(username, password))
    try:
        vm = host.open_vm(vm_path)
        snapshot = vm.snapshot_get_named("init")
        vm.snapshot_revert(snapshot)

    except Exception as e:
        print(e)
6-5. Snapshot削除
test Snapshotを削除します。
#!/usr/bin/env python3
from vix import VixHost

host = "ESXi IP or HostName"
username = "root"
password = "secret"
target_vm = "TEST_VM"
vm_path = "[NVMe] TEST_VM/TEST_VM.vmx"

if __name__ == "__main__":
    host = VixHost(service_provider=VixHost.VIX_SERVICEPROVIDER_VMWARE_VI_SERVER, host=(host,0), credentials=(username, password))
    try:
        vm = host.open_vm(vm_path)
        snapshot = vm.snapshot_get_named("test")
        vm.snapshot_remove(snapshot)

    except Exception as e:
        print(e)
6-6. OSコマンド実行
ゲストOSでコマンドを実行します。
ここでは例として echo を使って /root/test.txt に a を出力しています。
ゲストOS内を操作する場合は vmware tools が起動されている必要があります。
#!/usr/bin/env python3
from vix import VixHost

host = "ESXi IP or HostName"
username = "root"
password = "secret"
target_vm = "TEST_VM"
vm_path = "[NVMe] TEST_VM/TEST_VM.vmx"

if __name__ == "__main__":
    host = VixHost(service_provider=VixHost.VIX_SERVICEPROVIDER_VMWARE_VI_SERVER, host=(host,0), credentials=(username, password))
    try:
        vm = host.open_vm(vm_path)
        vm.login("root", "secret")
        vm.proc_run("/usr/bin/echo", "a > /root/test.txt")
        vm.logout()

    except Exception as e:
        print(e)
6-7. 他にも色々
他のメソッドに関してはソースを参照してください。
https://github.com/naim94a/vix/blob/master/vix/VixVM.py
decorator(*args, **kwargs)
vmx_path(self)
machine_info(self)
is_running(self)
guest_os(self)
name(self)
is_readonly(self)
power_state(self)
tools_state(self)
supported_features(self)
pause(self)
power_off(self, from_guest=False)
power_on(self, launch_gui=False)
reset(self, from_guest=False)
suspend(self)
unpause(self)
clone(self, dest_vmx, snapshot=None, linked=False)
create_snapshot(self, name=None, description=None, include_memory=True)
snapshot_get_current(self)
snapshot_get_named(self, name)
snapshots_get_root_count(self)
snapshot_get_root(self, index=0)
snapshot_revert(self, snapshot, options=0)
snapshot_remove(self, snapshot, remove_children=False)
copy_guest_to_host(self, guest_path, host_path)
copy_host_to_guest(self, host_path, guest_path)
create_directory(self, path)
create_temp(self)
file_rename(self, old_name, new_name)
dir_delete(self, path)
file_delete(self, path)
dir_exists(self, path)
file_exists(self, path)
get_file_info(self, path)
dir_list(self, path)
proc_kill(self, pid)
proc_list(self)
login(self, username, password, require_interactive=False)
logout(self)
proc_run(self, program_name, command_line=None, should_block=True)
run_script(self, script_text, interpreter_path=None, should_block=True)
add_shared_folder(self, share_name, host_path, write_access=True)
share_enable(self, value=True)
get_shared_folder_count(self)
get_shared_folder_state(self, index)
share_remove(self, share_name)
share_set_state(self, share_name, host_path, allow_write=True)
var_read(self, name, variable_type=VIX_VM_GUEST_VARIABLE)
var_write(self, name, value, variable_type=VIX_VM_GUEST_VARIABLE)
upgrade_virtual_hardware(self)
vm_delete(self, delete_files=False)
capture_screen_image(self, filename=None)
wait_for_tools(self, timeout=0)
install_tools(self, auto_upgrade=False, blocking=True)
6-8. pyvmomiと連携する
vmxのパスを毎回調べるのは大変なので pyvmomi と連携して対象のvmxパスを自動で取得してみます。
#!/usr/bin/env python3
from pyVim.connect import SmartConnect, Disconnect
from pyVmomi import vim, vmodl
from vix import VixVM, VixHost
import atexit
import ssl

host = "ESXi IP or HostName"
username = "root"
password = "secret"
target_vm = "TEST_VM"

if __name__ == "__main__":
    # SSL証明書対策
    context = None
    if hasattr(ssl, '_create_unverified_context'):
        context = ssl._create_unverified_context()

    # 接続
    si = SmartConnect(host=host,
                      user=username,
                      pwd=password,
                      sslContext=context)

    # 処理完了時にvCenterから切断
    atexit.register(Disconnect, si)

    content = si.content
    objs = content.viewManager.CreateContainerView(content.rootFolder,
                                                   [vim.VirtualMachine],
                                                   True)

    for vm in objs.view:
        if(vm.name == target_vm):
            vm_path = vm.summary.config.vmPathName

    host = VixHost(service_provider=VixHost.VIX_SERVICEPROVIDER_VMWARE_VI_SERVER, host=(host,0), credentials=(username, password))
    try:
        vm = host.open_vm(vm_path)
        vm.power_on()

    except Exception as e:
        print(e)
pyvmomiはSOAPをバイディングするPythonモジュールです。
7. 最後に
PythonでVIX APIを実行してみました。
ただ、公式から Perl C COM のバイディングが提供されているので、最新版のVIXを使ったり本番環境ではそちらを使った方が良いと思います。
pyvmomiだとSOAPになるのでオブジェクトの概念が複雑ですが簡単な操作であればVIXでも事足りそうですね :-)