はじめに
WindowsのイベントログをWinlogbeatで取得して、Logstash経由でBigQueryに取り込む手順を記載しています。
環境は以下の通りです。
- Windows Server 2016
- Winlogbeat 7.6
- Logstash 7.6.1
- LogstashはDockerで稼働
dockerの使い方は知っている前提で記載しています。
手順
1. Winlogbeatのインストール
ダウンロード
以下からダウンロードします。
https://www.elastic.co/jp/downloads/beats/winlogbeat
展開
C:\Program Files に展開し、ディレクトリ名をwinlogbeat-<version>からWinlogbeatに変更します。
インストール
管理者権限でPowershellを起動し、以下のコマンドを実行します。
cd 'C:\Program Files\Winlogbeat'
.\install-service-winlogbeat.ps1
以下の結果が出力されればOKです。
Status   Name               DisplayName
------   ----               -----------
Stopped  winlogbeat         winlogbeat
2. Winlogbeatの設定
C:\Program Files\Winlogbeat\winlogbeat.ymlを開き設定をします。
取得するログを選ぶ
以下で取得するログ種別を選びます。
私の場合、セキュリティイベントログだけを取得したいのでname: Securityの項目以外をコメントアウトしました。
winlogbeat.event_logs:
  # - name: Application
  #   ignore_older: 72h

  # - name: System

  - name: Security
    processors:
      - script:
          lang: javascript
          id: security
          file: ${path.home}/module/security/config/winlogbeat-security.js

  # - name: Microsoft-Windows-Sysmon/Operational
  #   processors:
  #     - script:
  #         lang: javascript
  #         id: sysmon
  #         file: ${path.home}/module/sysmon/config/winlogbeat-sysmon.js
アウトプットの指定
今回はWinlogbeatからLogstashに出力するので、まずElasticsearch outputをコメントアウトします。
#-------------------------- Elasticsearch output ------------------------------
# output.elasticsearch:
  # Array of hosts to connect to.
  # hosts: ["localhost:9200"]
次にLogstash outputを指定します。
#----------------------------- Logstash output --------------------------------
output.logstash:
  # The Logstash hosts
  hosts: ["localhost:15044"]
winlogbeat.ymlのテスト
以下のコマンドを実行してください。
実行結果の最後にConfig OKと表示されていれば問題ありません。
.\winlogbeat.exe test config -c .\winlogbeat.yml -e
3. Logstashまでログが届くか確認
WindowsのログがWinlogbeat経由でLogstashまでログが届くか確認します。
evt.confとdocker-compose.ymlを以下の内容で作成してください。
input {
  beats {
    port => 15044
  }
}

output {
  stdout {
  }
}
logstash:
  image: docker.elastic.co/logstash/logstash:7.6.1
  ports:
    - "15044:15044"
  volumes:
    - ./evt.conf:/usr/share/logstash/pipeline/evt.conf
その後以下のコマンドでLogstashコンテナの起動と、Winlogbeatの起動を行ってください。
docker-compose up
Start-Service winlogbeat
するとLogstashコンテナ側の標準出力にWindows Serverのログが表示されます。
無事に表示されたら以下のコマンドで停止したのち、次の項目に進んでください。
ctrl + c
Stop-Service winlogbeat
4. BigQuery側の準備
サービスアカウント作成
IAMと管理からサービスアカウントを選択し、[サービスアカウントを作成]をクリックしてください。

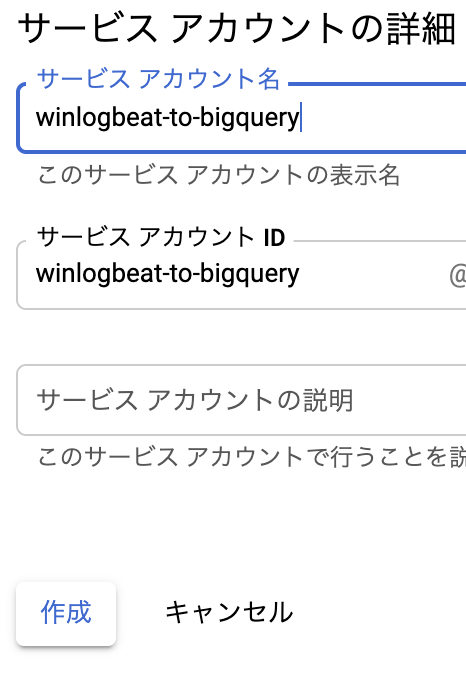
次に[サービスアカウント名]を適当に入力し、[作成]をクリックしてください。
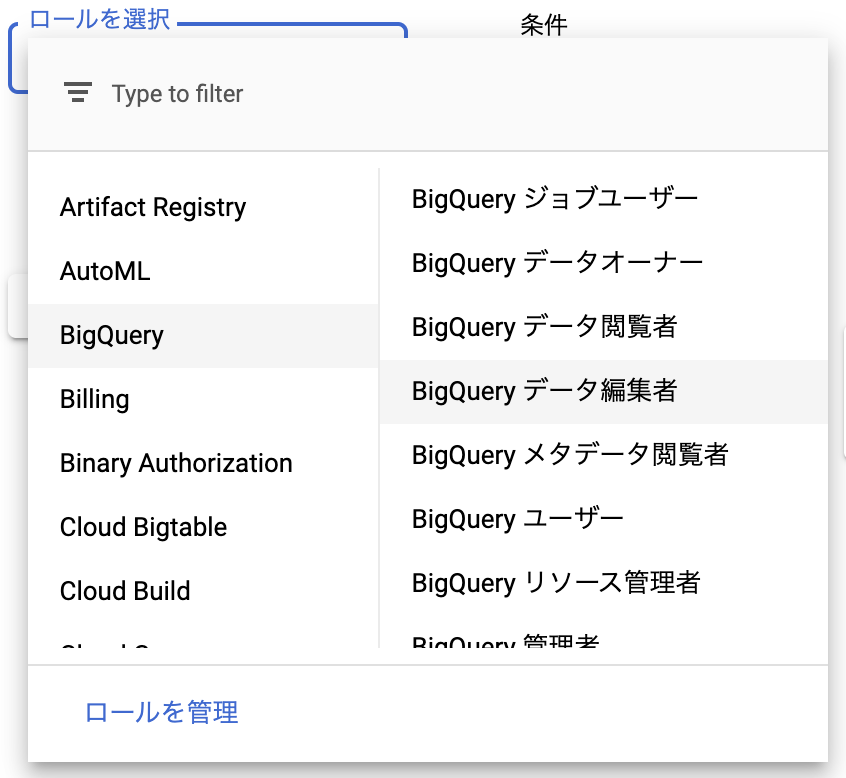
ロールを選択で、[BigQueryデータ編集者]を選択し、[続行]をクリックしてください。
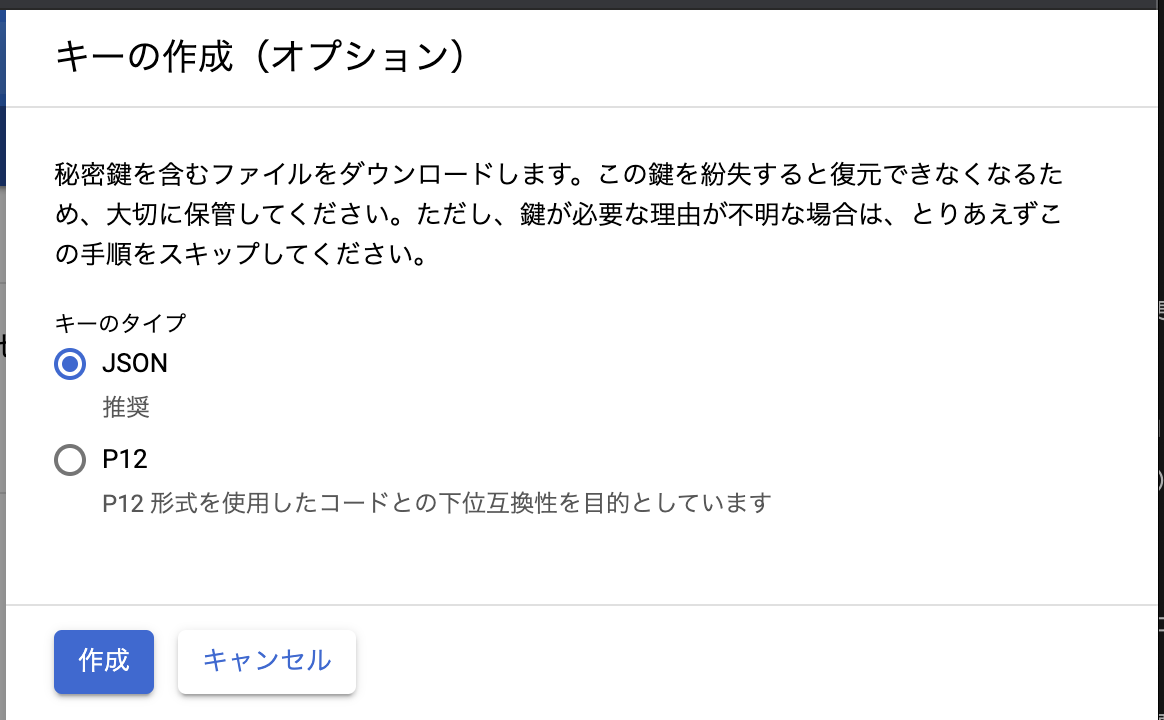
[キーを作成]をクリックし、[JSON]が選択された状態で[作成]をクリックしてください。
JSONファイルがダウンロードされたら、最後に[完了]をクリックしてください。
BigQueryのデータセット作成
[データセットを作成]をクリックしてください。

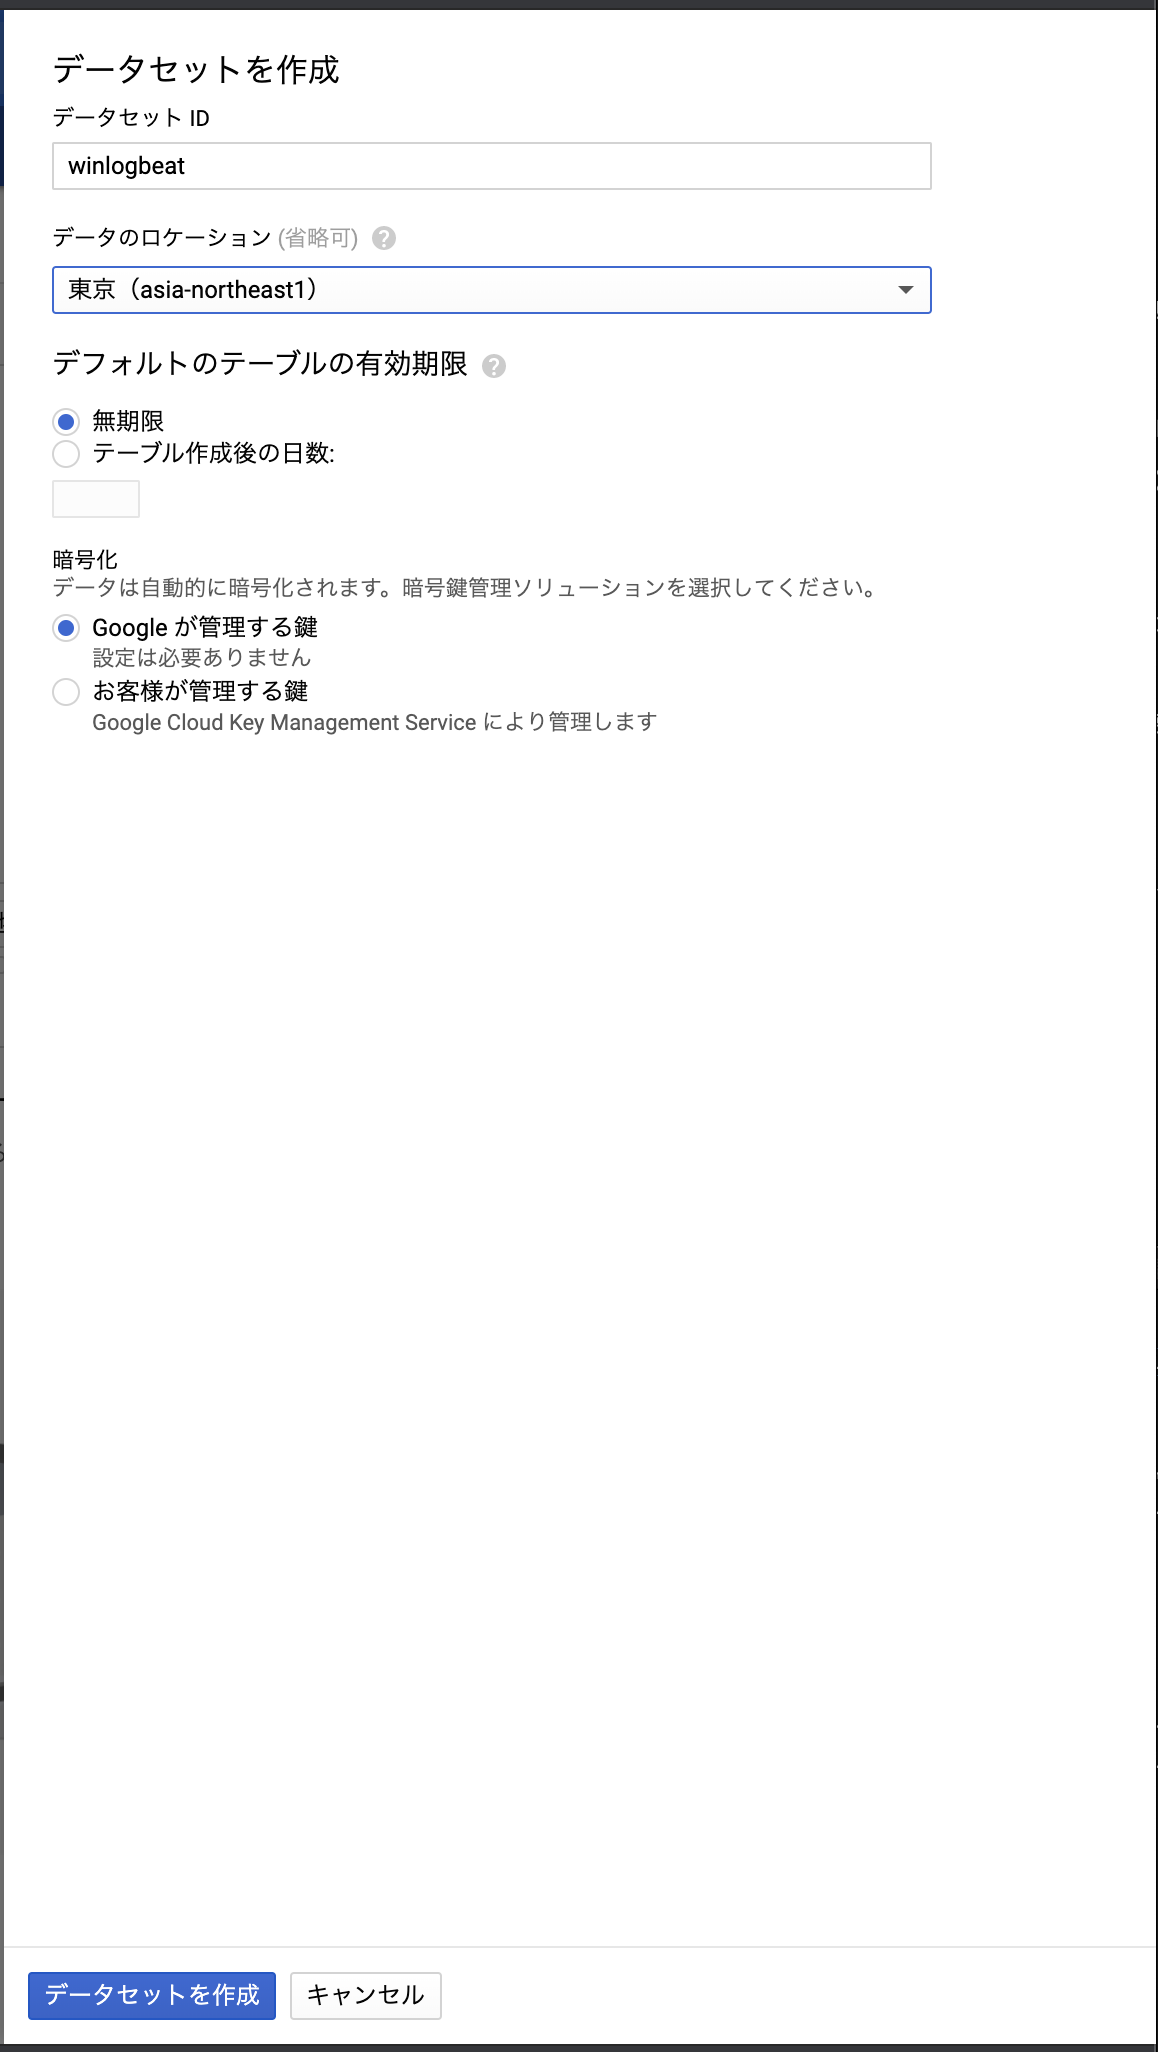
[データセットID]を入力し、[データセットを作成]をクリックしてください。
5. Docker側の準備
Dockerイメージの作成
LogstashからBigQueryにログを送信するには、Google BigQuery output pluginが必要になります。
そのためlogstashコンテナにGoogle BigQuery output pluginをインストールしたDockerイメージを作成します。
まずDockerfileを作成します。
FROM logstash:7.6.1
RUN logstash-plugin install logstash-output-google_bigquery
次にDockerfileと同じフォルダで以下のコマンドを実行し、Dockerイメージを作成します。
docker build -t logstash_bqplugin .
これでlogstash-output-google_bigqueryがインストールされたlogstash_bqpluginという名前のコンテナが作成されます。
docker-compose.ymlの変更
前の手順で作成したdocker-compose.ymlを変更します。
****.jsonには前の手順でダウンロードしたjsonファイルを指定してください。
logstash:
  image: logstash_bqplugin
  container_name: eventlog
  ports:
    - "15044:15044"
  volumes:
    - ./evt.conf:/usr/share/logstash/pipeline/evt.conf
    - ./****.json:/usr/share/logstash/config/****.json
  environment:
    - "xpack.monitoring.enabled=false"
6. Logstashの設定ファイルの変更
前の手順で作成したevt.confを変更します。
project_idにはGCPのプロジェクト名、json_key_fileには前の手順で作成したjsonファイル名を入力してください。
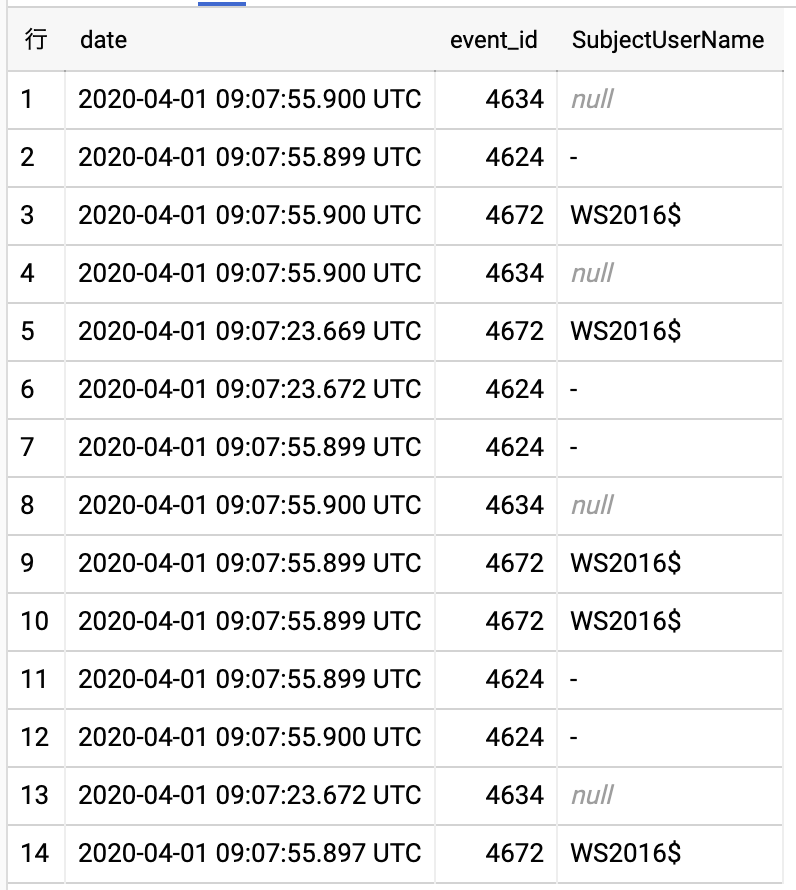
以下の設定ファイルではevent_idとSubjectUserNameと日時の情報しか取得していませんが、必要に応じて変更してください。
input {
  beats {
    port => 15044
  }
}

filter {
    # 日時の整形
    ruby {
        code => "event.set( 'date', Time.parse( event.get('[event][created]').to_s ).localtime('+09:00').strftime('%Y-%m-%dT%H:%M:%S.%N+09:00') )"
    }

    # フィールド名の整形
    mutate {
        rename => {
          "[winlog][event_id]" => "event_id"
          "[winlog][event_data][SubjectUserName]" => "SubjectUserName"
        }
    }

    # 取り込むフィールドの抽出
    prune {
        whitelist_names => [ "date", "event_id", "SubjectUserName"]
    }
}

output {
  google_bigquery {
    project_id => "****"
    dataset => "winlogbeat"
    table_prefix => "windows"
    table_separator => "-"
    date_pattern => "%Y_%m_%d"
    csv_schema => "date:TIMESTAMP,event_id:INTEGER,SubjectUserName:STRING"
    json_key_file => "/usr/share/logstash/config/****.json"
  }
}
7. WinlogbeatとLogstashコンテナの起動
以下のコマンドでLogstashコンテナの起動と、Winlogbeatの起動を行ってください。
docker-compose up
Start-Service winlogbeat
これでBigQueryへのログ送信が開始します。
8. BigQuery確認
winlogbeatデータセットにログが取り込まれました。
参考
Get started with Winlogbeat
https://www.elastic.co/guide/en/beats/winlogbeat/current/winlogbeat-getting-started.html
BigQuery の事前定義された Cloud IAM の役割
https://cloud.google.com/bigquery/docs/access-control?hl=ja#bigquery
エラー対応
ポート番号を5044ではなく15044にしている理由は、5044だと以下のエラーが発生したためです。
A plugin had an unrecoverable error. Will restart this plugin
Address already in use