はじめに
耳鼻咽喉科の開業医をしています。
花粉症の患者さんに使ってもらえるような花粉飛散情報が分かるカレンダーアプリを作りたいと思っています。
調べてみるとFullCallendarというオープンソースのJavaScriptライブラリがあり、カレンダーのUIと機能を簡単に実装できるようです。
今回カレンダーを表示して予定を入れるところまで挑戦してみました。
完成図
作成
こちらの記事を参考にさせていただきました。ありがとうございます。
【忘却のJavaScript #3】Vue.jsでカレンダーを表示してみる
1.vueプロジェクトの作成
コマンドプロンプトから以下のコマンドを実行し、雛形プロジェクトを作成します。
> vue create sample-app
質問に答えていきます。今回は以下のように設定しました。
Please pick a preset: ⇒ "Manually select features"
Check the features needed for your project:
(*) Babel
( ) TypeScript
( ) Progressive Web App (PWA) Support
(*) Router
(*) Vuex
( ) CSS Pre-processors
(*) Linter / Formatter
(*) Unit Testing
(*) E2E Testing
(*) CSS Pre-processors
User history mode for router? ⇒ "n"
Pick a liner / formatter config: ⇒ "ESLint + Prettier"
Pick additional lint features: ⇒ "Lint on save"
Pick a unit testing solution: ⇒ "Jest"
Pick a E2E testing solution: ⇒ "Cypress (Chrome only)"
Where do you prefer placing config for Babel, PostCSS, ESLint, etc.? ⇒ "In package.json"
Save this as a preset for future projects? ⇒ "y"
Save preset as: ⇒ "sample-app"
Pick the package manager to use when installing dependencies: ⇒ "Use Yarn"
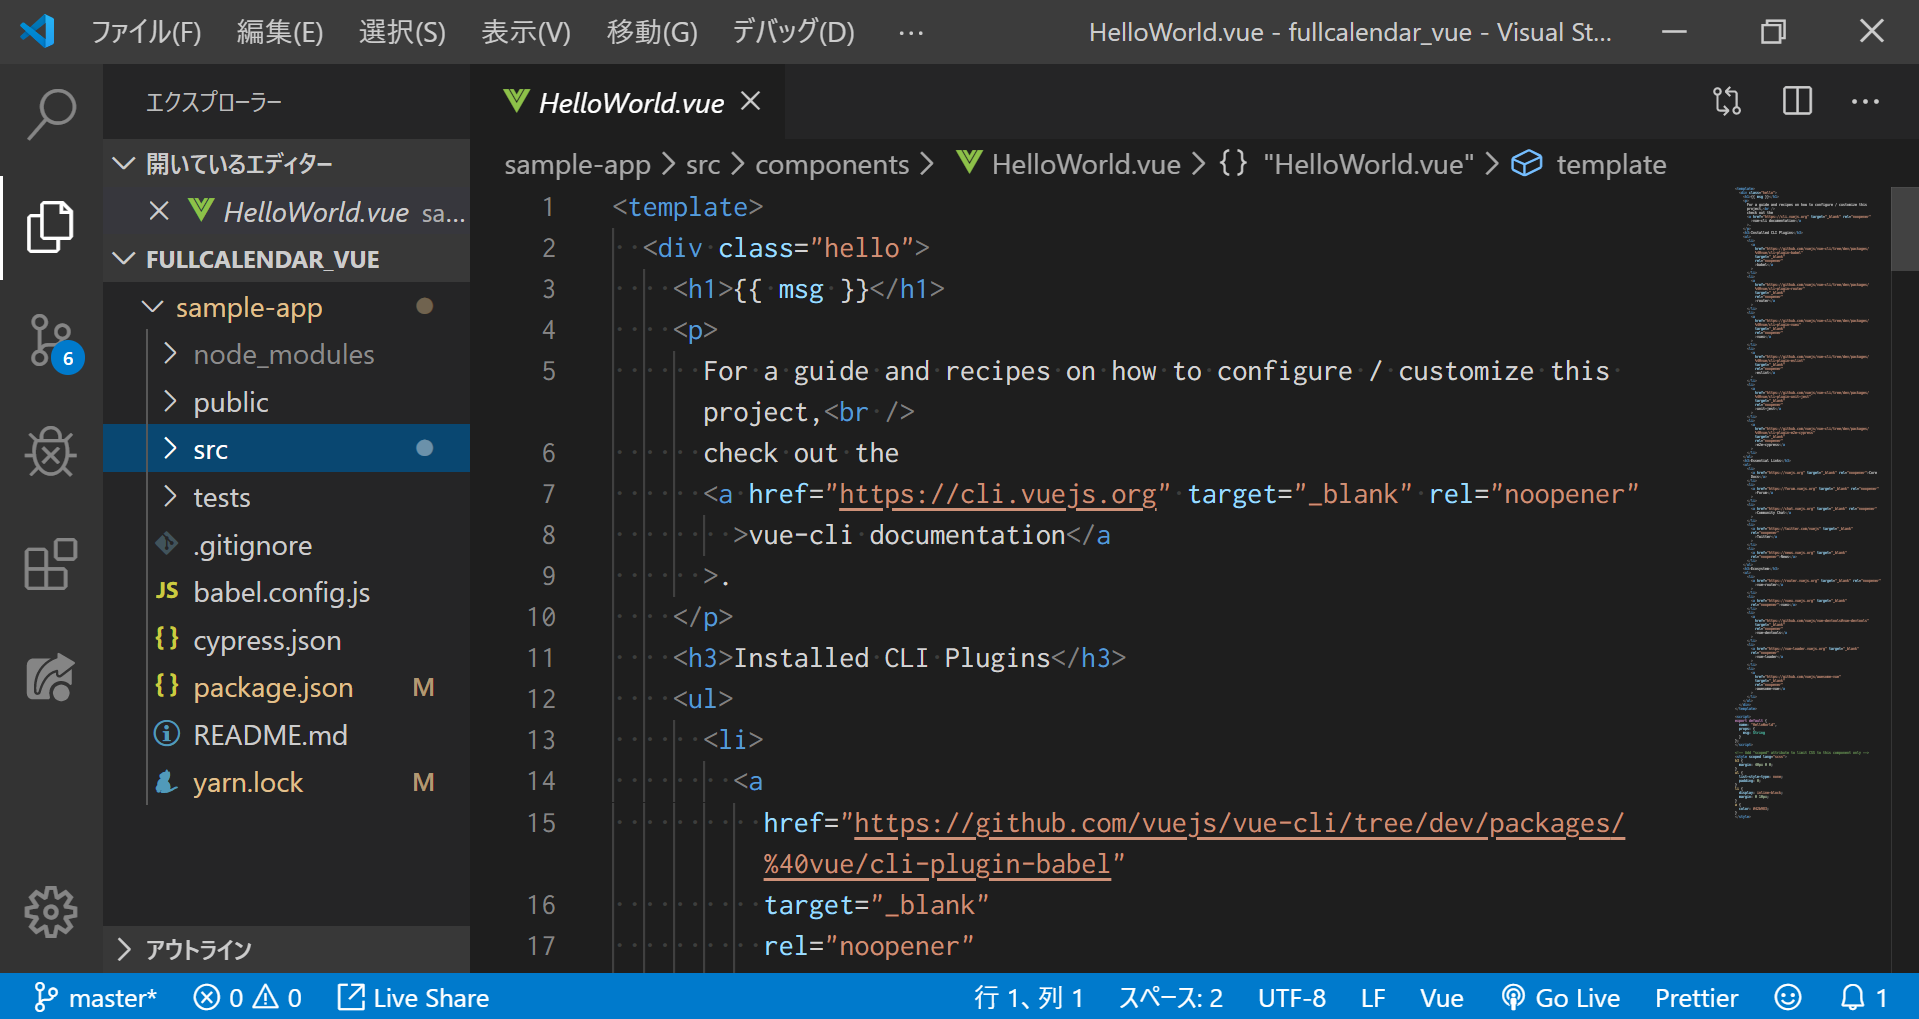
プロジェクトをVSCodeから開いて確認してみると以下の画像のようにプロジェクトのディレクトリ階層が構築されていることを確認できます。
以下のコマンドを実行して起動を行います。
> yarn serve
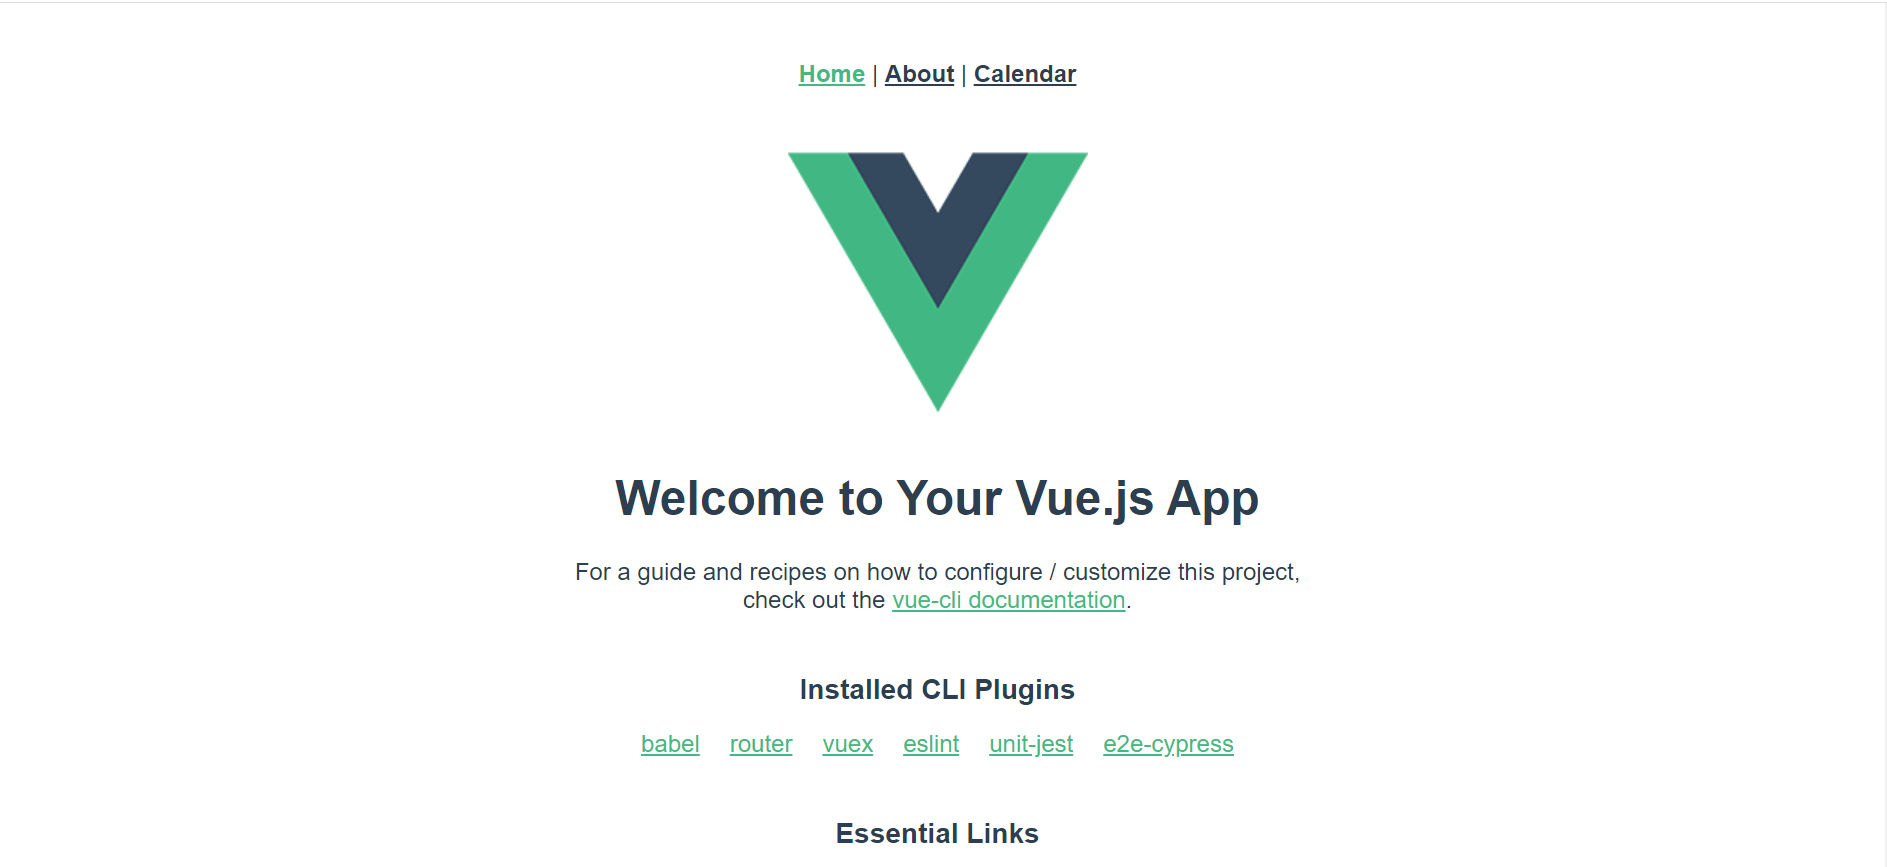
http://localhost:8080/
にアクセスし、「Welcome to Your Vue.js App」のページが表示されれば成功です。
2.FullCalendarのインストール
以下のコマンドを実行し、ライブラリをインストールします。
> npm install --save @fullcalendar/vue @fullcalendar/core @fullcalendar/daygrid
3.Calendar.vueの作成
src\components配下にCalendar.vueを作成しました。
<style lang='scss'>
@import '~@fullcalendar/core/main.css';
@import '~@fullcalendar/daygrid/main.css';
</style>

<template>
  <FullCalendar defaultView="dayGridMonth" :plugins="calendarPlugins" />
</template>

<script>
import FullCalendar from '@fullcalendar/vue'
import dayGridPlugin from '@fullcalendar/daygrid'

export default {
  components: {
    FullCalendar // make the <FullCalendar> tag available
  },
  data() {
    return {
      calendarPlugins: [ dayGridPlugin ]
    }
  }
};
</script>
4.src\index.jsにCalendar.vueへのリクエストパスを記述
import Vue from "vue";
import VueRouter from "vue-router";
import Home from "../views/Home.vue";

Vue.use(VueRouter);

const routes = [
  {
    path: "/",
    name: "home",
    component: Home
  },
  {
    path: "/about",
    name: "about",
    // route level code-splitting
    // this generates a separate chunk (about.[hash].js) for this route
    // which is lazy-loaded when the route is visited.
    component: () =>
      import(/* webpackChunkName: "about" */ "../views/About.vue")
  },
  ///////ここに追記///////
  {
    path: "/calendar",
    name: "calendar",
    component: () =>import("../components/Calendar.vue")
  }
  ///////ここに追記///////
];

const router = new VueRouter({
  routes
});

export default router;
5.App.vueの表示画面の変更
Calender.vueへのリンクを作成します。
<template>
  <div id="app">
    <div id="nav">
      <router-link to="/">Home</router-link> |
      <router-link to="/about">About</router-link> |
      <router-link to="/calendar">Calendar</router-link>
    </div>
    <router-view />
  </div>
</template>
6.カレンダーの表示
以下のコマンドを実行します。
> yarn serve
http://localhost:8080/
にアクセスします。
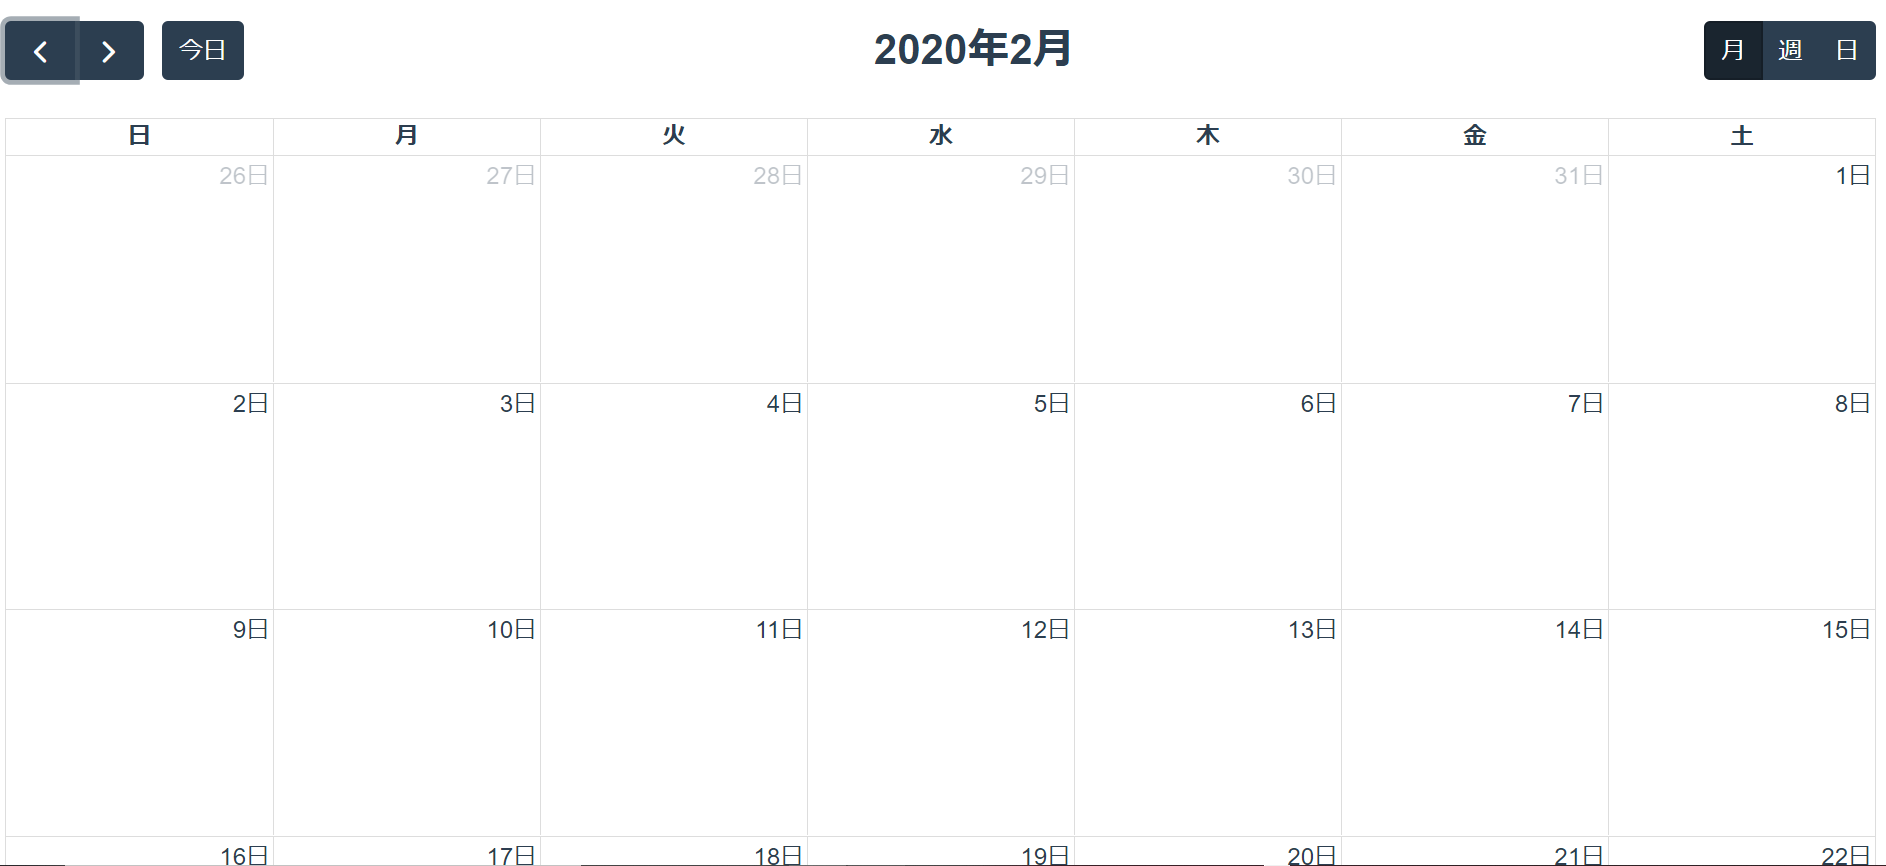
Calendarへのリンクが表示されていればOKです。
Calendarに移動するとカレンダーが表示されています。
7.カレンダーに予定を入れられるようにする
こちらの記事を参考にさせていただきました。ありがとうございました。
高機能でかつ軽快に動作するカレンダーFullCalendarをNuxt.jsで使う
Calendar.vueを以下のように変更しました。
<style lang="scss">
@import "~@fullcalendar/core/main.css";
@import "~@fullcalendar/daygrid/main.css";
</style>
<template>
<FullCalendar
default-view="dayGridMonth"
:locale="locale"
:header="calendarHeader"
:weekends="calendarWeekends"
:plugins="calendarPlugins"
:events="calendarEvents"
@dateClick="handleDateClick"
/>
</template>
<script>
import FullCalendar from "@fullcalendar/vue";
import dayGridPlugin from "@fullcalendar/daygrid";
import timeGridPlugin from "@fullcalendar/timegrid";
import interactionPlugin from "@fullcalendar/interaction";
import jaLocale from "@fullcalendar/core/locales/ja"; // 日本語化用
export default {
components: {
FullCalendar // make the <FullCalendar> tag available
},
data() {
return {
locale: jaLocale, // 日本語化
// カレンダーヘッダーのデザイン
calendarHeader: {
left: "prev,next today",
center: "title",
right: "dayGridMonth,timeGridWeek,timeGridDay,listWeek"
},
calendarWeekends: true, // 土日を表示するか
// カレンダーで使用するプラグイン
calendarPlugins: [dayGridPlugin, timeGridPlugin, interactionPlugin],
// カレンダーに表示するスケジュール一覧
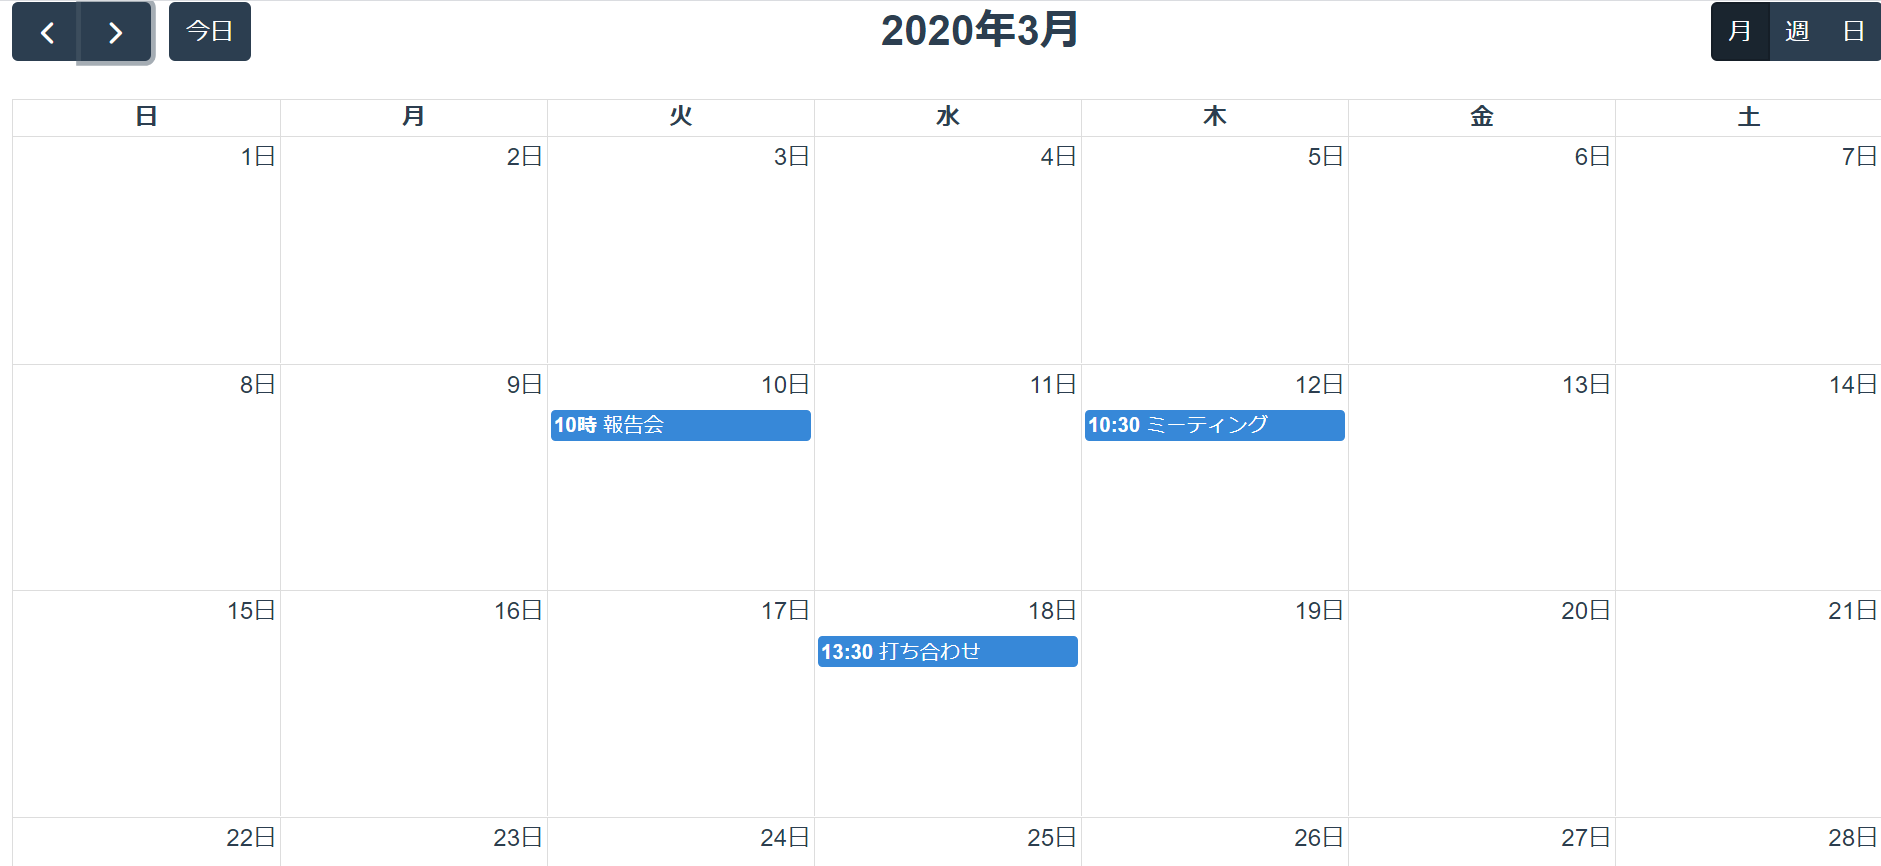
calendarEvents: [
{
title: "報告会",
start: "2020-03-10T10:00:00",
end: "2020-03-10T12:30:00"
},
{
title: "ミーティング",
start: "2020-03-12T10:30:00",
end: "2020-03-12T12:30:00"
},
{
title: "打ち合わせ",
start: "2020-03-18T13:30:00",
end: "2020-03-18T14:30:00"
}
]
};
},
methods: {
handleDateClick(arg) {
if (confirm("新しいスケジュールを" + arg.dateStr + "に追加しますか ?")) {
this.calendarEvents.push({
// add new event data
title: "新規スケジュール",
start: arg.date,
allDay: arg.allDay
});
}
}
</script>
予定を表示することができました。
考察
FullCallendarを利用してカレンダーを表示することができました。このデザインを自分で最初からやっていたらとても大変ですね。
今度はユーザー認証機能を実装したいと思っています。