1. Overview
In this article, we will take a look at the JSF Rendering and Templating examples. Java Server Faces framework is used for developing, building server-side UI Components. This framework is based on the Model View Controller (MVC) architectural pattern. This architectural pattern helps in separating the model, controller, and presentation. This helps the programmers to work together and work on multiple tasks parallelly.
2. JSF Rendering and Templating
2.1 Prerequisites
Java 8 is required on the Linux, windows or mac operating system. Eclipse Oxygen can be used for this example. Apache Tomcat 9.0 is used as a servlet container to deploy the examples.
2.2 Download
You can download Java 8 from the Oracle web site . Eclipse Oxygen can be downloaded from the eclipse web site. Apache Tomcat 9.0 can be downloaded from the apache website.
2.3 Setup
2.3.1 Java Setup
Below is the setup commands required for the Java Environment.
Setup
JAVA_HOME="/desktop/jdk1.8.0_73"
export JAVA_HOME
PATH=$JAVA_HOME/bin:$PATH
export PATH
2.4 IDE
2.4.1 Eclipse Oxygen Setup
The ‘eclipse-java-oxygen-2-macosx-cocoa-x86_64.tar’ can be downloaded from the eclipse website. The tar file is opened by double click. The tar file is unzipped by using the archive utility. After unzipping, you will find the eclipse icon in the folder. You can move the eclipse icon from the folder to applications by dragging the icon.
2.5 Launching IDE
2.5.1 Eclipse Java
Eclipse has features related to language support, customization, and extension. You can click on the eclipse icon to launch eclipse. The eclipse screen pops up as shown in the screenshot below:
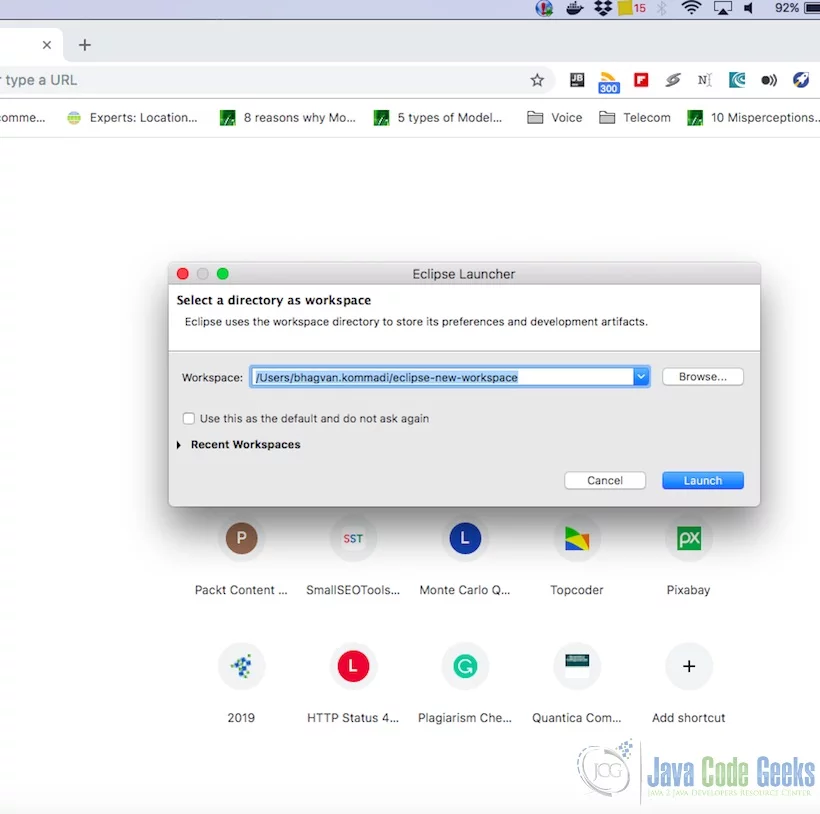
You can select the workspace from the screen which pops up. The attached image shows how it can be selected.
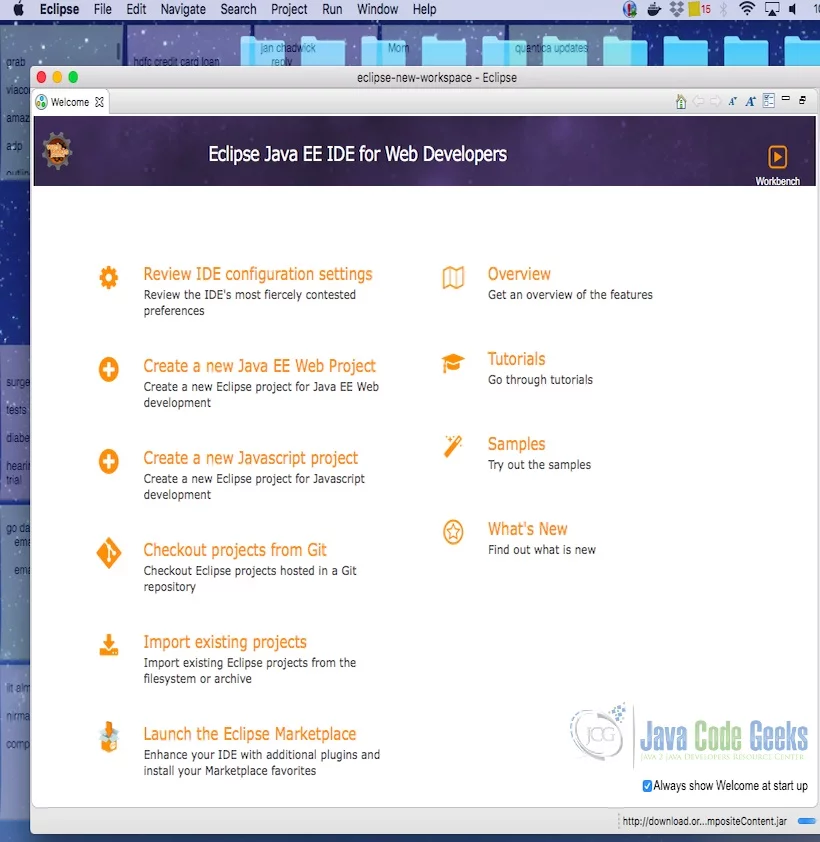
You can see the eclipse workbench on the screen. The attached screenshot shows the Eclipse project screen.
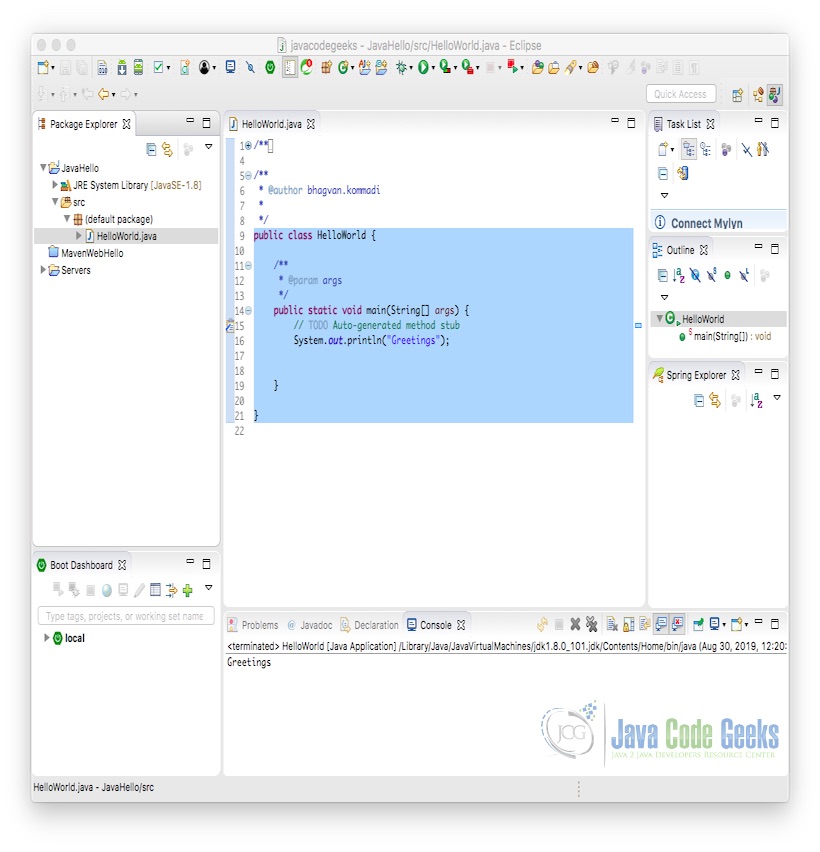
Java Hello World class prints the greetings. The screenshot below is added to show the class and execution on eclipse.
2.6 JSF Lifecycle
Java server faces framework based app can be executed in a Java Servlet container like Apache Tomcat. JSF application consists of the following components :
- JavaBeans
- Event handlers & validators (custom tags)
- rendering UI components (custom tags)
- UI components for stateful objects on the server
- Server-side helper classes
- Navigation handlers
- Application configuration file
JSF application life cycle has six phases. Six phases are listed below:
- Restoring view
- Applying request values
- Processing validations
- Update model values
- Invoking application
- Rendering response
The above six phases show how java server faces processing happens in a sequence. Let us look at each phase and what happens in every phase.
2.6.1 Restoring view
The restoring view phase starts when the link/button is clicked. Java Server Face gets the request. The view is created and the event handlers & validators are wired to the User interface components. The view is stored in the FacesContext. FacesContext has request processing info.
2.6.2 Applying request values
Component tree is built and it is used to retrieve the component. The decode method is used for retrieval of the components. FacesContext will have the success and failure information of the component retrieval. The error messages will show validation and component failures. The event listeners of the components can invoke the renderResponse which triggers the rendering response phase.
2.6.3 Processing validation
Java server face handles the validations through registered validations on the component tree. The framework uses the attribute rules for validation. The rules are compared to the stored component attribute rules. The local value can be invalid. The error is handled by FacesContext and this triggers the rendering response phase. The error message is shown on the web page.
2.6.4 Update model values
If the data is valid, the component tree is used to retrieve the server-side bean properties. The server-side bean properties are used to set the local values of the components. The bean properties are updated based on the input component’s attribute values. If the renderResponse method is invoked by the updateModels method, the Javaserverface will move to the rendering response phase.
2.6.5 Invoking application
Application events are handled by the java server face during this phase. Form submission and page linking are examples of application-level events.
2.6.6 Rendering response
Java server pages or HTML Web pages are rendered during this phase. The request is processed by adding the components to the component tree. Java Server Page container will be executed if JSPs are used as views. The tags on the Java server page are used for rendering the page. The response state is stored after the rendering of the view. This response state is used for the restoration of the view.
2.7 JSF Rendering
Rendering mechanisms are chosen in the JSF framework by the developer who designs the layout. The application developer is abstracted from the layout design. Java server face components are created first and the components are rendered to the user. Tags help in configuring the required components. The components are encoded and decoded by the renderer. The component is shown using the encoding. The decoding helps in taking the user input values and using it for the component. The components can be rendered in different ways based on the device for presentation. Renderers can be configured for components based on the device and associated form factor.
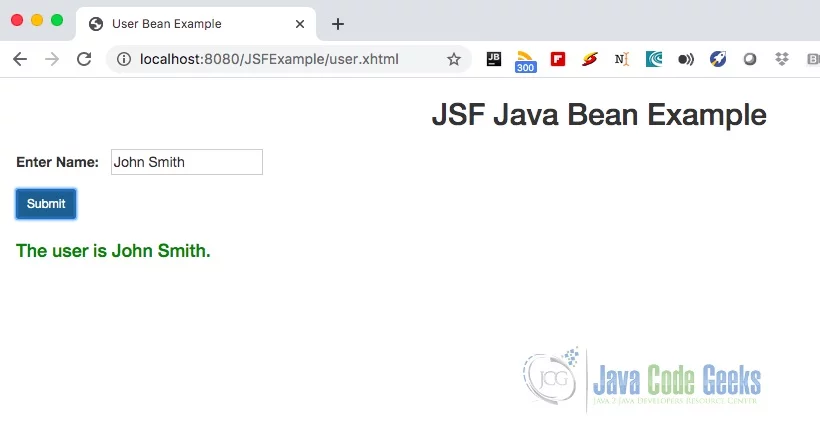
Let us look at an example web page that uses the java bean configured as the managed bean. The code sample shows the java bean UserBean implementation.
UserBean
import javax.faces.bean.ManagedBean;
import javax.faces.bean.SessionScoped;

@ManagedBean
@SessionScoped
public class UserBean {

	public String username;

	public String getUsername() {
		return username;
	}

	public void setUsername(String name) {
		this.username = name;
	}

	public String getUser() {
		String response = "";
		if(username != null) {
			response = "The user is " + username +".";
		}
		return response;
	}
}
The managed bean configuration is shown below in the faces-config.xml.
faces-config.xml
<?xml version="1.0" encoding="UTF-8"?>
<faces-config xmlns="http://java.sun.com/xml/ns/javaee"
    xmlns:xsi="http://www.w3.org/2001/XMLSchema-instance"
    xsi:schemaLocation="http://java.sun.com/xml/ns/javaee
    http://java.sun.com/xml/ns/javaee/web-facesconfig_2_0.xsd"
    version="2.0">
    <managed-bean>
	  <managed-bean-name>userBean</managed-bean-name>
	  <managed-bean-class>UserBean</managed-bean-class>
	  <managed-bean-scope>session</managed-bean-scope>
     </managed-bean>
</faces-config>
Now let us look at the web page which uses the UserBean.
user.xhtml
<!DOCTYPE HTML>
<html lang="en" xmlns="http://www.w3.org/1999/xhtml" xmlns:f="http://java.sun.com/jsf/core" xmlns:h="http://java.sun.com/jsf/html">
<h:head>
    <meta charset="utf-8" name="viewport" content="width=device-width, initial-scale=1" http-equiv="X-UA-Conpatible" />
    <link type="text/css" rel="stylesheet" href="https://examples.javacodegeeks.com/wp-content/litespeed/localres/aHR0cHM6Ly9tYXhjZG4uYm9vdHN0cmFwY2RuLmNvbS8=bootstrap/3.3.7/css/bootstrap.min.css" />
    <title>User Bean Example</title>
    <style type="text/css">
    #userForm {
		    margin: 18px;
		}
		.nameTextbox {
		    margin-left: 12px;
		}
		#btn {
		    padding: 12px 0px 0px 0px;
		}
		#output {
			padding-top: 12px;
		    color: green;
		}
    </style>
</h:head>
<h:body>
    <center><h2>JSF Java Bean Example</h2></center>
    <h:form id="userForm">
        <div id="input">
        	 <h:outputLabel value="Enter Name:" /><h:inputText id="nameId" styleClass="nameTextbox" value="#{userBean.username}" />
        </div>
        <div id="btn">
            <h:commandButton value="Submit" styleClass="btn btn-primary btn-sm">
                <f:ajax execute= "nameId" render="userId" />
            </h:commandButton>
        </div>
        <div id="output">
            <h4><h:outputText id="userId" value="#{userBean.user}" /></h4>
        </div>
    </h:form>
</h:body>
</html>
The web configuration XML file is shown for this web application below:
web.xml
<?xml version="1.0" encoding="UTF-8"?>
<web-app xmlns:xsi="http://www.w3.org/2001/XMLSchema-instance"
	xmlns="http://java.sun.com/xml/ns/javaee"
	xmlns:web="http://java.sun.com/xml/ns/javaee/web-app_2_5.xsd"
	xsi:schemaLocation="http://java.sun.com/xml/ns/javaee
	http://java.sun.com/xml/ns/javaee/web-app_2_5.xsd"
	id="WebApp_ID" version="2.5">

  <display-name>JavaServerFaces</display-name>


  <context-param>
    <param-name>javax.faces.STAGE</param-name>
    <param-value>Dev</param-value>
  </context-param>

  <!-- Landing Page -->
  <welcome-file-list>
    <welcome-file>faces/home.xhtml</welcome-file>
  </welcome-file-list>

  <!-- JSF mapping -->
  <servlet>
    <servlet-name>Faces Servlet</servlet-name>
    <servlet-class>javax.faces.webapp.FacesServlet</servlet-class>
    <load-on-startup>1</load-on-startup>
  </servlet>


  <servlet-mapping>
    <servlet-name>Faces Servlet</servlet-name>
    <url-pattern>/faces/*</url-pattern>
  </servlet-mapping>
  <servlet-mapping>
    <servlet-name>Faces Servlet</servlet-name>
    <url-pattern>*.jsf</url-pattern>
  </servlet-mapping>
  <servlet-mapping>
    <servlet-name>Faces Servlet</servlet-name>
    <url-pattern>*.faces</url-pattern>
  </servlet-mapping>
  <servlet-mapping>
    <servlet-name>Faces Servlet</servlet-name>
    <url-pattern>*.xhtml</url-pattern>
  </servlet-mapping>

</web-app>
The output of the web application is shown below when it is run on the web server. (Tomcat 9.0)
2.8 JSF Templating
In Java Server Faces framework, Facelets are for page creation with different layouts. The layout is created in the base page which is extended by the other pages for reuse. Templates help in providing the same look and feel across the application and the web pages.

Let us start looking at an example. To start with, how to design the web page using the templating framework. The layout configuration is created in the XHTML web page using Facelets tag- ui composition and the template is specified.
Now let us look at the layout configuration. Layout Configuration is shown in the code sample below:
Default Page
<?xml version="1.0" encoding="UTF-8"?>
<!DOCTYPE html PUBLIC "-//W3C//DTD XHTML 1.0 Transitional//EN"
"http://www.w3.org/TR/xhtml1/DTD/xhtml1-transitional.dtd">
<html xmlns="http://www.w3.org/1999/xhtml"
      xmlns:h="http://java.sun.com/jsf/html"
      xmlns:ui="http://java.sun.com/jsf/facelets"
      >
    <h:body>

    	<ui:composition template="template/facelets/layout.xhtml">


    	</ui:composition>

    </h:body>

</html>
The above page is the default page for the web application. It has the layout configuration specified. The layout template is shown in the code below.
Layout Configuration
<?xml version="1.0" encoding="UTF-8"?>
<!DOCTYPE html PUBLIC "-//W3C//DTD XHTML 1.0 Transitional//EN"
"http://www.w3.org/TR/xhtml1/DTD/xhtml1-transitional.dtd">
<html xmlns="http://www.w3.org/1999/xhtml"
      xmlns:h="http://java.sun.com/jsf/html"
      xmlns:ui="http://java.sun.com/jsf/facelets"
      >

	<h:head>
		<h:outputStylesheet name="common-style.css" library="css" />
	</h:head>

    <h:body>

	<div id="page">

		<div id="header">
			<ui:insert name="header" >
				<ui:include src="/template/facelets/header.xhtml" />
			</ui:insert>
	    </div>

	    <div id="content">
		   	<ui:insert name="content" >
		   		<ui:include src="/template/facelets/content.xhtml" />
		   	</ui:insert>
	    </div>

	    <div id="footer">
	    	<ui:insert name="footer" >
	    		<ui:include src="/template/facelets/footer.xhtml" />
	    	</ui:insert>
    	</div>

    </div>

    </h:body>

</html>
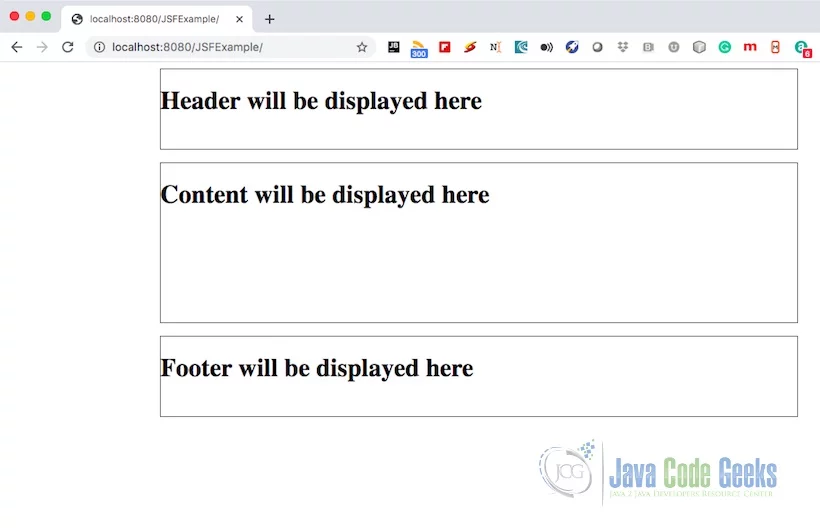
layout.xhtml has the page configured with header, content and footer templates. Facelets tags – ui include and insert are used to specify them. HTML tag – h head is used to specify the style sheet for the web application. The code sample below shows header, content, and footer.
Header template
<?xml version="1.0" encoding="UTF-8"?>
<!DOCTYPE html PUBLIC "-//W3C//DTD XHTML 1.0 Transitional//EN"
"http://www.w3.org/TR/xhtml1/DTD/xhtml1-transitional.dtd">
<html xmlns="http://www.w3.org/1999/xhtml"
      xmlns:ui="http://java.sun.com/jsf/facelets"
      >
    <body>
	    <ui:composition>

			<h1>Header will be displayed here</h1>

	    </ui:composition>
    </body>
</html>
The above code sample shows the header template. Facelets tag- ui composition is used to specify the text in the header. The content template is shown below:
Content Template
<?xml version="1.0" encoding="UTF-8"?>
<!DOCTYPE html PUBLIC "-//W3C//DTD XHTML 1.0 Transitional//EN"
"http://www.w3.org/TR/xhtml1/DTD/xhtml1-transitional.dtd">
<html xmlns="http://www.w3.org/1999/xhtml"
      xmlns:ui="http://java.sun.com/jsf/facelets"
      >
    <body>
	    <ui:composition>

			<h1>Content will be displayed here</h1>

	    </ui:composition>
    </body>
</html>
In the above code example, Facelets tag – ui composition is used to configure the content text. The code example below shows the footer template.
Footer Template
<?xml version="1.0" encoding="UTF-8"?>
<!DOCTYPE html PUBLIC "-//W3C//DTD XHTML 1.0 Transitional//EN"
"http://www.w3.org/TR/xhtml1/DTD/xhtml1-transitional.dtd">
<html xmlns="http://www.w3.org/1999/xhtml"
      xmlns:ui="http://java.sun.com/jsf/facelets"
      >
    <body>
	    <ui:composition>

			<h1>Footer will be displayed here</h1>

	    </ui:composition>
    </body>
</html>
In the above example, footer text is configured using Facelets tag – ui composition. The web configuration XML file is shown below:
web.xml
<?xml version="1.0" encoding="UTF-8"?>
<web-app xmlns:xsi="http://www.w3.org/2001/XMLSchema-instance"
	xmlns="http://java.sun.com/xml/ns/javaee"
	xmlns:web="http://java.sun.com/xml/ns/javaee/web-app_2_5.xsd"
	xsi:schemaLocation="http://java.sun.com/xml/ns/javaee
	http://java.sun.com/xml/ns/javaee/web-app_2_5.xsd"
	id="WebApp_ID" version="2.5">

  <display-name>JavaServerFaces</display-name>


  <context-param>
    <param-name>javax.faces.STAGE</param-name>
    <param-value>Dev</param-value>
  </context-param>

  <!-- Landing Page -->
  <welcome-file-list>
    <welcome-file>faces/home.xhtml</welcome-file>
  </welcome-file-list>

  <!-- JSF mapping -->
  <servlet>
    <servlet-name>Faces Servlet</servlet-name>
    <servlet-class>javax.faces.webapp.FacesServlet</servlet-class>
    <load-on-startup>1</load-on-startup>
  </servlet>


  <servlet-mapping>
    <servlet-name>Faces Servlet</servlet-name>
    <url-pattern>/faces/*</url-pattern>
  </servlet-mapping>
  <servlet-mapping>
    <servlet-name>Faces Servlet</servlet-name>
    <url-pattern>*.jsf</url-pattern>
  </servlet-mapping>
  <servlet-mapping>
    <servlet-name>Faces Servlet</servlet-name>
    <url-pattern>*.faces</url-pattern>
  </servlet-mapping>
  <servlet-mapping>
    <servlet-name>Faces Servlet</servlet-name>
    <url-pattern>*.xhtml</url-pattern>
  </servlet-mapping>

</web-app>
The output of the web application is shown below when it is run on the webserver. (Tomcat 9.0)
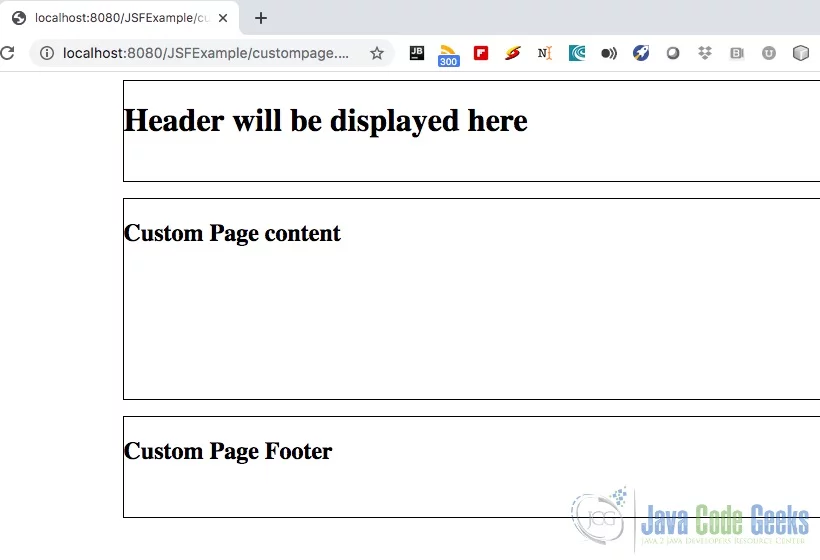
Now, let us look at the custom page example which overrides some of the configured parts in the web page.
Custom Page Layout
<?xml version="1.0" encoding="UTF-8"?>
<!DOCTYPE html PUBLIC "-//W3C//DTD XHTML 1.0 Transitional//EN"
"http://www.w3.org/TR/xhtml1/DTD/xhtml1-transitional.dtd">
<html xmlns="http://www.w3.org/1999/xhtml"
      xmlns:h="http://java.sun.com/jsf/html"
      xmlns:ui="http://java.sun.com/jsf/facelets"
      >
    <h:body>

    	<ui:composition template="/template/facelets/layout.xhtml">

    		<ui:define name="content">
    			<h2>Custom Page content</h2>
    		</ui:define>

    		<ui:define name="footer">
    			<h2>Custom Page Footer</h2>
    		</ui:define>

    	</ui:composition>

    </h:body>

</html>
The output of the custom web page is shown below when it is run on the webserver. (Tomcat 9.0). The header remains the same as the base page. The content and footer is changed in this web page.
3. Download the Source Code
You can download the full source code of this example here: JSF Rendering and Templating Example