この前作成した おさかな判別アプリは単純にアップロードしてフロントサイドのみで処理をするものでした。
次の段階として、画像をデータベースにアップロードしたことをトリガーとして、Azure Functions から Custom Vision を呼び出すようにしたいです。その前段階として、Azure WebApp から Azure Blob Storage に画像を読み書きする方法を整理します。
サンプルを Git する
Microsoft が公開している良いサンプルがありましたので、こちらのコードを見て整理したいと思います。自分の開発環境で、Git Clone します。
git clone https://github.com/Azure-Samples/storage-blob-upload-from-webapp.git
サンプルの中の Controller を見てみます。
 public class ImagesController : Controller
    {
        // make sure that appsettings.json is filled with the necessary details of the azure storage
        private readonly AzureStorageConfig storageConfig = null;

        public ImagesController(IOptions<AzureStorageConfig> config)
        {
            storageConfig = config.Value;
        }
この ImageController で BlobStorage への画像のアップロードを行っています。この中に Storage の String 等を取っているであろう config があります。実際に Storage Account につなぐための Key などは「appsetting.json」に入れます。
{
  "Logging": {
    "IncludeScopes": false,
    "Debug": {
      "LogLevel": {
        "Default": "Warning"
      }
    },

    "Console": {
      "LogLevel": {
        "Default": "Warning"
      }
    }
  },
  "AzureStorageConfig": {
    "AccountName": "",
    "AccountKey": "",
    "ImageContainer": "images",
    "ThumbnailContainer": "thumbnails"
  }
}
この AccountName / AccountKey に Azure Portal で Blob Storage を作成した際の値を入れるみたいですね。
Azure Blob Storage を作成し Key 取得する
Azure Portal から Blob Storage を作成する方法は超簡単です。以下 Document に従って作成します。
Azure portal を使用して BLOB をアップロード、ダウンロード、および一覧表示する
https://docs.microsoft.com/ja-jp/azure/storage/blobs/storage-quickstart-blobs-portal
Visual Studio で Deploy してみる
Account Name と Access Key を入力して Deploy すると、ローカルIIS で Web Page が立ち上がります。
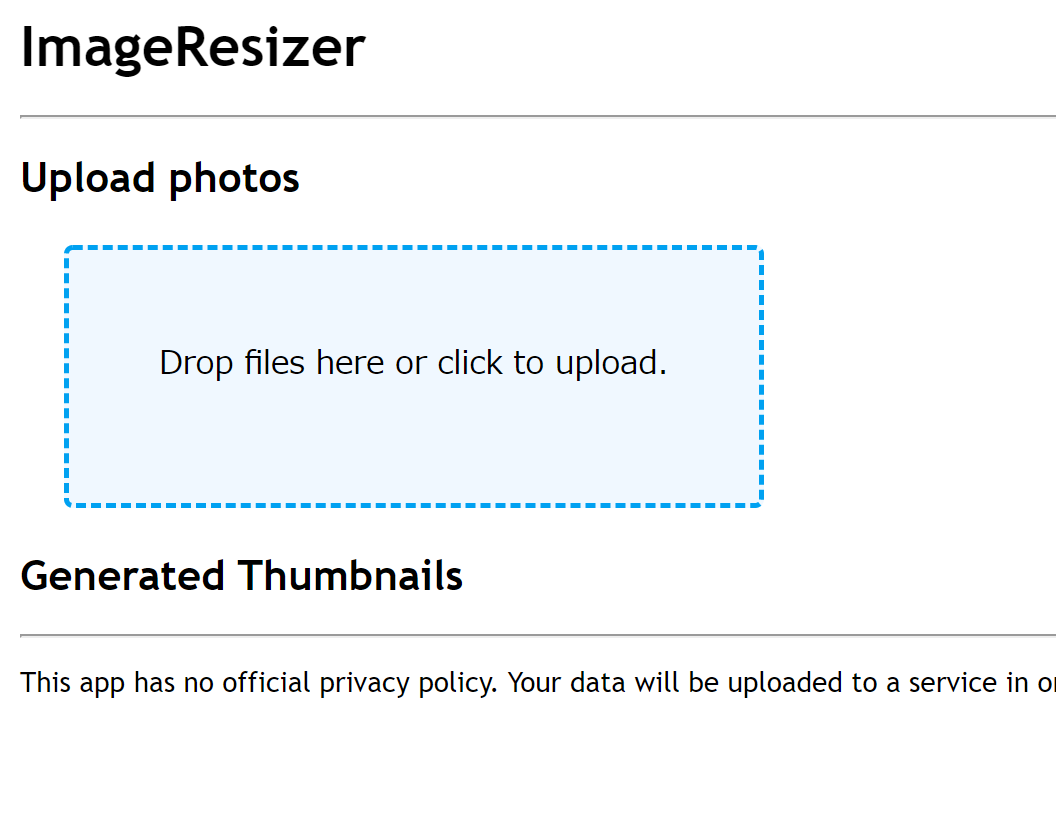
ここに実際に画像をアップロードしてみます。
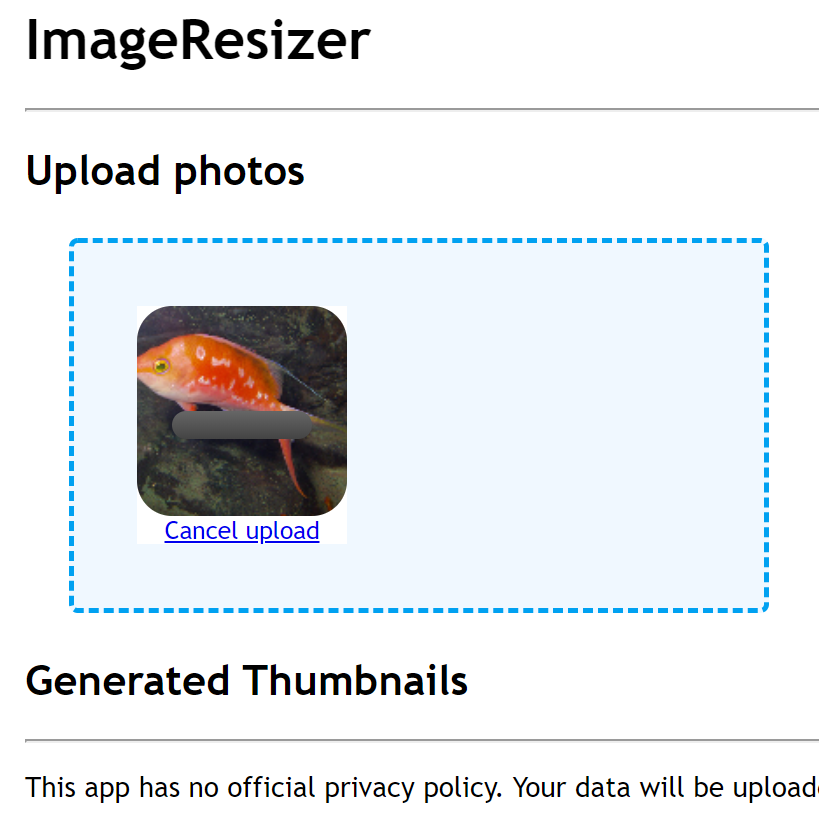
こちらの画像をアップロードすると、Azure Blob Storage に 画像がアップロードされます。
アップロードされた画像はAzure Portal から簡単に見ることができます。
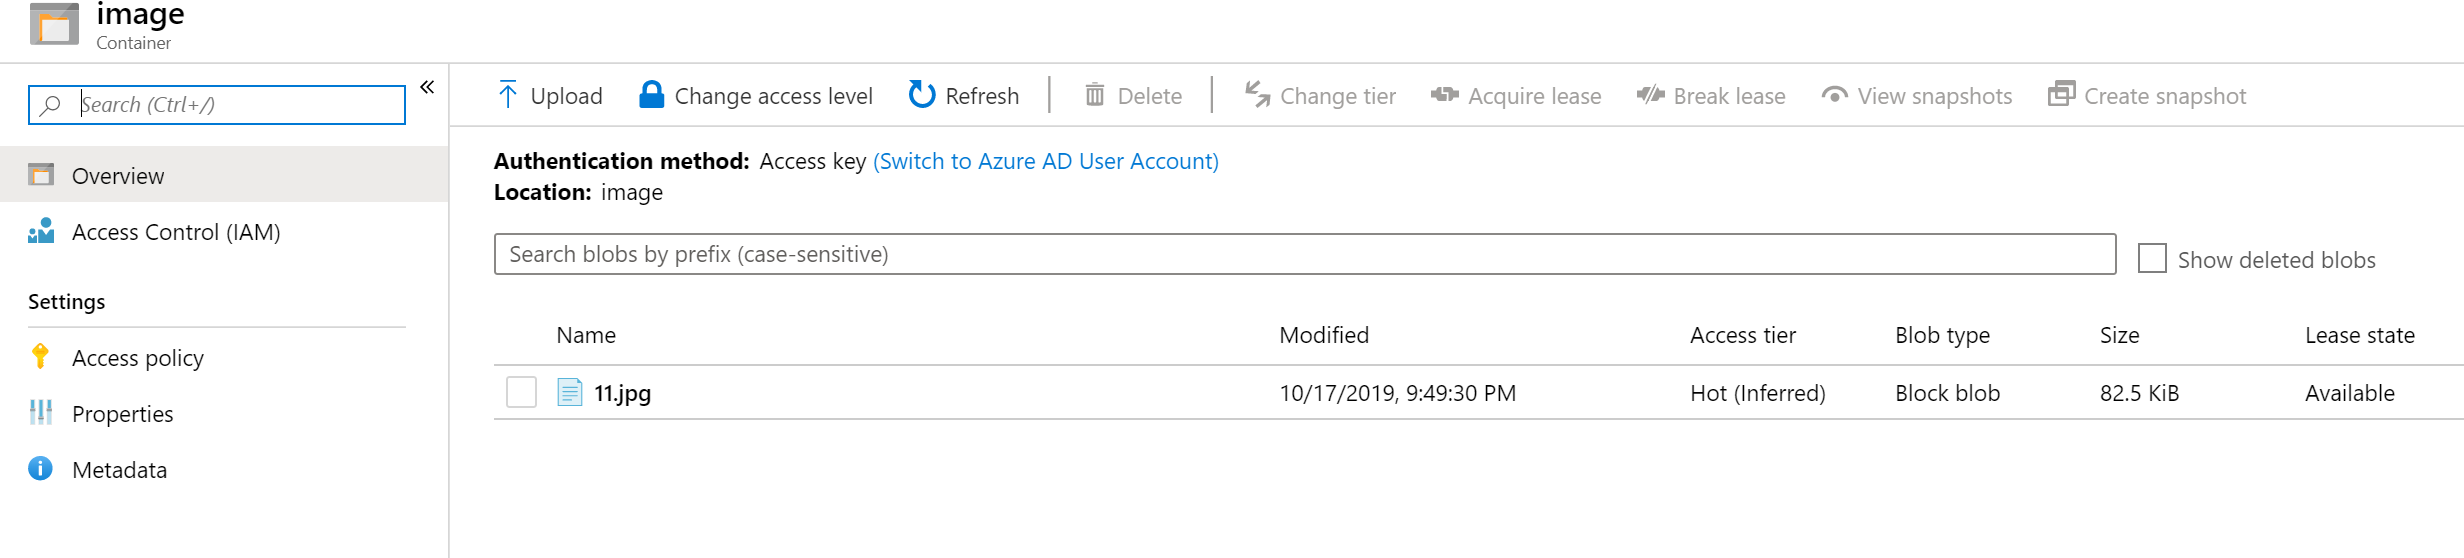
これでアップロードが完了したことが分かります。
Blob Storage にアップロードされたことは、Azure Functions でトリガーとした扱うことができます。それをトリガーとして Custom Vision API を 読みだすことができれば Azure Blob / Azure Functions / Azure Custom Vision を連携させたアプリケーションの開発が可能です。次回の記事では Azure Functions で Blob をトリガーとして Custom Vision API を読みだすデモを作成したいと思います。