この記事でやること
前回までで都市の登録・天気の取得が可能になった。
今回はOSS地図のOpenStreetMapをWEBアプリに実装できるLearletライブラリを利用して
地図上に登録地点の天気を表示してみる
※過去記事
①Angular環境構築とひな形の生成
②コンポーネントとサービスの追加(登録画面)
③OpenweathermapのAPIを叩く
参考にした記事
Leafletのインストール
npm install
leaflet本体と型定義モジュールを入手する
npm install leaflet --save
npm install @types/leaflet --save-dev
angular.jsonの修正
leafletを使うための設定を行う
 :
 :
            "assets": [
              "src/favicon.ico",
              "src/assets",
              {
                "glob": "**/*",
                "input": "./node_modules/leaflet/dist/images",
                "output": "src/assets/"
              }
            ],
            "styles": [
              "src/styles.css",
              "./node_modules/leaflet/dist/leaflet.css"
            ],
 :
 :
Leaflet用サービスの生成
ng g serviceコマンドでcommon/配下にサービスを作成する
地図を利用する画面はこのサービスを呼び出す事とする
ng g service common/leaflet
以下のファイルが作成される
・leaflet.service.spec.ts
・leaflet.service.ts
leaflet.service.tsに地図を生成する処理を実装する
import { Injectable } from '@angular/core';
/* 追加 */
import * as L from 'leaflet';
@Injectable({
providedIn: 'root'
})
export class LeafletService {
/* 追加 */
map:any;
constructor() { }
/* 追加 */
createMap() {
this.map = L.map('map').setView([33.584261,130.403789], 13);
L.tileLayer('https://{s}.tile.openstreetmap.org/{z}/{x}/{y}.png', {
attribution: '© <a href="https://www.openstreetmap.org/copyright">OpenStreetMap</a> contributors'
}).addTo(this.map);
}
}
地図の表示
dashboardコンポーネントを編集して地図用タグとLeafletサービスの呼び出し処理を追加
HTML
dashboard.component.htmlに地図用のタグを追加する
<h1>ダッシュボード</h1>
ここにいろいろ表示する
 :
 :
<!--地図用のdivを追加-->
<div id="map"></div>
css
dashboard.component.cssにマップのサイズを指定
#map { height:70vh }
component.ts
import { Component, OnInit } from '@angular/core';
import { ActivatedRoute, Router } from '@angular/router';
import { City } from '../city/city';
import { CityService } from '../city/city.service';
/* 追加 */
import { LeafletService } from '../common/leaflet.service'

@Component({
  selector: 'app-dashboard',
  templateUrl: './dashboard.component.html',
  styleUrls: ['./dashboard.component.css']
})
export class DashboardComponent implements OnInit {
  cities: City[];

  constructor(
    private router: Router,
    /* サービスが増えたので名前を変える */
    private cityService: CityService,
    /* 追加 */
    private leafletService: LeafletService

  ){ }

  ngOnInit() {
    this.cities = this.cityService.getCities();

    /* 追加 */
    this.leafletService.createMap();
  }
}
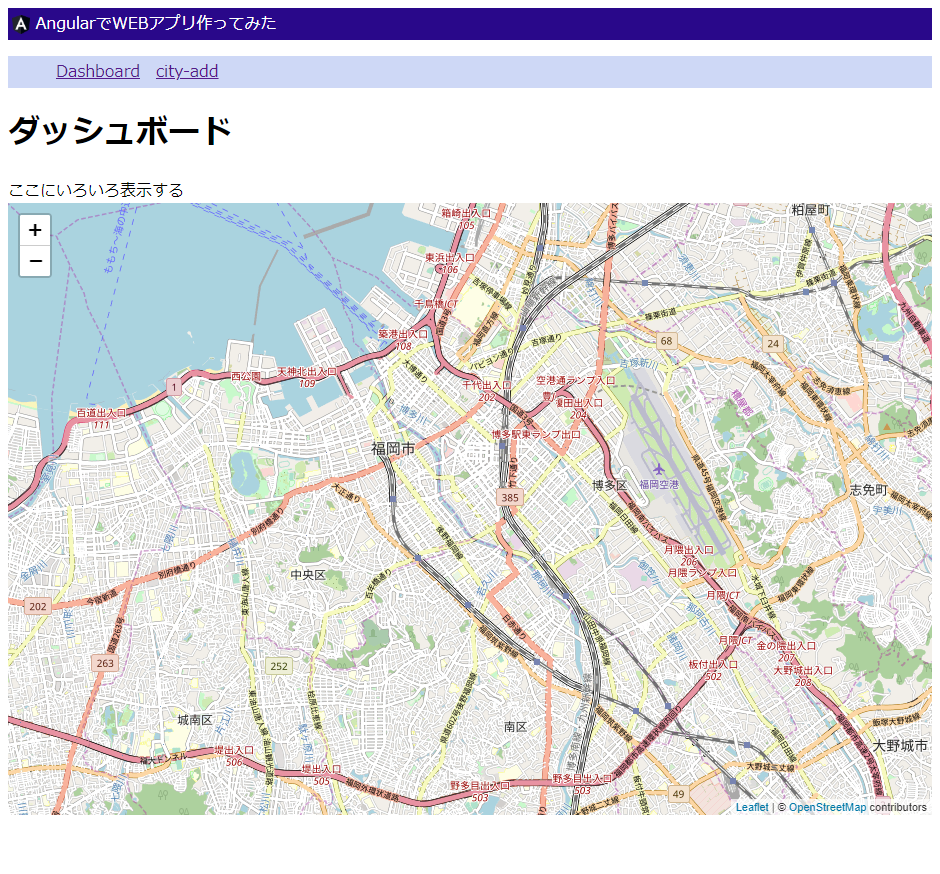
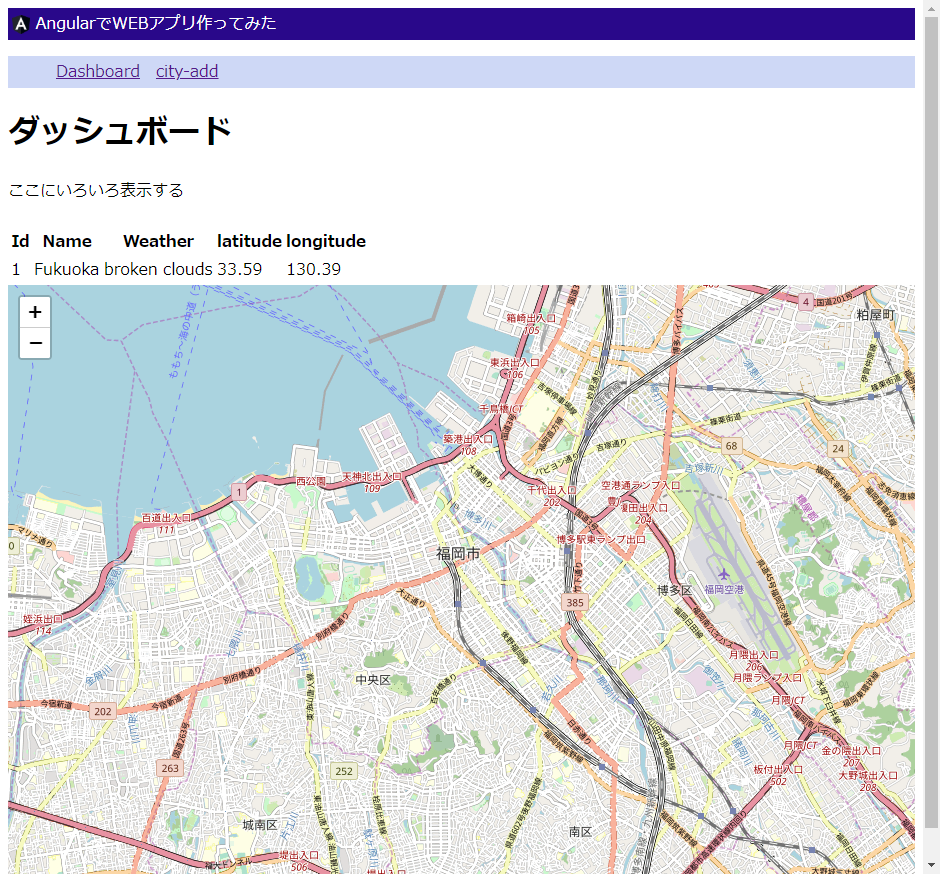
地図表示結果
ダッシュボード画面に地図が表示される
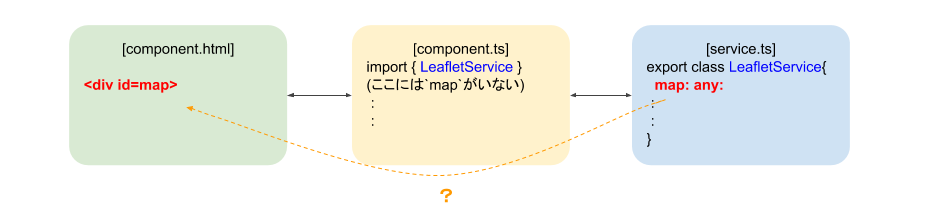
(疑問)
dashboard.component.tsにはmapプロパティを持っていないのになぜサービスで生成したマップが
dashboard.component.htmlに反映されるのだろう
htmlの<div id=map>とimportされたleaflet.service.tsのプロパティmap: any;が紐づいている???
↓こんな感じ?いつかちゃんと調べよう。
登録地点にマーカーを表示
OpenstreetmapのAPIのレスポンスから緯度・経度を取り出し、マーカーを描画するために以下を行う
・city.tsを編集してクラスに緯度経度のプロパティを追加
・city.service.tsを編集してAPIレスポンスから緯度経度を取得
・LeafletServiceへマーカー描画処理の追加
・dashboard.component.tsに呼び出し処理を追加
cityクラスの修正
export class City {
    id: number;       /* 連番 */
    name: string;     /* 都市名 */
    weather: string;  /* 天気を取得して格納 */

    /* 緯度経度を格納するプロパティ*/
    location:
      {lat: number, lon: number}
  }
これで緯度経度を保持できるようになった
city.service.tsの編集
 :
 :
  addCity(city: City): void {
    var id: number;
    id = this.cities.length + 1;

    /* idを設定 */
    city.id = id;

    /* OpenweathermapのAPIを呼び出す */
    var apiEndPoint: string = this.environment.baseUrl
    + 'weather?q=' + city.name
    + '&appid=' + this.environment.appId;

    this.service.sendHttpRequest(apiEndPoint)
    .subscribe(res => {
      var weather = res.weather[0].description;
      // 天気を設定
      city.weather = weather;

      // 緯度経度を設定(追加)
      var coord = res.coord;
      city.location = {lat:coord.lat, lon:coord.lon};

      // 配列に追加
      this.cities.push(city);

    }, err => {
      console.log(err);
    }, () => {

    });
  }
 :
 :
これで都市登録時に緯度経度が取得できる
ついでにダッシュボードの表示部分も修正
dashboard.component.htmlの修正
<h1>ダッシュボード</h1>
ここにいろいろ表示する
<div *ngIf="cities.length !== 0">
    <br>
    <table>
        <!-- 緯度経度の表示を追加 -->
        <tr><th>Id</th><th>Name</th><th>Weather</th><th>latitude</th><th>longitude</th></tr>
        <tr *ngFor="let city of cities">
            <td>{{city.id}}</td>
            <td>{{city.name}}</td>
            <td>{{city.weather}}</td>
            <td>{{city.location.lat}}</td>
            <td>{{city.location.lon}}</td>

        </tr>
    </table>
</div>
<!--地図用のdivを追加-->
<div id="map"></div>
画面
緯度と経度が表示されるようになった

leafled.service.tsの編集
マーカー描画処理を実装する
画面側(dashboard.component.ts)から名前と天気と緯度経度をもらう想定
:
:
createMap() {
this.map = L.map('map').setView([33.584261,130.403789], 13);
L.tileLayer('https://{s}.tile.openstreetmap.org/{z}/{x}/{y}.png', {
attribution: '© <a href="https://www.openstreetmap.org/copyright">OpenStreetMap</a> contributors'
}).addTo(this.map);
}
/* 追加 */
/* 名前、天気、緯度・経度を受け取ってマーカー描画&吹き出しを付ける*/
addMarker(name: string, weather: string, lat: number, lon: number) {
L.marker([lat, lon])
.bindPopup(name + ':\n' + weather)
.addTo(this.map);
}
}
cityインスタンスを丸ごと渡した方が早いが、汎用的にマーカー描画に使えるように
すべての値を個別に渡すようにしている
dashboard.component.tsの編集
上記で作成したマーカー描画処理を呼び出す
名前、天気、緯度/経度を渡す
 :
 :
  ngOnInit() {
    this.cities = this.cityService.getCities();

    /* 地図を生成 */
    this.leafletService.createMap();

    /* 登録されている都市ごとにマーカーを作成*/
    this.cities.map(city => {
      this.leafletService.addMarker(city.name, city.weather, city.location.lat, city.location.lon);
    });
  }
 :
 :
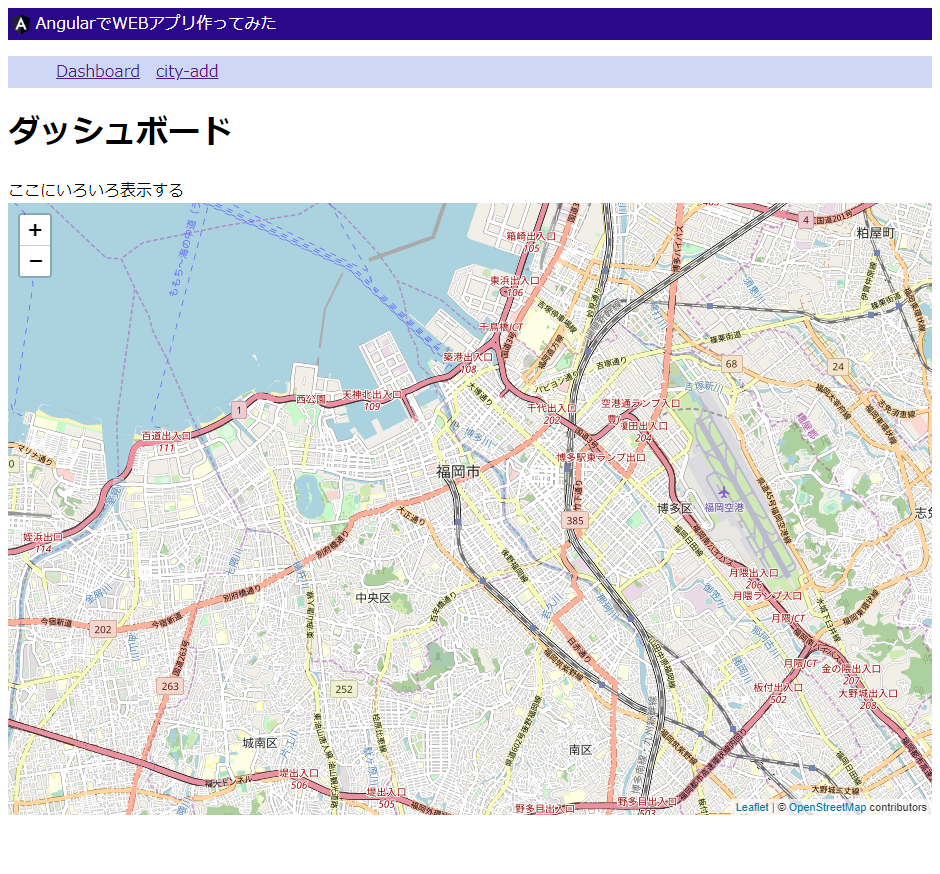
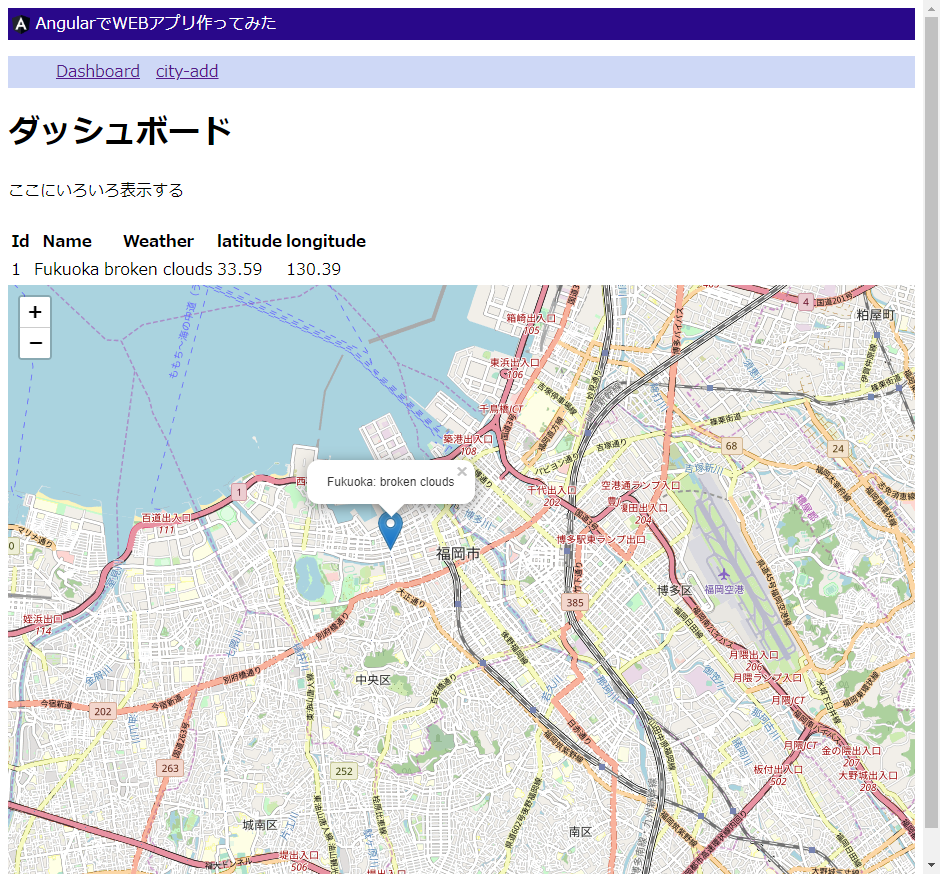
画面の動きを確認
ng serveでサーバを起動して動作させてみる
①初画面(ダッシュボード)
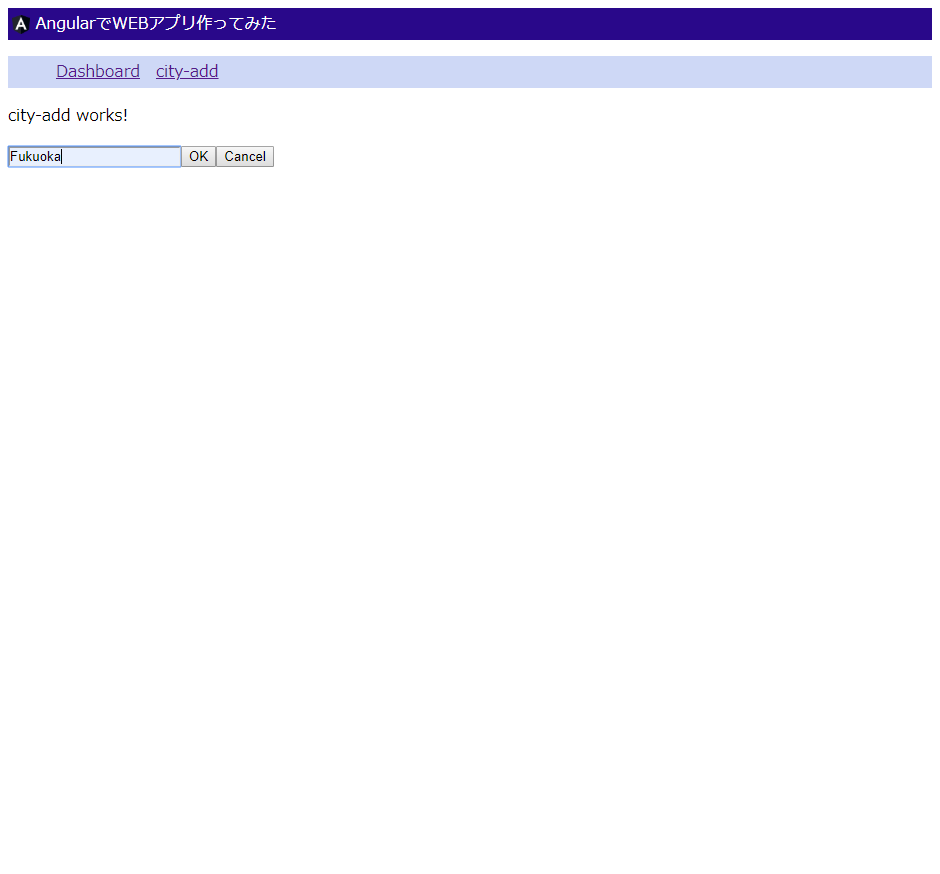
②都市登録画面
③初画面(登録後)
(問題発生)
都市が登録されているが、マーカーが出ない。。。
登録処理とダッシュボードに戻る処理が非同期で実行されているため、
登録処理が終わる前に画面遷移&地図・マーカーの描画が行われているようだ
※登録処理はOpenweathermapへの問い合わせがあるため遅い
一度別画面に遷移し、戻ってくるとマーカーが描画される
とりあえず今回はここまで
次回の予定
サービスが持っているプロパティ(都市登録)の更新を検知して
マーカー描画処理を呼び出す仕組みを作る
(Subjectとか使えばできるはず)
※関連記事
①Angular環境構築とひな形の生成
②コンポーネントとサービスの追加(登録画面)
③OpenweathermapのAPIを叩く
④Leafletで地図を表示する
⑤サービスが持つプロパティの更新を検知する