Summary
OpenShift 3.x 系を Mac にインストールするには、Red Hat Container Development Kit (CDK) か Minishift で可能でしたが、OpenShift 4.x 系から方法が変わりました。
Code Ready Containers (CRC) を用いて、OpenShift 4.1 を Mac にインストールします。
システム要件
| # | Prerequisites |
|---|---|
| vCPUs | 4 virtual CPUs |
| memory | 8 GB |
| storage space | 35 GB |
動作環境
MacBook Proの情報です。
$ system_profiler SPHardwareDataType
Model Name: MacBook Pro
Model Identifier: MacBookPro14,3
Processor Name: Intel Core i7
Processor Speed: 2.9 GHz
Number of Processors: 1
Total Number of Cores: 4
Memory: 16 GB
以下は、インストール完了後に取得しています。
$ crc version
version: 1.0.0-beta.3-4.1.11+e97bf65

$ oc version
Client Version: v4.2.0
Server Version: 4.1.11
Kubernetes Version: v1.13.4+df9cebc
Code Ready Containers(CRC) のインストール
ダウンロードの前に、Red Hat Developer アカウントを作成する必要があります。
cloud.redhat.com にあるダウンロード先から .tar.xz ファイルをダウンロードします。
ダウンロードの後に、 tar xvf で解凍し、 PATH を通します。
以下の場合、PATHの通っているディレクトリはcrcファイルを移動しています。
$ tar xvf crc-macos-amd64.tar.xz
x crc-macos-1.0.0-beta.3-amd64/
x crc-macos-1.0.0-beta.3-amd64/LICENSE
x crc-macos-1.0.0-beta.3-amd64/doc.pdf
x crc-macos-1.0.0-beta.3-amd64/crc

$ mv crc-macos-1.0.0-beta.3-amd64/crc /usr/local/bin/.
CRCの環境構成
crc setupで環境設定を事前に行います。
~/.crc ディレクトリが作成されます。
$ crc setup
INFO Caching oc binary
INFO Setting up virtualization with HyperKit
Password:
INFO Installing crc-machine-hyperkit
INFO Setting file permissions for /etc/resolver/testing
INFO Setting file permissions for /etc/hosts
INFO Unpacking bundle from the CRC binary

$ ls ~/.crc
bin
crc.json
crc.log
crc_hyperkit_4.1.11.crcbundle
OpenShift 4.1 クラスタの開始
crc start で開始を行いますと、Image pull secret を聞かれます。
$ crc start
INFO Checking if oc binary is cached
INFO Checking if HyperKit is installed
INFO Checking if crc-driver-hyperkit is installed
INFO Checking file permissions for /etc/resolver/testing
INFO Checking file permissions for /etc/hosts
INFO Checking if CRC bundle is cached in '$HOME/.crc'
? Image pull secret [? for help]
先ほどのcloud.redhat.com にあるダウンロード先 下部にある Copy Pull Secret をクリック/コピーし、待っているプロンプトへ添付します。

INFO Loading bundle: crc_hyperkit_4.1.11.crcbundle ...
INFO Extracting bundle: crc_hyperkit_4.1.11.crcbundle ...
INFO Creating VM ...
INFO Verifying validity of the cluster certificates ...
INFO Restarting the host network
INFO Check internal and public dns query ...
INFO Copying kubeconfig file to instance dir ...
INFO Adding user's pull secret and cluster ID ...
INFO Starting OpenShift cluster ... [waiting 3m]
INFO To access the cluster using 'oc', run 'eval $(crc oc-env) && oc login -u kubeadmin -p ************************ https://api.crc.testing:6443'
INFO Access the OpenShift web-console here: https://console-openshift-console.apps-crc.testing
INFO Login to the console with user: kubeadmin, password: ************************
CodeReady Containers instance is running
crc start のコマンド発行から完了まで10分はかからなかったです。
起動確認
oc login を確認します。
クラスタへのアクセスのためのアクションが crc start の標準出力に出ていますのでこれを実行します。
$ 'eval $(crc oc-env) && oc login -u kubeadmin -p ************************ https://api.crc.testing:6443'
The server uses a certificate signed by an unknown authority.
You can bypass the certificate check, but any data you send to the server could be intercepted by others.
Use insecure connections? (y/n): y

Login successful.

You have access to the following projects and can switch between them with 'oc project <projectname>':

  * default
    kube-public
    kube-system
    openshift
    openshift-apiserver
    openshift-apiserver-operator
    openshift-authentication
    openshift-authentication-operator
    openshift-cloud-credential-operator
    openshift-cluster-machine-approver
    openshift-cluster-node-tuning-operator
    openshift-cluster-samples-operator
    openshift-cluster-storage-operator
    openshift-cluster-version
    openshift-config
    openshift-config-managed
    openshift-console
    openshift-console-operator
    openshift-controller-manager
    openshift-controller-manager-operator
    openshift-dns
    openshift-dns-operator
    openshift-etcd
    openshift-image-registry
    openshift-infra
    openshift-ingress
    openshift-ingress-operator
    openshift-kube-apiserver
    openshift-kube-apiserver-operator
    openshift-kube-controller-manager
    openshift-kube-controller-manager-operator
    openshift-kube-scheduler
    openshift-kube-scheduler-operator
    openshift-machine-api
    openshift-machine-config-operator
    openshift-marketplace
    openshift-monitoring
    openshift-multus
    openshift-network-operator
    openshift-node
    openshift-operator-lifecycle-manager
    openshift-operators
    openshift-sdn
    openshift-service-ca
    openshift-service-ca-operator
    openshift-service-catalog-apiserver-operator
    openshift-service-catalog-controller-manager-operator

Using project "default".
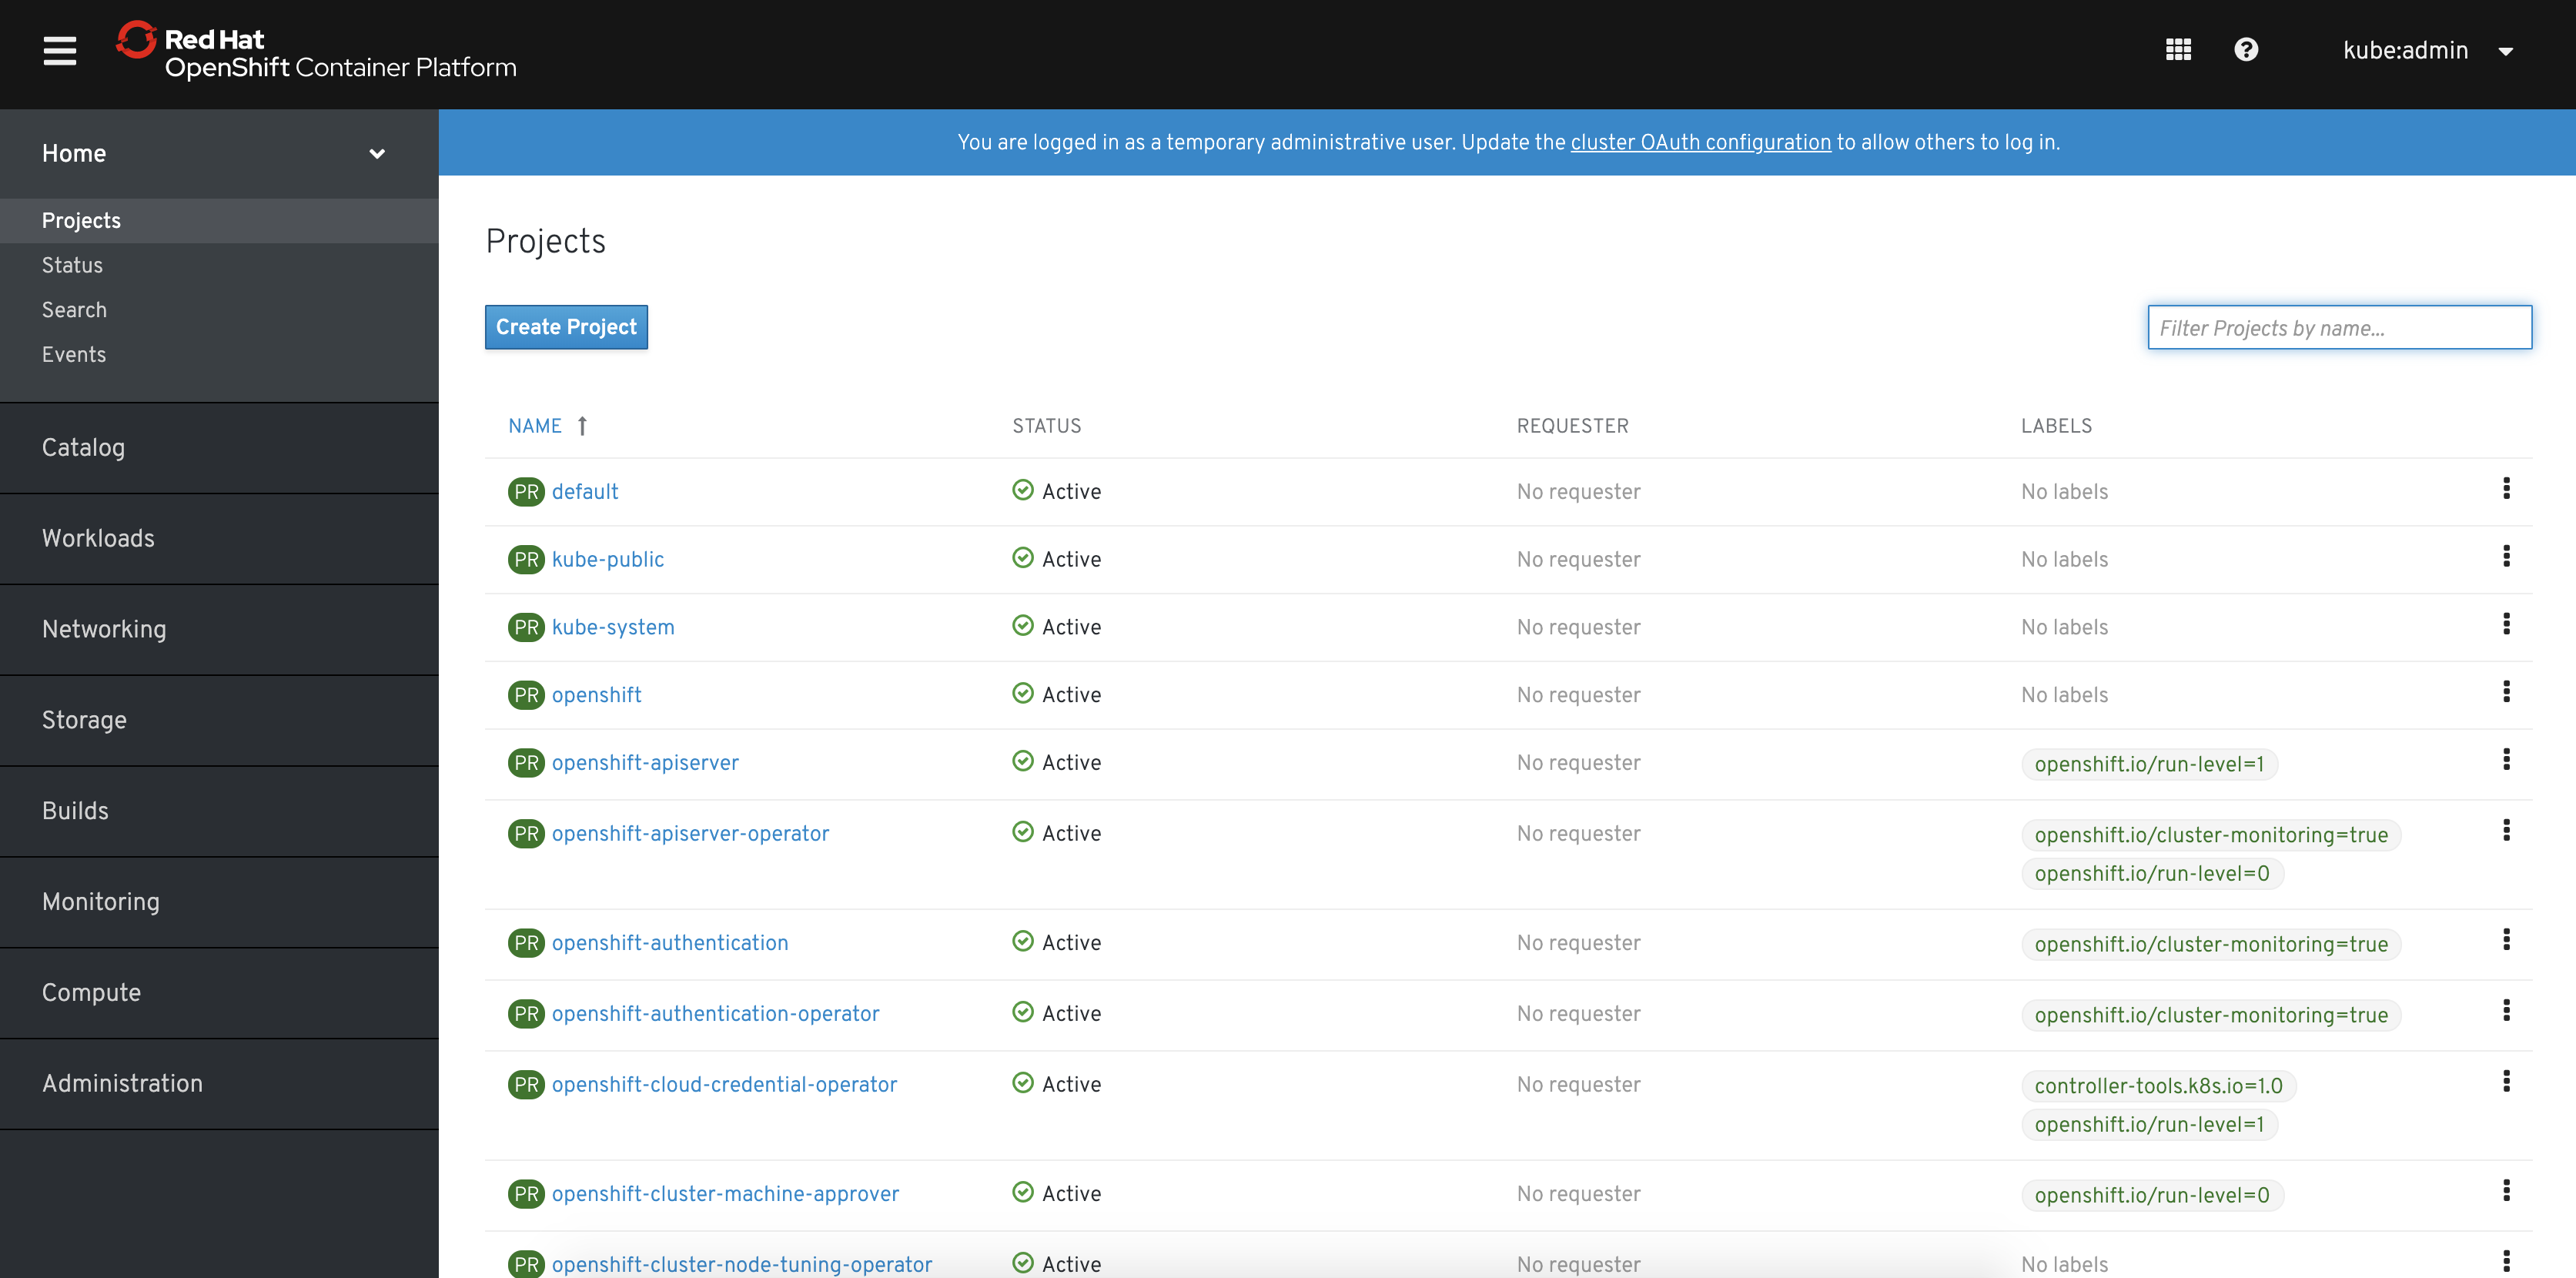
次に、Webコンソールへアクセスしてみます。
Webコンソールへのアクセスのためのアクションが crc start の標準出力に出ていますのでこれを実行します。
https://console-openshift-console.apps-crc.testing
user: kubeadmin, password: ************************
画面が出力されれば確認完了です。
Next
他にもサービスが提供されているようなので、試していきたいですね。
$ oc get route --all-namespaces=true
NAMESPACE                  NAME                HOST/PORT                                                 PATH   SERVICES            PORT    TERMINATION            WILDCARD
openshift-authentication   oauth-openshift     oauth-openshift.apps-crc.testing                                 oauth-openshift     6443    passthrough/Redirect   None
openshift-console          console             console-openshift-console.apps-crc.testing                       console             https   reencrypt/Redirect     None
openshift-console          downloads           downloads-openshift-console.apps-crc.testing                     downloads           http    edge                   None
openshift-image-registry   default-route       default-route-openshift-image-registry.apps-crc.testing          image-registry      <all>   reencrypt              None
openshift-monitoring       alertmanager-main   alertmanager-main-openshift-monitoring.apps-crc.testing          alertmanager-main   web     reencrypt/Redirect     None
openshift-monitoring       grafana             grafana-openshift-monitoring.apps-crc.testing                    grafana             https   reencrypt/Redirect     None
openshift-monitoring       prometheus-k8s      prometheus-k8s-openshift-monitoring.apps-crc.testing             prometheus-k8s      web     reencrypt/Redirect     None
Tips
crc start 時に /etc/hosts に追記しています。
192.168.64.13 api.crc.testing oauth-openshift.apps-crc.testing
CRC で作成される node は RHEL7.7 のようです。
$ oc get nodes
NAME                 STATUS   ROLES           AGE   VERSION
crc-56mmj-master-0   Ready    master,worker   21d   v1.13.4+d81afa6ba
$ oc debug nodes/crc-56mmj-master-0

# cat /etc/redhat-release
Red Hat Enterprise Linux Server release 7.7 (Maipo)
Troubleshooting
あるとき証明書期限切れのエラーが出るようになりました。
ERRO Error occurred: Certs have expired, they were valid till: 23 Sep 19 12:25 +0000
Guideをよくよく読むと、30日で切れるようです。
You are using the latest CodeReady Containers release The generated certificates for the embedded system image bundle expire after 30 days. Using an older system image bundle may result in errors related to expired x509 certificates.
commit log に対応方法が記載されています。
要するに最新の crc に置き換えれば良いので、Code Ready Containers(CRC) のインストールをもう一度行います。
$ crc version
$ crc version
version: 1.0.0-beta.5+f2aa58c
OpenShift version: 4.1.14 (embedded in binary)
バージョンがあがり、上記エラーは解消されました。
参考
https://developers.redhat.com/blog/2019/09/05/red-hat-openshift-4-on-your-laptop-introducing-red-hat-codeready-containers/
https://www.jeffgeerling.com/blog/2019/trying-out-crc-code-ready-containers-run-openshift-4x-locally
Youtubeに動画があります。
https://youtu.be/qogFjV2fJNs
