〇なんでこの記事を書いたか
Androidで流行りのソースを書きたければMVVMだ!ということでサンプルソースを読むと
様々なJetpackのViewModel, LiveData, Data Binding, Room, Dagger2といったライブラリ群が混ざったものばかりで、こんがらがってきました。
そんなわけで、とにかく簡単に分解して忘れないようにまとめてみます。
Javaの人はお手数ですが、Android Studioのソース変換でも行ってください。
〇ViewModelって何?
アクティビティにデータを保持していると、画面を回転させたときにデータが初期化されてしまったり、フラグメントへのデータの受け渡しが面倒だったり、アクティビティやフラグメントのソースが肥大化したりします。
そこで、アクティビティやフラグメントが死んでも、データを保持し続け、データ管理を一元できるViewModelがあると便利というわけです。
〇参考URL
・公式
https://developer.android.com/topic/libraries/architecture/viewmodel.html
・【Android Architecture Components】ViewModel 和訳
https://qiita.com/oya-t/items/9aa80042e6fc10d32d49
・ViewModels : A Simple Example
https://medium.com/androiddevelopers/viewmodels-a-simple-example-ed5ac416317e
〇プログラム
・GitHub
build.gradle[app]
android.arch.lifecycle:extensionsが必要。
dependencies {
    implementation 'android.arch.lifecycle:extensions:1.1.1'
}
activity_main.xml
画面にはテキスト2つとボタンを用意しただけ。
テキストは比較用にアクティビティ保持の整数と、ViewModel保持の整数を表示。
<?xml version="1.0" encoding="utf-8"?>
<android.support.constraint.ConstraintLayout
    xmlns:android="http://schemas.android.com/apk/res/android"
    xmlns:tools="http://schemas.android.com/tools"
    xmlns:app="http://schemas.android.com/apk/res-auto"
    android:layout_width="match_parent"
    android:layout_height="match_parent"
    tools:context=".MainActivity">
    <LinearLayout
        android:orientation="horizontal"
        android:layout_width="wrap_content"
        android:layout_height="wrap_content"
        app:layout_constraintBottom_toBottomOf="parent"
        app:layout_constraintLeft_toLeftOf="parent"
        app:layout_constraintRight_toRightOf="parent"
        app:layout_constraintTop_toTopOf="parent">
        <TextView
            android:id="@+id/text1"
            android:layout_margin="10dp"
            android:textSize="20sp"
            android:layout_width="wrap_content"
            android:layout_height="wrap_content"
            android:text="0"/>
        <TextView
            android:id="@+id/text2"
            android:layout_margin="10dp"
            android:textSize="20sp"
            android:layout_width="wrap_content"
            android:layout_height="wrap_content"
            android:text="0"/>
    </LinearLayout>
    <Button
        android:id="@+id/button"
        android:layout_width="wrap_content"
        android:layout_height="wrap_content"
        android:layout_marginBottom="30dp"
        android:text="COUNT"
        app:layout_constraintBottom_toBottomOf="parent"
        app:layout_constraintLeft_toLeftOf="parent"
        app:layout_constraintRight_toRightOf="parent" />
</android.support.constraint.ConstraintLayout>
CountViewModel.kt
ViewModelを継承したクラスを作成。
この中に定義したものがViewModelとしてデータを持ち続けます。
import android.arch.lifecycle.ViewModel

class CountViewModel: ViewModel() {
    // ViewModelに属するカウンター
    var counterB: Int = 0
}
MainActivity.kt
CountViewModelのインスタンスを生成して、ボタンをクリックしたらアクティビティのカウンターとViewModelのカウンターをプラス1して表示。
import android.arch.lifecycle.ViewModelProviders
import android.support.v7.app.AppCompatActivity
import android.os.Bundle
import android.widget.Button
import android.widget.TextView

class MainActivity : AppCompatActivity() {

    override fun onCreate(savedInstanceState: Bundle?) {
        super.onCreate(savedInstanceState)
        setContentView(R.layout.activity_main)

        // 比較用のアクティビティに属するカウンター
        var counterA = 0

        // インスタンスを作成
        val viewModel: CountViewModel= ViewModelProviders.of(this).get(CountViewModel::class.java)

        val text1 = findViewById(R.id.text1) as TextView
        val text2 = findViewById(R.id.text2) as TextView

        val button = findViewById(R.id.button) as Button
        button.setOnClickListener {

            counterA++
            viewModel.counterB++

            text1.setText(counterA.toString())
            text2.setText(viewModel.counterB.toString())
        }
    }
}
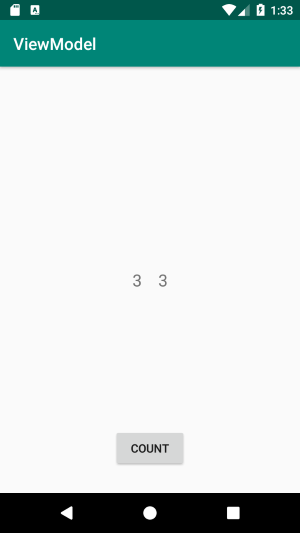
起動
COUNTを3回クリック。
横にする。
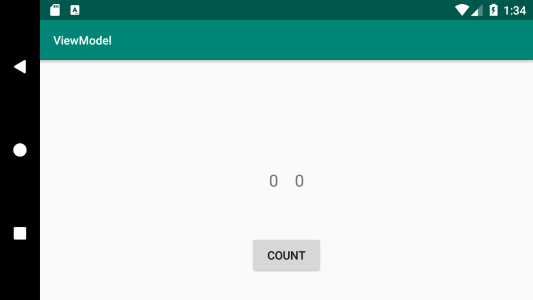
1回クリックすると、ViewModelの値だけデータが引き継がれているのがわかります。
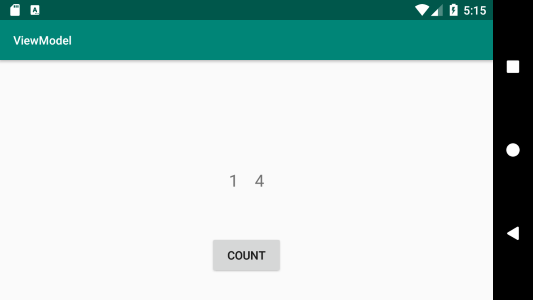
しかし、横した瞬間は0に戻ってしまいますね。
そうならないためにLiveDataがありますので次回に続く。
とにかく簡単にLiveDataまとめ