大まかな流れ
1.GitHubにリモートリポジトリをつくる
2.ローカルリポジトリをつくり、リモートリポジトリにプッシュ
3.HerokuにAppをつくり、GitHubと連携
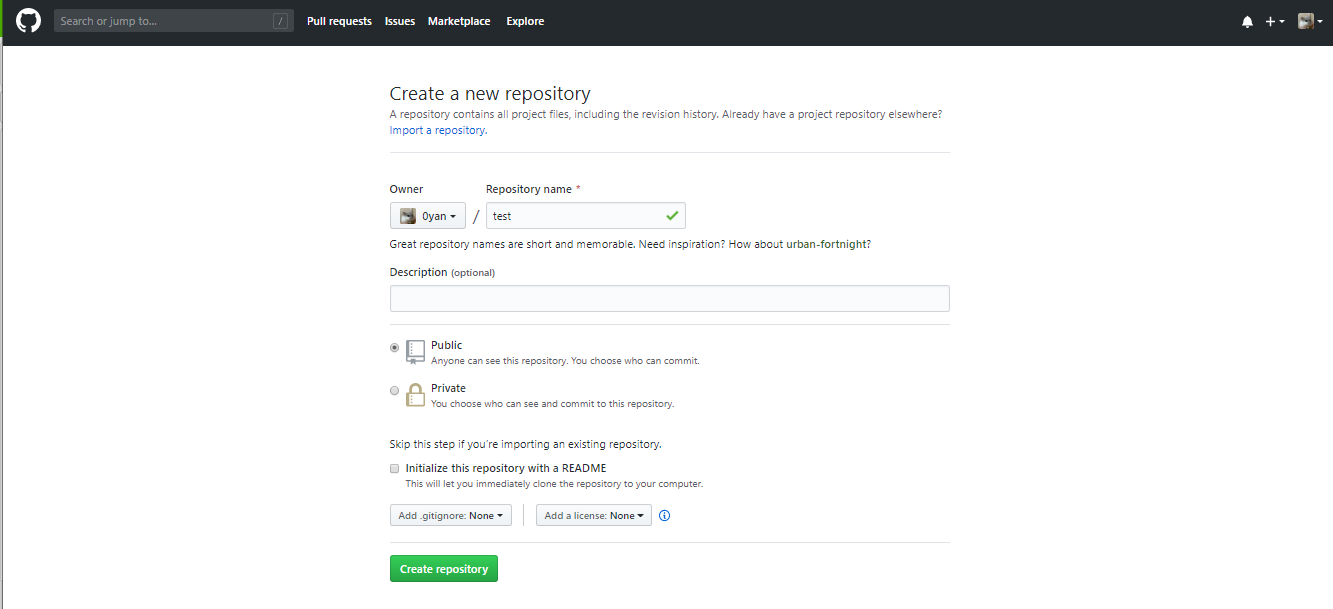
GitHubにリモートリポジトリをつくる
ローカルリポジトリをつくり、リモートリポジトリにプッシュ
ターミナルを開き、ローカルリポジトリをつくるディレクトリに移動し、下記コマンドを打つ。
git init
git commit -m "初回コミット"
git remote add origin https://github.com/{GitHubのユーザー名}/{リモートリポジトリ名}.git
git push -u origin master
やってること
①git init:ローカルリポジトリをつくる
②git add:ディレクトリやファイルをインデックスに登録
③git commit:変更をローカルリポジトリにコミット
④git push:リモートリポジトリにプッシュ
HerokuにAppをつくり、GitHubと連携
①「Create new app」をクリックし、次の画面でApp名を指定して「Create App」をクリック。

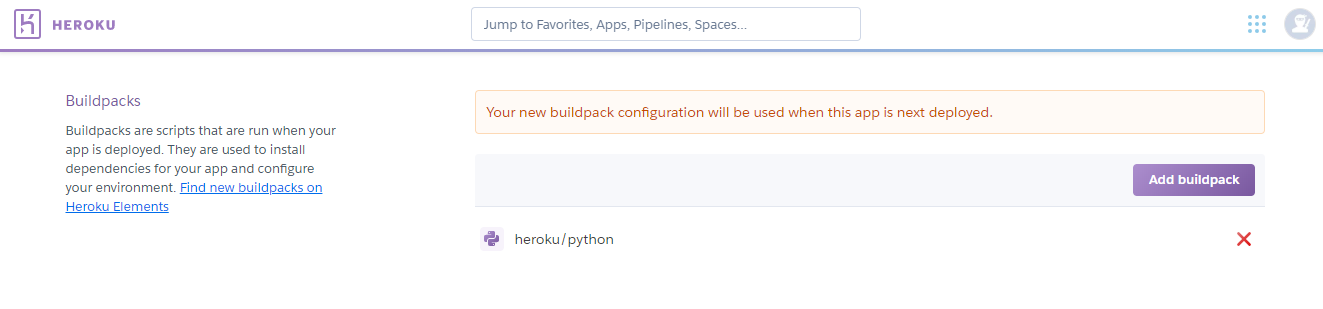
②Setting>Buildpacksで開発言語に合わせたBuild Packを選択。
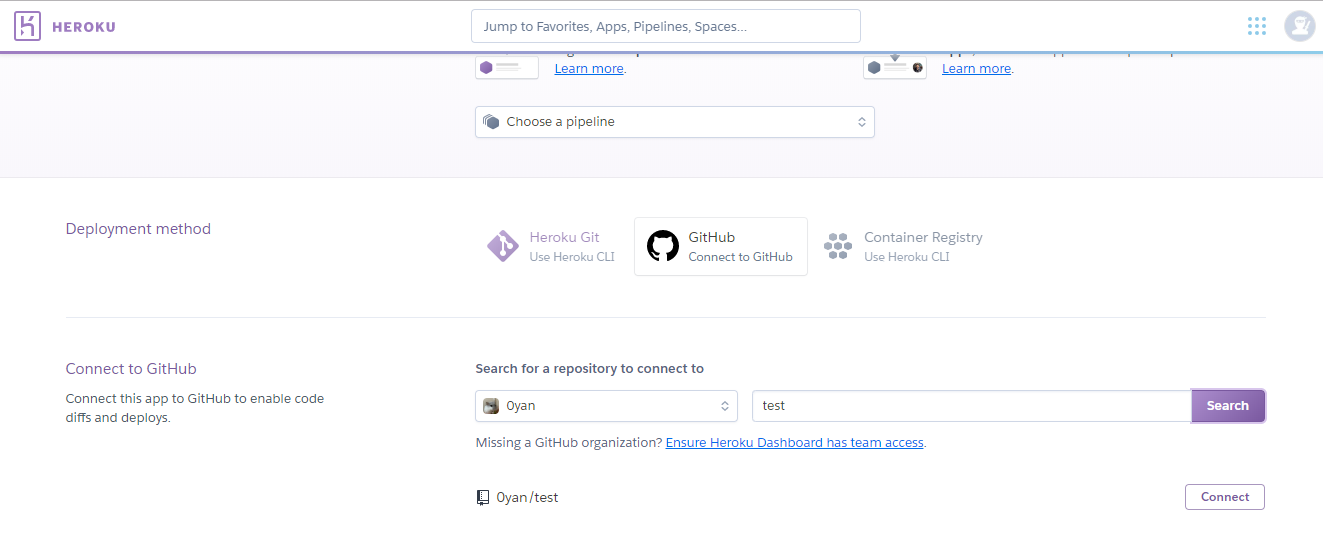
③Deploy>Deployment methodの「GitHub」をクリック(下図赤枠)。

④GitHubでつくったリモートリポジトリを検索し、「Connect」をクリック。
⑤Deploy>Automatic deploysの「Wait for CI to pass before deploy」にチェックを入れ、「Enable Automatic Deploys」をクリック。※
その後、Deploy>Manual deployの「Choose a branch to deploy」がmasterになっていることを確認したうえで「Deploy Branch」をクリック、手動Buildする。
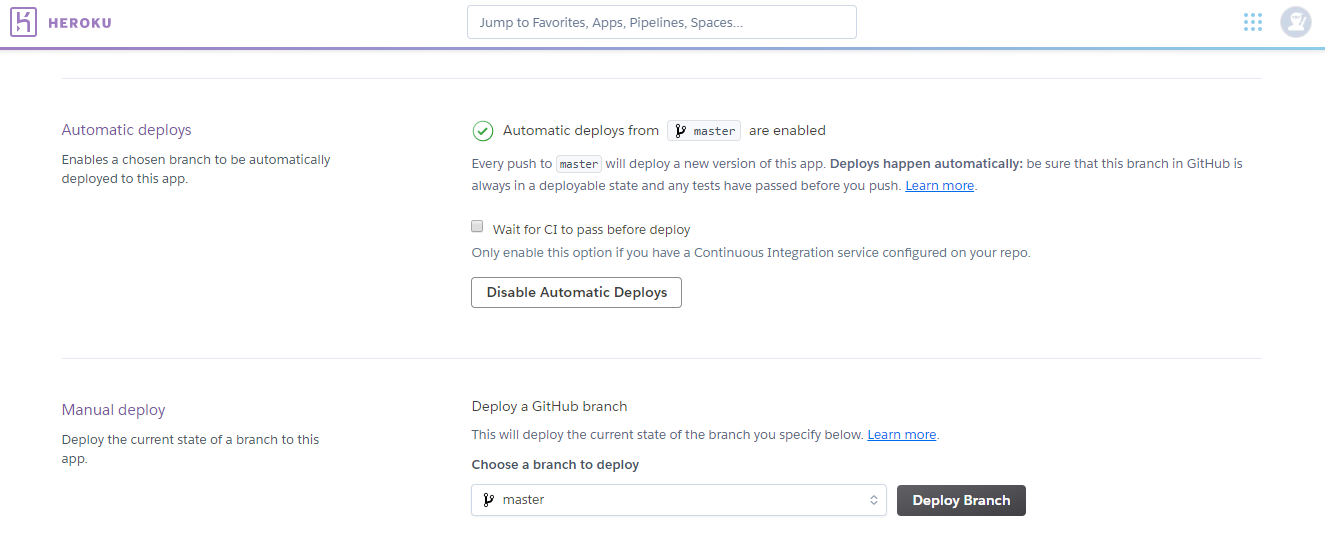
※ チェックを入れるとDeploy前にHeroku CIが動き、自動的にソースコード内で設定されたユニットテストが実行される。
そのテストコードがすべてパスしたら、Deployするフローとなる。