404 Not Foundの代わりに、自作のページ、「移転しました」を表示させる
概要
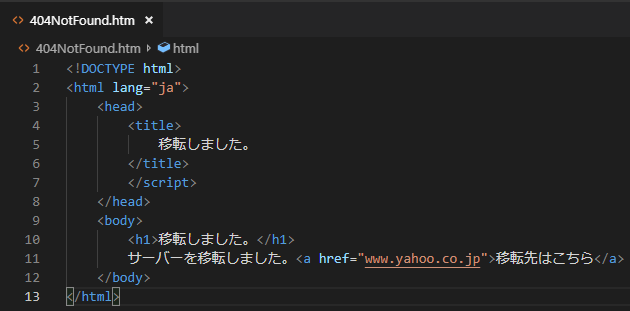
- まずVisual Studio CodeなどでHTML文書を作成します。その文書には「移転しました。移転先はこちら」などと記述する。
- ウェブサーバーからほぼすべてのHTMLなどのコンテンツを削除する。
- アップロードする。
- Apacheのhttpd.confの設定をいじくる。
具体的に申しますと・・・
VisualStudioCodeでHTML文書を作成する。
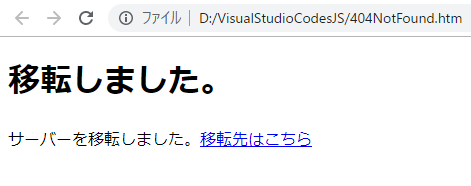
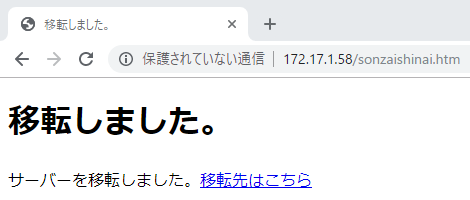
ちなみにウェブブラウザで表示させるとこうなる。
削除する
ほぼすべてのhtmlファイルを削除する。
index.htmも消しちゃいましょう。
sudo rm /var/www/html/*
アップロードする
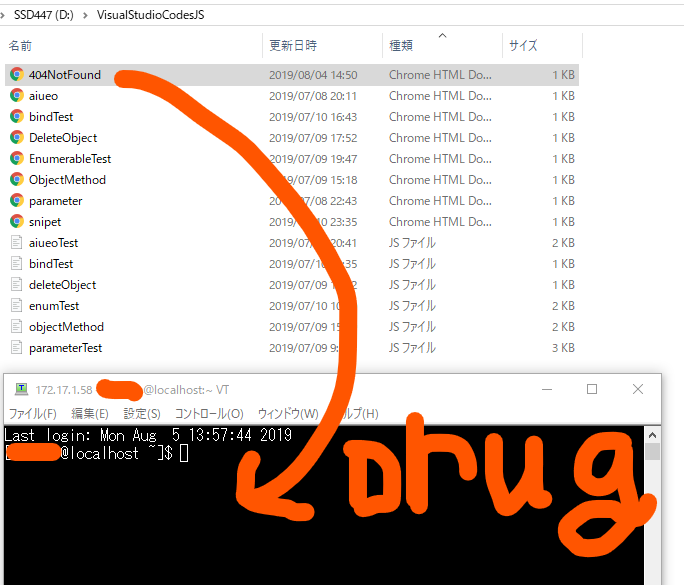
今回はTeraTerm経由でアップロードします。
SCP 送信先に /var/www/html/ と書き込んで、
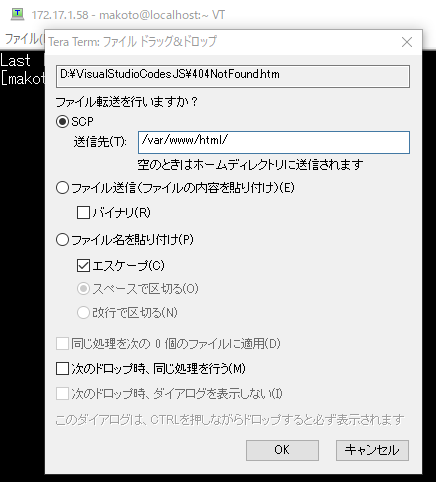
Enterを押してください。
試しに保存先を表示してみた。
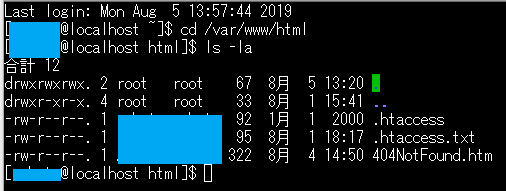
404NotFound.htm以外のhtmlファイルも削除してあります。
httpd.confをいじくる。
sudo nano /etc/httpd/conf/httpd.confと入力する。
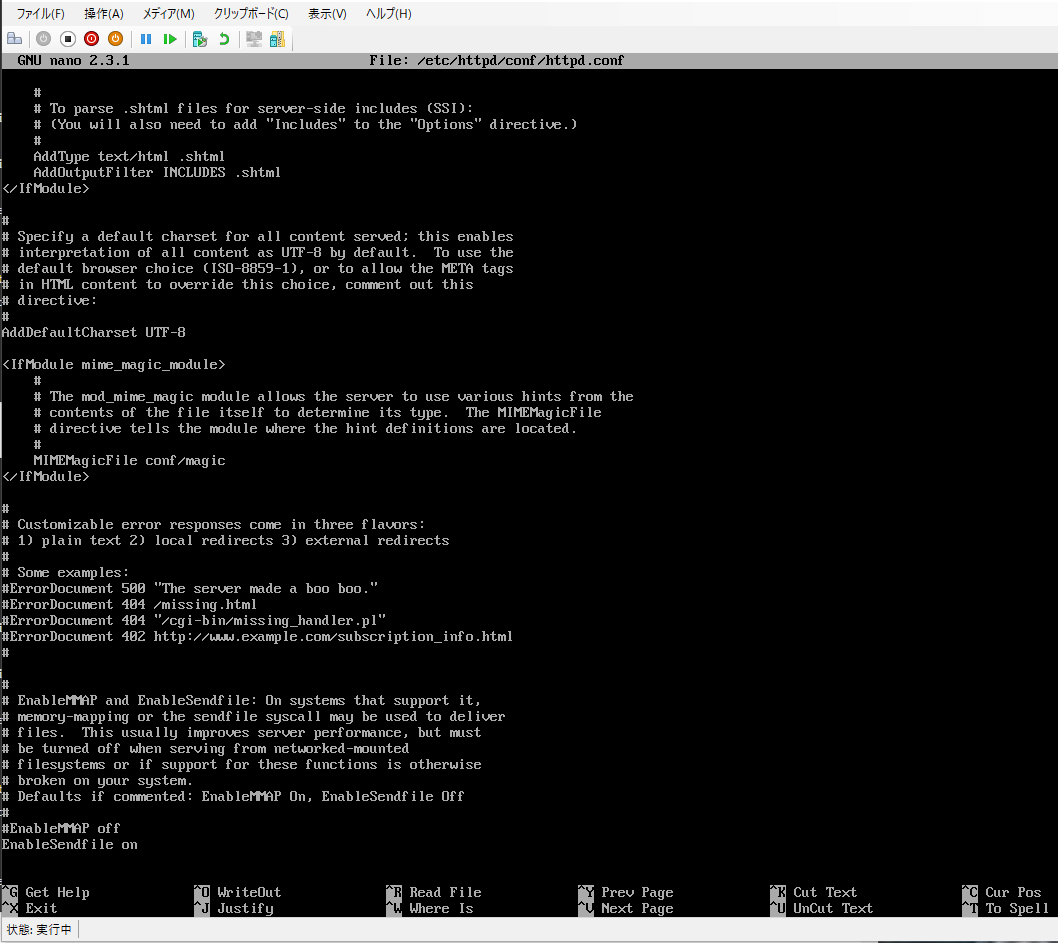
すると↑のように表示されると思う。
この設定ファイルのうち、
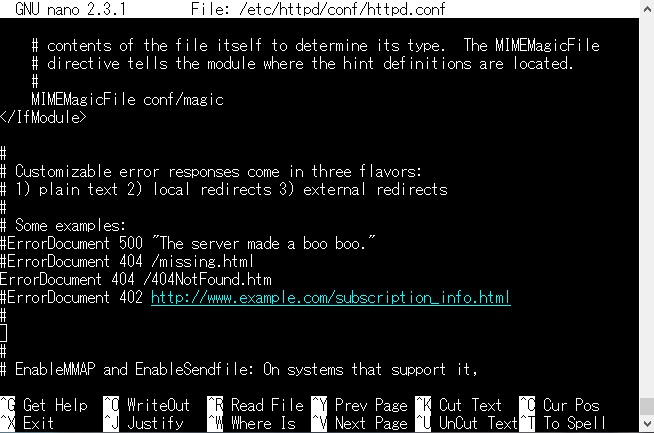
#ErrorDocument 404ではじまる行に注目する。
#を外してください。それから、
ErrorDocument 404 /404NotFound.htmと入力する。
Ctrl + x を入力し、
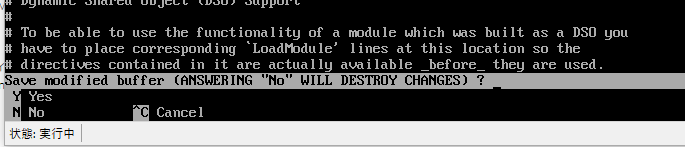
Enterを押して

もう1回Enterを押して下さい。
service httpd restartと入力します。

パスワードを入力して下さい。
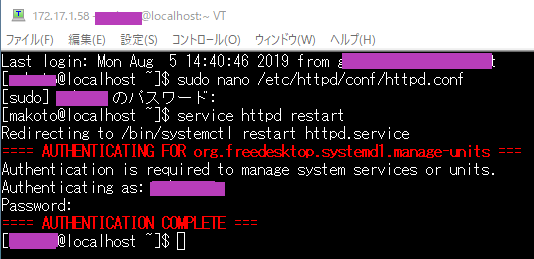
すると、ブラウザで適当にhtmlファイルへのURLを入力しても、
「移転しました。」と表示されるのです。
おしまい。
余談ですが・・・
試していませんが、おそらく403 Forbiddenのページも何らかの「移転しました」っていう移転通知のHTMLファイルに差し替えれば何らかのcgiにアクセスした場合もちゃんと案内できるんじゃないでしょうか。