はじめに
ローカル開発環境にてPHPの勉強中にターミナルに表示される時刻がズレていることに気づき、この時刻のズレを直そうと思いました。初心者のため、何を調べれば良いのかも分からない状態からスタートしています。
念のため、自分の学習日記的なものなので誰かの参考になるような代物ではないです。。。
やったこと
PHPのタイムゾーン確認
他の都市に設定されていたらもちろん時刻はズレるわけで、タイムゾーンを確認しました。
ちなみに「UTC(協定世界時)」とは、世界各地の標準時を決めるときの基準となる「世界標準時」のことで、たとえば日本の標準時(JST)は「UTC」よりも 9時間進んで表示されるとのこと。
<?php
phpinfo();
?>
ソースファイルに上記を記述して、ブラウザ上で実行します。
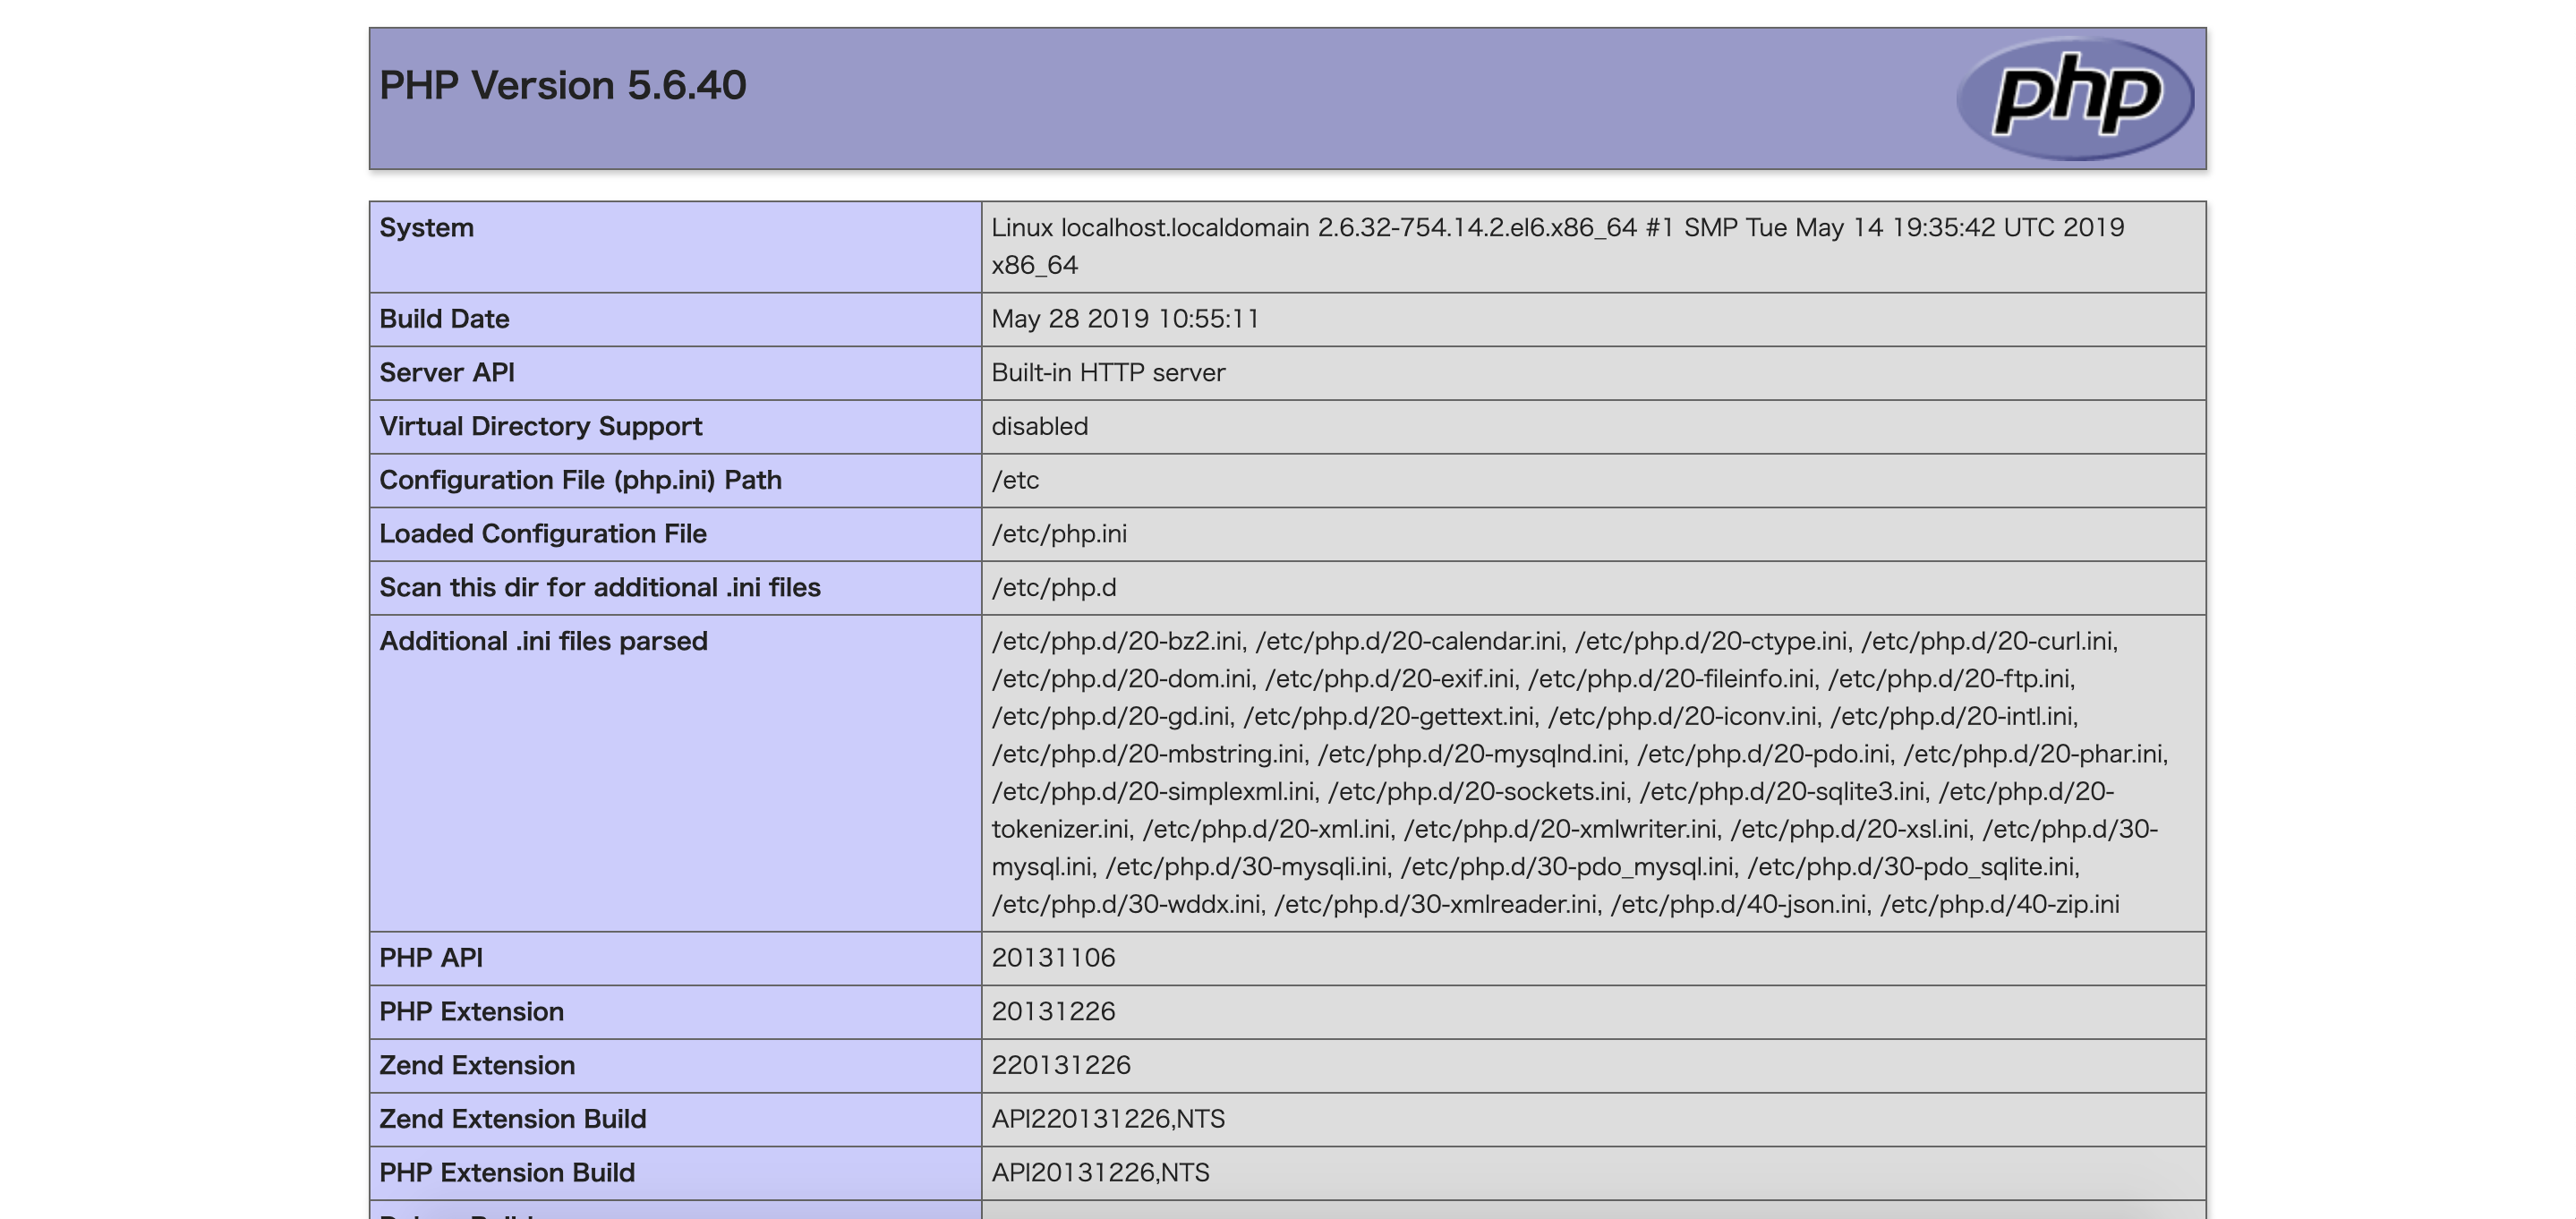
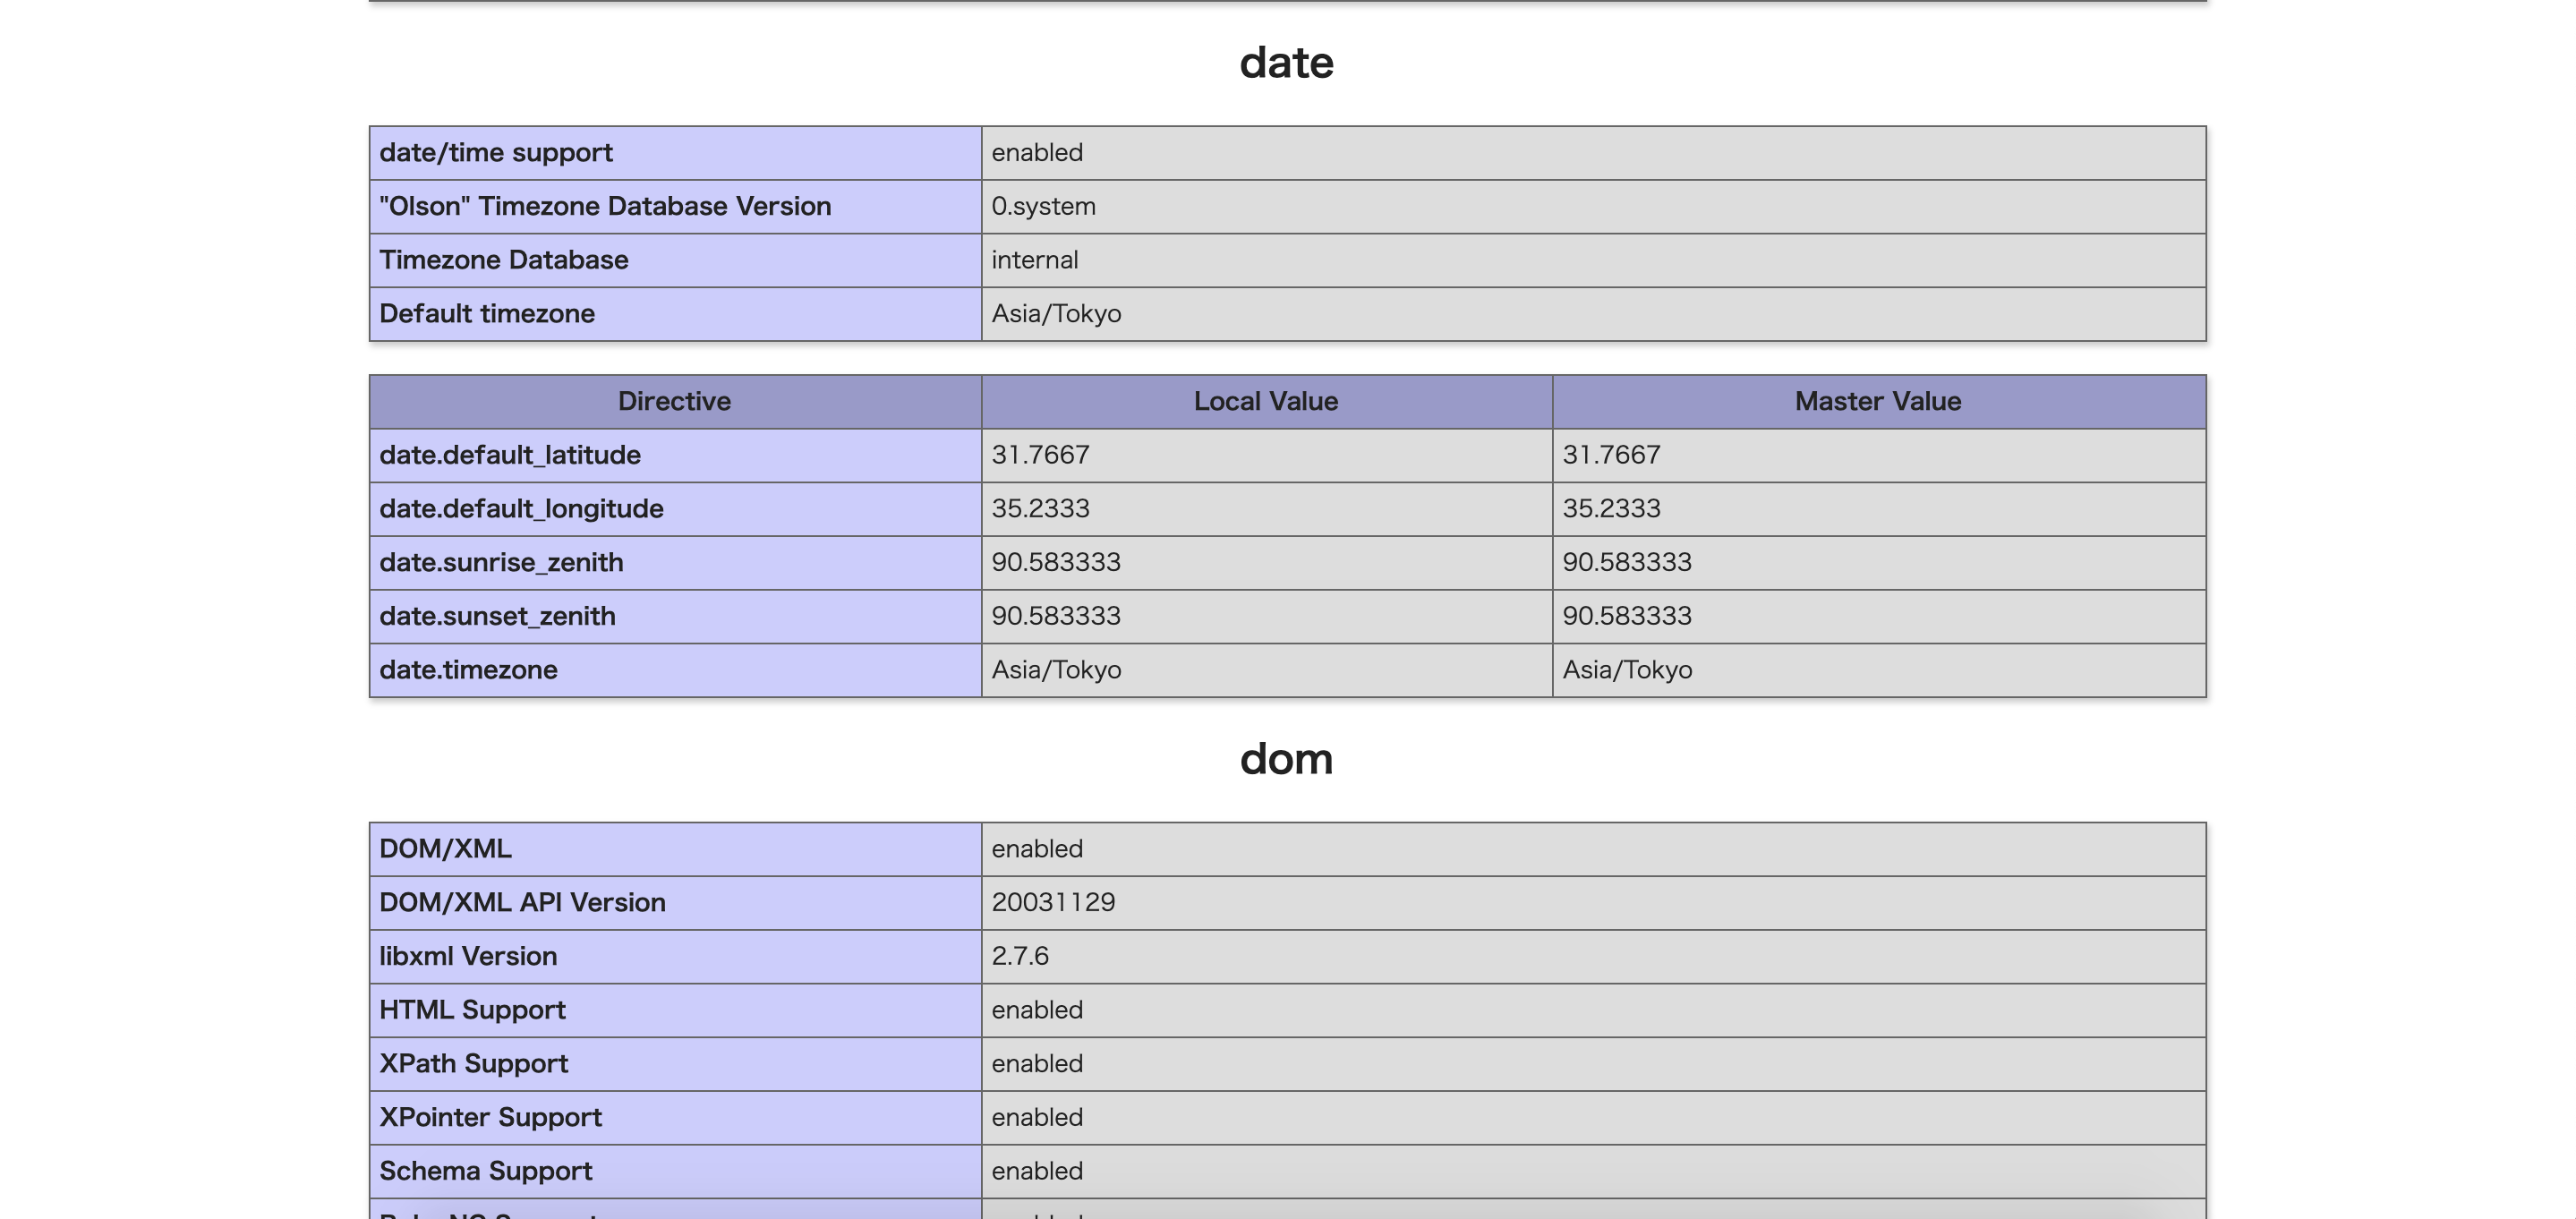
《Default timezone》 が Asia/Tokyo になっているので問題ありませんでした。
ちなみに、上記以外の確認方法もあったりします。あと、もしDefault timezoneが違う場合は php.ini を設定したりとググれば沢山の記事が出てきました。
ホスト側の時刻と同期させる
$ date
2019年 6月21日 金曜日 21時37分12秒 JST
$ vagrant ssh
Last login: Tue Jun 18 17:52:56 2019 from 10.0.2.2
[vagrant@localhost ~]$ date
2019年  6月 18日 火曜日 17:54:08 JST
PC(mac)の時刻は合っているのと、Vagrantにログインしたあとに時刻がズレるのでホスト側の時刻と同期させれば良いのかなと思い調べてやってみる。
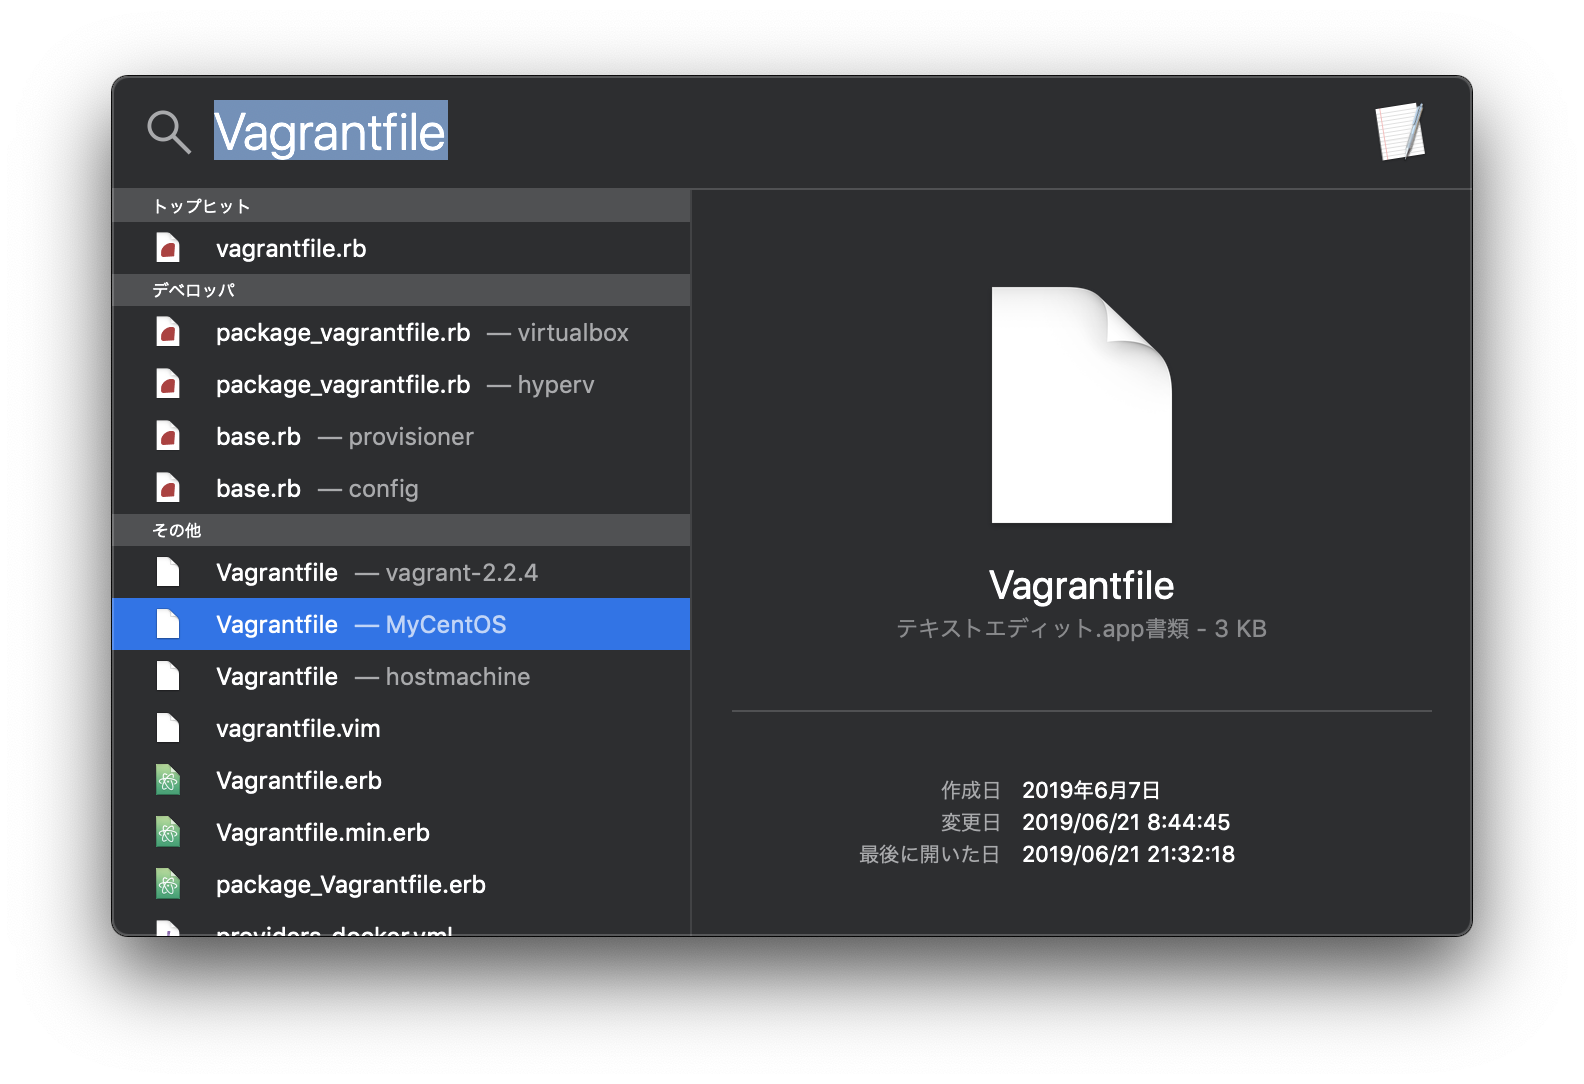
Vagrantfileを検索すると複数出てきて困る。
それっぽいやつを選び、Vagrantfileの最後のendの直前に次のコードを追記して保存。
config.vm.provider :virtualbox do |vb|
  vb.customize ["setextradata", :id, "VBoxInternal/Devices/VMMDev/0/Config/GetHostTimeDisabled", 0]
  end
# -*- mode: ruby -*-
# vi: set ft=ruby :

# All Vagrant configuration is done below. The "2" in Vagrant.configure
# configures the configuration version (we support older styles for
# backwards compatibility). Please don't change it unless you know what
# you're doing.
Vagrant.configure("2") do |config|
  # The most common configuration options are documented and commented below.
  # For a complete reference, please see the online documentation at
  # https://docs.vagrantup.com.

  # Every Vagrant development environment requires a box. You can search for
  # boxes at https://vagrantcloud.com/search.
  config.vm.box = "bento/centos-6.8"

  # Disable automatic box update checking. If you disable this, then
  # boxes will only be checked for updates when the user runs
  # `vagrant box outdated`. This is not recommended.
  # config.vm.box_check_update = false

  # Create a forwarded port mapping which allows access to a specific port
  # within the machine from a port on the host machine. In the example below,
  # accessing "localhost:8080" will access port 80 on the guest machine.
  # NOTE: This will enable public access to the opened port
  # config.vm.network "forwarded_port", guest: 80, host: 8080

  # Create a forwarded port mapping which allows access to a specific port
  # within the machine from a port on the host machine and only allow access
  # via 127.0.0.1 to disable public access
  # config.vm.network "forwarded_port", guest: 80, host: 8080, host_ip: "127.0.0.1"

  # Create a private network, which allows host-only access to the machine
  # using a specific IP.
  config.vm.network "private_network", ip: "192.168.33.10"

  # Create a public network, which generally matched to bridged network.
  # Bridged networks make the machine appear as another physical device on
  # your network.
  # config.vm.network "public_network"

  # Share an additional folder to the guest VM. The first argument is
  # the path on the host to the actual folder. The second argument is
  # the path on the guest to mount the folder. And the optional third
  # argument is a set of non-required options.
  # config.vm.synced_folder "../data", "/vagrant_data"

  # Provider-specific configuration so you can fine-tune various
  # backing providers for Vagrant. These expose provider-specific options.
  # Example for VirtualBox:
  #
  # config.vm.provider "virtualbox" do |vb|
  #   # Display the VirtualBox GUI when booting the machine
  #   vb.gui = true
  #
  #   # Customize the amount of memory on the VM:
  #   vb.memory = "1024"
  # end
  #
  # View the documentation for the provider you are using for more
  # information on available options.

  # Enable provisioning with a shell script. Additional provisioners such as
  # Puppet, Chef, Ansible, Salt, and Docker are also available. Please see the
  # documentation for more information about their specific syntax and use.
  # config.vm.provision "shell", inline: <<-SHELL
  #   apt-get update
  #   apt-get install -y apache2
  # SHELL

  config.vm.provider :virtualbox do |vb|
  vb.customize ["setextradata", :id, "VBoxInternal/Devices/VMMDev/0/Config/GetHostTimeDisabled", 0]
  end
end
結果ダメでした。
編集したVagrantfileが間違えている?
新たに追加する3行の挿入する位置が間違えている?
NTPサーバを参照して時刻を合わせる
ネットワークから現在時刻を提供するサービス(NTP)により時刻合わせをします。
ちなみに、時刻は ハードウェアクロック と ソフトウェアクロック というがあるらしい。
Linux/UNIXサーバは立てたらまず時刻同期の設定を参考に
$ date
2019年 6月21日 金曜日 21時37分12秒 JST
[root@localhost vagrant]# date;clock
2019年  6月 18日 火曜日 18:10:25 JST
2019年06月18日 18時10分26秒  -0.315130 秒
時刻はズレているままです。
# chkconfig
で出てくるリスト内にntpdがあるか確認します。
[root@localhost vagrant]# chkconfig
auditd          0:off   1:off   2:on    3:on    4:on    5:on    6:off
blk-availability    0:off   1:on    2:on    3:on    4:on    5:on    6:off
crond           0:off   1:off   2:on    3:on    4:on    5:on    6:off
htcacheclean    0:off   1:off   2:off   3:off   4:off   5:off   6:off
httpd           0:off   1:off   2:on    3:on    4:on    5:on    6:off
ip6tables       0:off   1:off   2:on    3:on    4:on    5:on    6:off
iptables        0:off   1:off   2:off   3:off   4:off   5:off   6:off
kdump           0:off   1:off   2:off   3:on    4:on    5:on    6:off
lvm2-monitor    0:off   1:on    2:on    3:on    4:on    5:on    6:off
mdmonitor       0:off   1:off   2:on    3:on    4:on    5:on    6:off
mysqld          0:off   1:off   2:off   3:on    4:on    5:on    6:off
netconsole      0:off   1:off   2:off   3:off   4:off   5:off   6:off
netfs           0:off   1:off   2:off   3:on    4:on    5:on    6:off
network         0:off   1:off   2:on    3:on    4:on    5:on    6:off
nfs             0:off   1:off   2:off   3:off   4:off   5:off   6:off
nfs-rdma        0:off   1:off   2:off   3:off   4:off   5:off   6:off
nfslock         0:off   1:off   2:off   3:on    4:on    5:on    6:off
ntpdate         0:off   1:off   2:off   3:off   4:off   5:off   6:off
postfix         0:off   1:off   2:on    3:on    4:on    5:on    6:off
rdisc           0:off   1:off   2:off   3:off   4:off   5:off   6:off
rdma            0:off   1:off   2:off   3:off   4:off   5:off   6:off
restorecond     0:off   1:off   2:off   3:off   4:off   5:off   6:off
rpcbind         0:off   1:off   2:on    3:on    4:on    5:on    6:off
rpcgssd         0:off   1:off   2:off   3:on    4:on    5:on    6:off
rpcsvcgssd      0:off   1:off   2:off   3:off   4:off   5:off   6:off
rsyslog         0:off   1:off   2:on    3:on    4:on    5:on    6:off
saslauthd       0:off   1:off   2:off   3:off   4:off   5:off   6:off
sshd            0:off   1:off   2:on    3:on    4:on    5:on    6:off
udev-post       0:off   1:on    2:on    3:on    4:on    5:on    6:off
vboxadd         0:off   1:off   2:on    3:on    4:on    5:on    6:off
vboxadd-service 0:off   1:off   2:on    3:on    4:on    5:on    6:off
vboxadd-x11     0:off   1:off   2:off   3:on    4:off   5:on    6:off
無かったので、
# yum install ntp
でインストール(Redhat系)します。
(あればインストール済みなので省略)
# chkconfig
でもう一度確認。
ntpd 0:off 1:off 2:off 3:off 4:off 5:off 6:off
全部offになっているので
[root@localhost vagrant]# chkconfig ntpd on
で自動起動を設定
[root@localhost vagrant]# service ntpd restart
ntpd を停止中:                                             [失敗]
ntpd を起動中:                                             [  OK  ]
でntpdを再起動
[root@localhost vagrant]# ntpq -p
で同期状況を確認
[root@localhost vagrant]# ntpq -p
     remote           refid      st t when poll reach   delay   offset  jitter
==============================================================================
+y.ns.gin.ntt.ne 249.224.99.213   2 u   16   64    1   19.630    1.750   3.933
*jptyo5-ntp-004. .SHM.            1 u   15   64    1   17.545   -0.088   4.329
+ntp3.jst.mfeed. 133.243.236.17   2 u   14   64    1   29.366   -1.279   4.191
+kuroa.me        35.73.197.144    2 u   46   64    1   23.841   -0.510   4.544
各サーバの前に*とか+がつくと同期完了
(*、+がつかない時は少し待ってから再度 # ntpq -p で確認)
[root@localhost vagrant]# date;clock
2019年  6月 25日 火曜日 05:57:39 JST
2019年06月18日 18時35分17秒  -0.763819 秒
システムクロックの時刻は直りました。
ハードウェアクロックの時刻はまだダメです。
Linuxサーバの時刻設定手順とエラー(the NTP socket is in use, exiting)を参考に
$ sudo hwclock -w
でハードウェアクロックの時刻をシステムクロックの時刻で合わせる
[root@localhost vagrant]# date;clock
2019年  6月 25日 火曜日 17:48:33 JST
2019年06月25日 17時48分34秒  -0.768130 秒
これで時刻のズレを修正出来ました。
終わりに
/etc/ntp.conf の編集もした方が良いのかな?とも思いましたが、とりあえず時刻は修正出来たのでまた今度にしたいと思います。