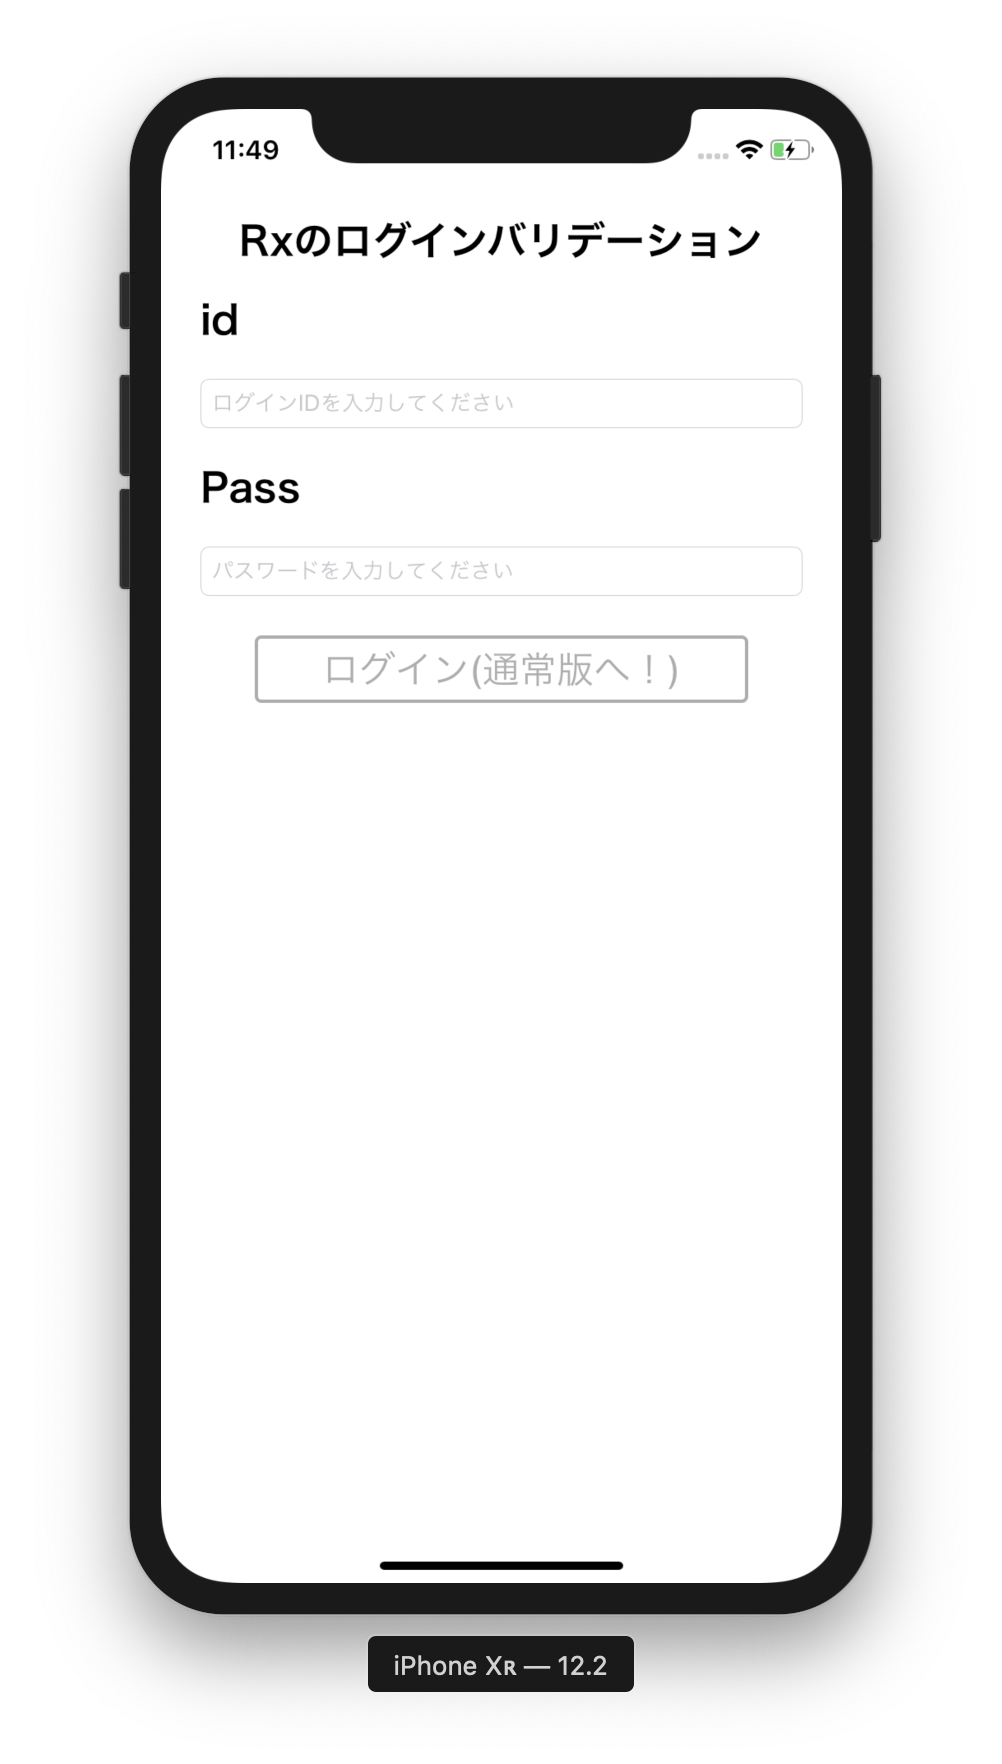
本日作るもの
よくありそうなログイン画面でIDとパスワードを入れるとログインボタンが活性化し
画面遷移するアプリRx(あり/なし)で作ろうと思います!
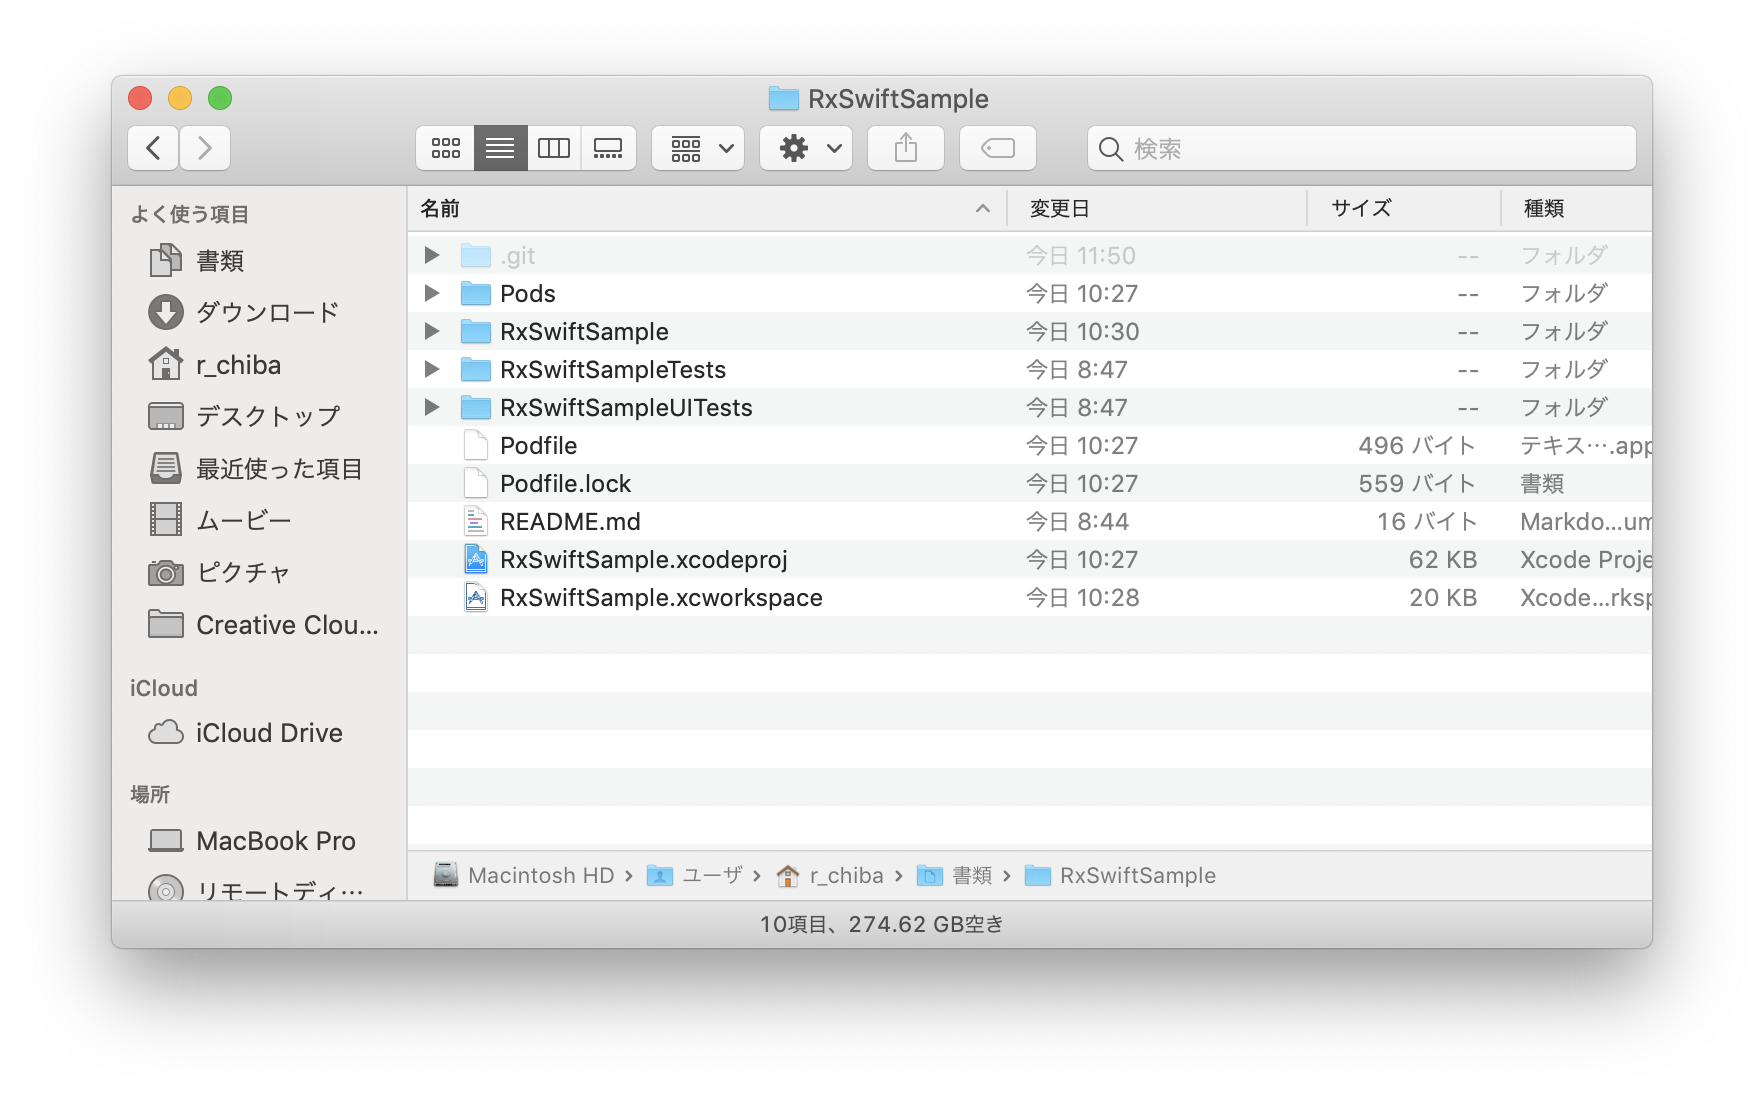
ますはリポジトリをcloneしてくる
次にプロジェクトを開く
FinderからRxSwiftSample.xcworkspace(白いアイコンの方) をダブルクリックして開いてください!
まずはビルド!
うまくアプリが起動しない人は教えてください!!!!
画面遷移ができるかを確認
以下を変更して再実行!
ViewController.swift
private func initView() {
        // 初期表示は非活性
        loginButton.isEnabled = false //ここをコメントアウトしてください!
RxSwiftViewController.swift
private func initView() {
        // 初期表示は非活性
        loginButton.isEnabled = false //ここをコメントアウトしてください!
まずは通常パターンのチェック関数を記載
ViewControllerに以下の関数を追加
ViewController.swift
//以下の関数をinitView()の下に追加
// TextFieldの文字数によってログインボタンの状態を変化
private func changeLoginEnabled() {
    if idTextField.text!.count > 0 && passwordTextField.text!.count > 0 {
        print("ボタン活性!")
        // ボタンの活性状態
        loginButton.isEnabled = true
        // ボタンのタイトル色
        loginButton.setTitleColor(UIColor.white,for: UIControl.State.normal) // タイトルの色
        // ボタンのボーダー色
        loginButton.layer.borderColor = UIColor.clear.cgColor
        // ボタンの背景色
        loginButton.layer.backgroundColor = enableBtnColor.cgColor
        // どのくらい角を丸くするか
        loginButton.layer.cornerRadius = 4.0
        // ボーダーのの線の太さ
        loginButton.layer.borderWidth = 2.0
    } else {
        print("ボタン非活性!")
        // ボタンの活性状態
        loginButton.isEnabled = false
        // ボタンのタイトル色
        loginButton.setTitleColor(disenableBtnColor,for: UIControl.State.disabled) // タイトルの色
        // ボタンのボーダー色
        loginButton.layer.borderColor = disenableBtnColor.cgColor
        // ボタンの背景色
        loginButton.layer.backgroundColor = UIColor.clear.cgColor
        // どのくらい角を丸くするか
        loginButton.layer.cornerRadius = 4.0
        // ボーダーのの線の太さ
        loginButton.layer.borderWidth = 2.0
    }
}
次にinitViewの中でloginButtonの記述を消去してchangeLoginEnabledを呼び出せば
ボタンが活性状態となり起動時に画面遷移ができるようになります
ViewController.swift
private func initView() {
    changeLoginEnabled()
}
TextFieldの変更検知関数の作成
以下の内容をViewControllerに追加
ViewController.swift
// textFieldの文字数を検知
@objc func checkTextCount(textField: UITextField) {
    print(textField.text!.count)
    // チェック関数の呼び出し
    changeLoginEnabled()
}
initView内でid,passにTextFieldの変更を検知する関数を登録
ViewController.swift
private func initView() {
    changeLoginEnabled()
    // idの入力チェック関数を登録
    idTextField.addTarget(self, action: #selector(ViewController.checkTextCount), for: .editingChanged)

    // passの入力チェック関数を登録
    passwordTextField.addTarget(self, action: #selector(ViewController.checkTextCount), for: .editingChanged)
}
ここまでで入力時のバリデーションは完了となりますが
最後に画面が再描画された際にカウントとtextFieldの初期化を行えば通常画面の入力バリデーションは完成です!
viewDidLoad()の下に以下を追加
ViewController.swift
override func viewWillAppear(_ animated: Bool) {
    // 状態を初期化
    idTextField.text = ""
    passwordTextField.text = ""
    changeLoginEnabled()
}
ViewController.swift全体!
ViewController.swift
import UIKit

class ViewController: UIViewController {

    @IBOutlet weak var loginButton: UIButton!
    @IBOutlet weak var idTextField: UITextField!
    @IBOutlet weak var passwordTextField: UITextField!

    let enableBtnColor: UIColor = UIColor(red: 96/255, green: 163/255, blue: 255/255, alpha: 1.0)
    let disenableBtnColor: UIColor = UIColor(red: 173/255, green: 173/255, blue: 173/255, alpha: 1.0)

    override func viewDidLoad() {
        super.viewDidLoad()
        // Do any additional setup after loading the view.
        initView()
    }

    override func viewWillAppear(_ animated: Bool) {
        // 状態を初期化
        idTextField.text = ""
        passwordTextField.text = ""
        changeLoginEnabled()
    }

    private func initView() {
        changeLoginEnabled()

        // idの入力制限を登録
        idTextField.addTarget(self, action: #selector(ViewController.checkTextCount), for: .editingChanged)

        //passの入力制限を登録
        passwordTextField.addTarget(self, action: #selector(ViewController.checkTextCount), for: .editingChanged)
    }

    // TextFieldの文字数によってログインボタンの状態を変化
    private func changeLoginEnabled() {
        if idTextField.text!.count > 0 && passwordTextField.text!.count > 0 {
            print("ボタン活性!")
            // ボタンの活性状態
            loginButton.isEnabled = true
            // ボタンのタイトル色
            loginButton.setTitleColor(UIColor.white,for: UIControl.State.normal)
            // ボタンのボーダー色
            loginButton.layer.borderColor = UIColor.clear.cgColor
            // ボタンの背景色
            loginButton.layer.backgroundColor = enableBtnColor.cgColor
            // どのくらい角を丸くするか
            loginButton.layer.cornerRadius = 4.0
            // ボーダーのの線の太さ
            loginButton.layer.borderWidth = 2.0
        } else {
            print("ボタン非活性!")
            // ボタンの活性状態
            loginButton.isEnabled = false
            // ボタンのタイトル色
            loginButton.setTitleColor(disenableBtnColor,for: UIControl.State.disabled)
            // ボタンのボーダー色
            loginButton.layer.borderColor = disenableBtnColor.cgColor
            // ボタンの背景色
            loginButton.layer.backgroundColor = UIColor.clear.cgColor
            // どのくらい角を丸くするか
            loginButton.layer.cornerRadius = 4.0
            // ボーダーのの線の太さ
            loginButton.layer.borderWidth = 2.0
        }
    }

    // textFieldの文字数を検知
    @objc func checkTextCount(textField: UITextField) {
        print(textField.text!.count)
        // チェック関数の呼び出し
        changeLoginEnabled()
    }

    // 画面遷移用関数
    @IBAction func moveNextView(_ sender: Any) {
        // RxSwiftViewControllerに繊維
        let storyboard: UIStoryboard = UIStoryboard(name: "RxSwift", bundle: nil)
        let viewController: UIViewController = storyboard.instantiateViewController(withIdentifier: "RxSwift")
        viewController.modalTransitionStyle = UIModalTransitionStyle.flipHorizontal
        self.present(viewController, animated: true, completion: nil)
    }

}
Rx側の実装(ここからはRxSwiftViewController.swiftを触ります)
まずはRxを使用するためのImport文を追加
RxSwiftViewController.swift
import RxCocoa
import RxSwift
次に終了を通達する変数を追加
RxSwiftViewController.swift
// passTextFieldの下辺りに追加
private let disposeBag = DisposeBag()
次にViewControllerと同様にチェック関数を追加
RxSwiftViewController.swift
// TextFieldの文字数によってログインボタンの状態を変化
private func changeLoginEnabled() {
    if idTextField.text!.count > 0 && passTextField.text!.count > 0 {
        print("ボタン活性!")
        // ボタンの活性状態
        loginButton.isEnabled = true
        // ボタンのタイトル色
        loginButton.setTitleColor(UIColor.white,for: UIControl.State.normal)
        // ボタンのボーダー色
        loginButton.layer.borderColor = UIColor.clear.cgColor
        // ボタンの背景色
        loginButton.layer.backgroundColor = enableBtnColor.cgColor
        // どのくらい角を丸くするか
        loginButton.layer.cornerRadius = 4.0
        // ボーダーのの線の太さ
        loginButton.layer.borderWidth = 2.0
    } else {
        print("ボタン非活性!")
        // ボタンの活性状態
        loginButton.isEnabled = false
        // ボタンのタイトル色
        loginButton.setTitleColor(disenableBtnColor,for: UIControl.State.disabled)
        // ボタンのボーダー色
        loginButton.layer.borderColor = disenableBtnColor.cgColor
        // ボタンの背景色
        loginButton.layer.backgroundColor = UIColor.clear.cgColor
        // どのくらい角を丸くするか
        loginButton.layer.cornerRadius = 4.0
        // ボーダーのの線の太さ
        loginButton.layer.borderWidth = 2.0
    }
}
initViewの内容もViewControllerと同様に関数呼び出しのみになります
RxSwiftViewController.swift
private func initView() {
    changeLoginEnabled()
}
Textフィールド監視用のメゾットを追加
RxSwiftViewController.swift
// テキストフィールドの変更を監視
func validTxtField(textField: UITextField) {
    // textの変更を検知する
    textField.rx.text.subscribe(onNext: { _ in
        print(textField.text!.count)

        // チェック関数の呼び出し
        self.changeLoginEnabled()
    }).disposed(by: disposeBag)
}
次にinitView内で監視するTextFieldを登録します
RxSwiftViewController.swift
private func initView() {
    changeLoginEnabled()

    // idTextFieldを監視対象に追加
    validTxtField(textField: idTextField)

    // passTextFieldを監視対象に追加
    validTxtField(textField: passTextField)
}
最後に画面を表示されたタイミングでtextFieldを更新するように実装
RxSwiftViewController.swift
override func viewWillAppear(_ animated: Bool) {
    // 状態を初期化
    idTextField.text = ""
    passTextField.text = ""
    changeLoginEnabled()
}
Rx側全体像
RxSwiftViewController.swift
import UIKit
import RxCocoa
import RxSwift

class RxSwiftViewController: UIViewController {

    @IBOutlet weak var loginButton: UIButton!
    @IBOutlet weak var idTextField: UITextField!
    @IBOutlet weak var passTextField: UITextField!

    private let disposeBag = DisposeBag()

    let enableBtnColor: UIColor = UIColor(red: 96/255, green: 163/255, blue: 255/255, alpha: 1.0)
    let disenableBtnColor: UIColor = UIColor(red: 173/255, green: 173/255, blue: 173/255, alpha: 1.0)

    override func viewDidLoad() {
        super.viewDidLoad()
        // Do any additional setup after loading the view.
        initView()
    }

    private func initView() {
        changeLoginEnabled()

        // idTextFieldを監視対象に追加
        validTxtField(textField: idTextField)

        // passTextFieldを監視対象に追加
        validTxtField(textField: passTextField)
    }

    override func viewWillAppear(_ animated: Bool) {
        // 状態を初期化
        idTextField.text = ""
        passTextField.text = ""
        changeLoginEnabled()
    }

    // TextFieldの文字数によってログインボタンの状態を変化
    private func changeLoginEnabled() {
        if idTextField.text!.count > 0 && passTextField.text!.count > 0 {
            print("ボタン活性!")
            // ボタンの活性状態
            loginButton.isEnabled = true
            // ボタンのタイトル色
            loginButton.setTitleColor(UIColor.white,for: UIControl.State.normal)
            // ボタンのボーダー色
            loginButton.layer.borderColor = UIColor.clear.cgColor
            // ボタンの背景色
            loginButton.layer.backgroundColor = enableBtnColor.cgColor
            // どのくらい角を丸くするか
            loginButton.layer.cornerRadius = 4.0
            // ボーダーのの線の太さ
            loginButton.layer.borderWidth = 2.0
        } else {
            print("ボタン非活性!")
            // ボタンの活性状態
            loginButton.isEnabled = false
            // ボタンのタイトル色
            loginButton.setTitleColor(disenableBtnColor,for: UIControl.State.disabled)
            // ボタンのボーダー色
            loginButton.layer.borderColor = disenableBtnColor.cgColor
            // ボタンの背景色
            loginButton.layer.backgroundColor = UIColor.clear.cgColor
            // どのくらい角を丸くするか
            loginButton.layer.cornerRadius = 4.0
            // ボーダーのの線の太さ
            loginButton.layer.borderWidth = 2.0
        }
    }

    // テキストフィールドの変更を監視
    func validTxtField(textField: UITextField) {
        // textの変更を検知する
        textField.rx.text.subscribe(onNext: { _ in
            print(textField.text!.count)

            // チェック関数の呼び出し
            self.changeLoginEnabled()
        }).disposed(by: disposeBag)
    }

    // 画面遷移用関数
    @IBAction func moveBeforeView(_ sender: Any) {
        // ViewControllerに繊維
        self.dismiss(animated: true, completion: nil)
    }
}
終わり
今回のハンズオンでは本当に触りだけになりますがRxに触れてみました
Rxは覚えることが多いですがすべてを覚える必要はなく、必要なところを覚えていけばいいので
是非他の使い方を調べて実装等をしてみてください〜🐦