はじめに
お初投稿なのでお手柔らかに・・・
今回は、Xibを使ってcellを作成し、簡単な出力をしてみたいと思います。(CollectionViewを使います。)
プロジェクト作成後からの説明となっているので、コードだけ見たい方は最後のほうへ。。。
今回のゴール(イメージ)
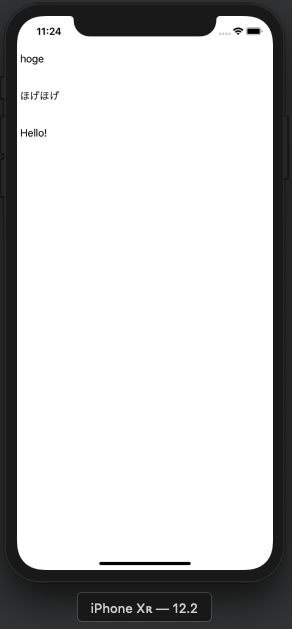
今回作成するイメージは、こんな感じです。
まぁ、StoryBoardからcell作成するのとXibでcell作成時の出力は一緒ですね。
それでは実際にやっていきましょう。
実際にやってみよう
Xibファイルの作成
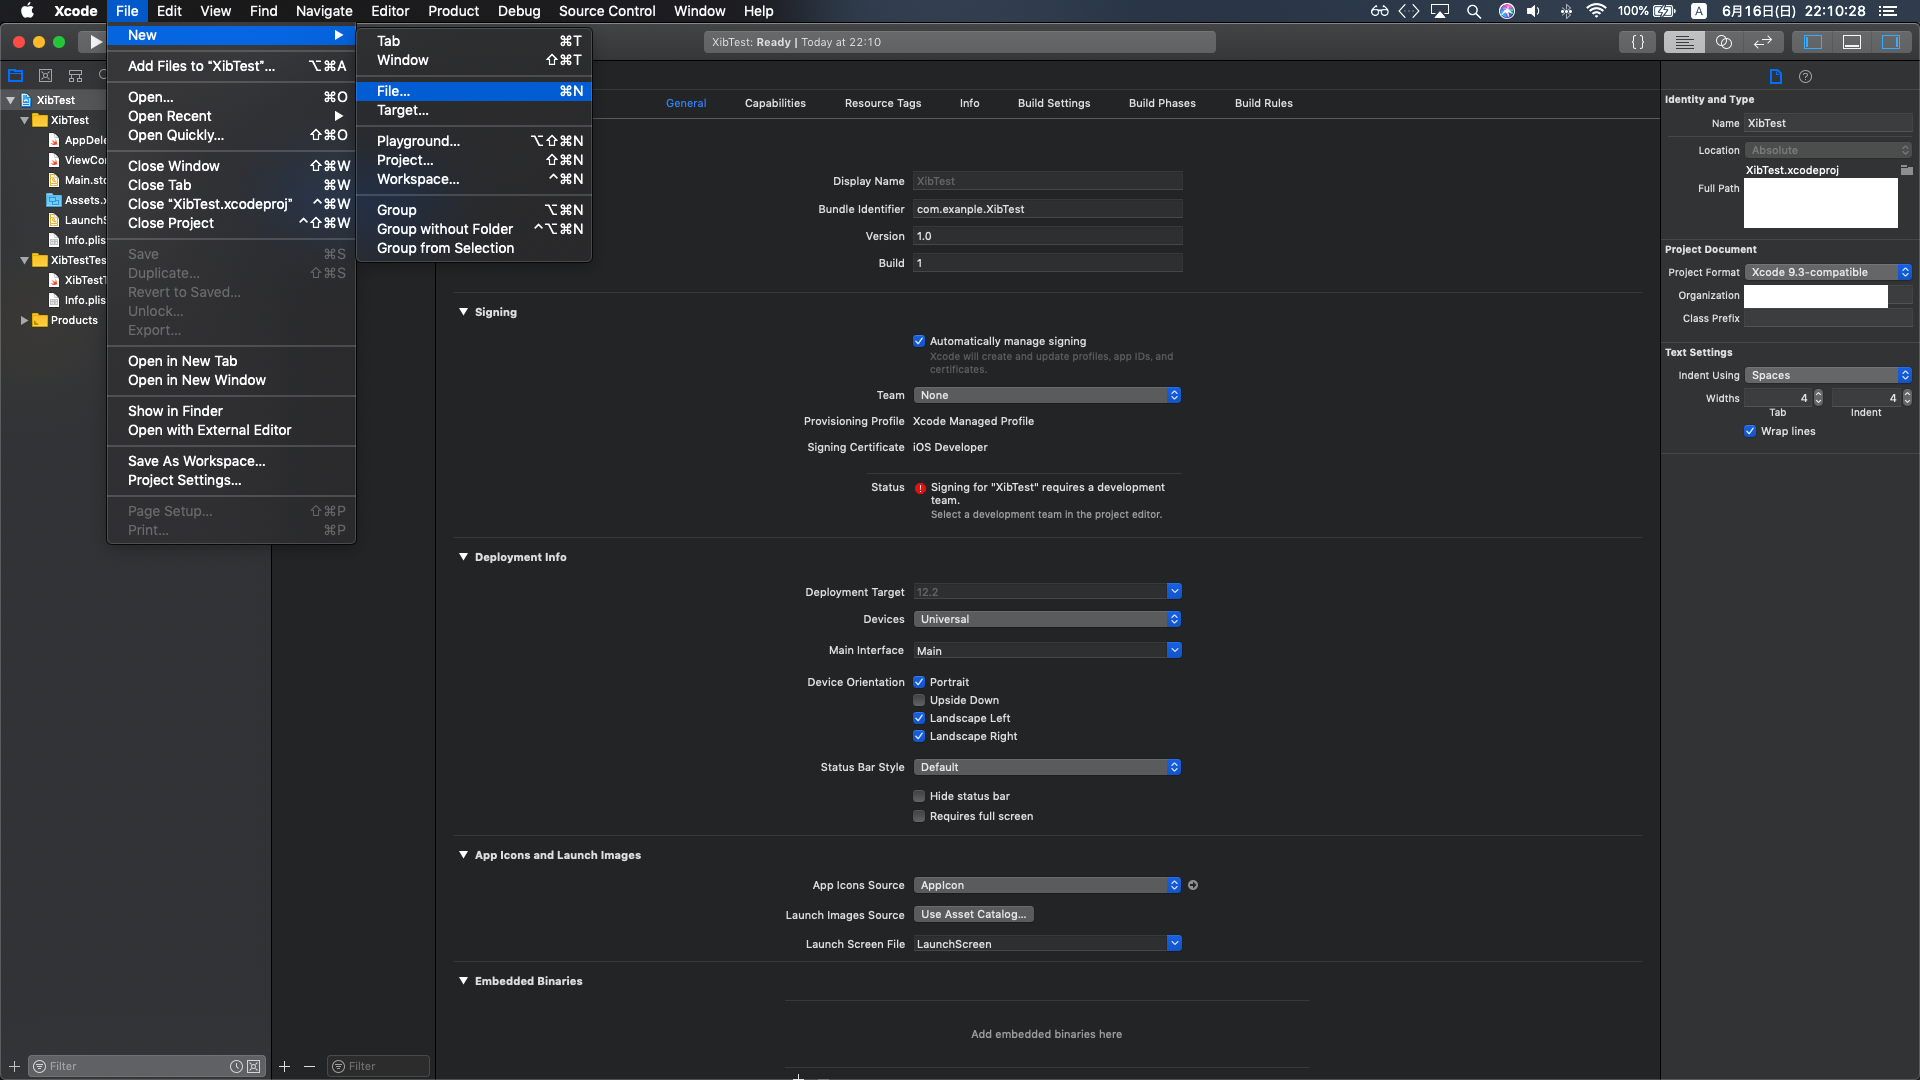
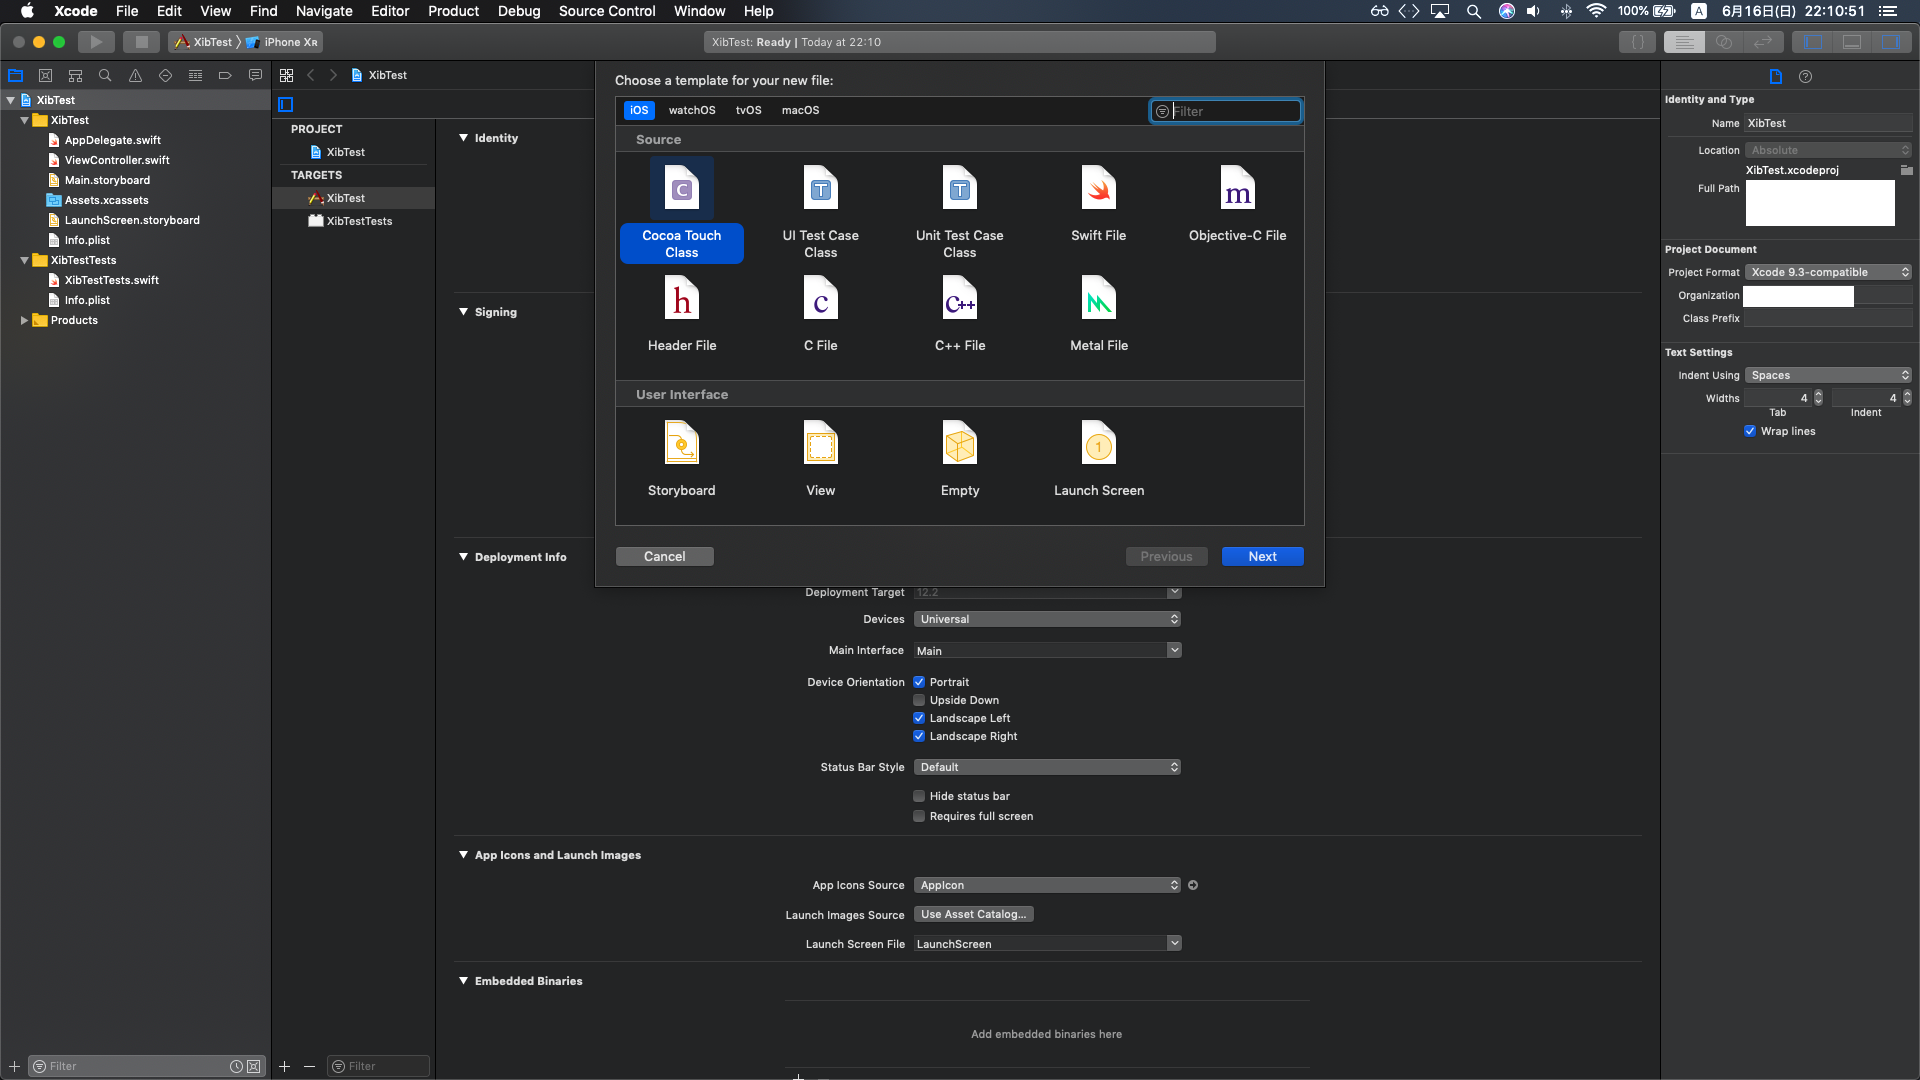
まずは、New FileでCollectionViewCellを作成します。
「Cocoa Touch Class」を選択
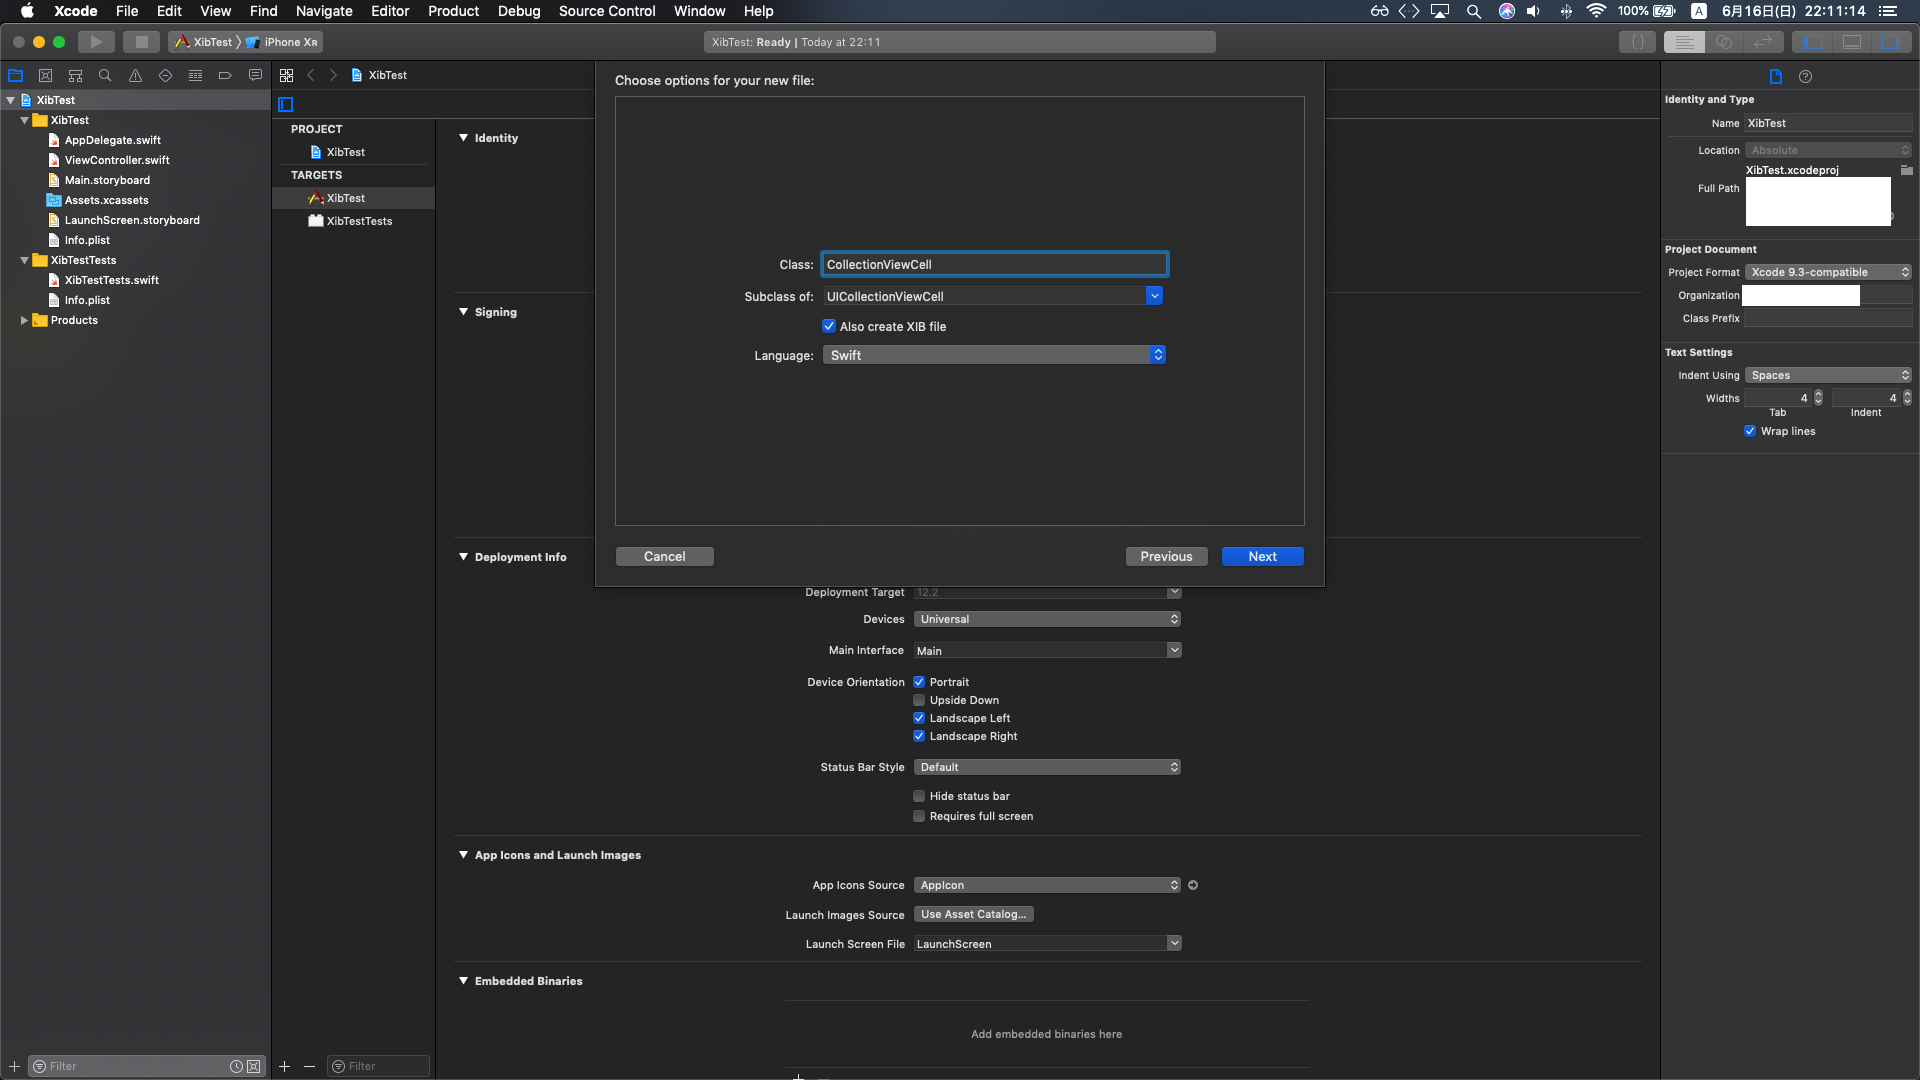
ここで、「Also create Xib flie」にチェックをつけてXibファイルも一気に作っちゃいます。
(もうCellファイルがあるよって方は、New Flie選択→View選択でXibファイルが作成できます)
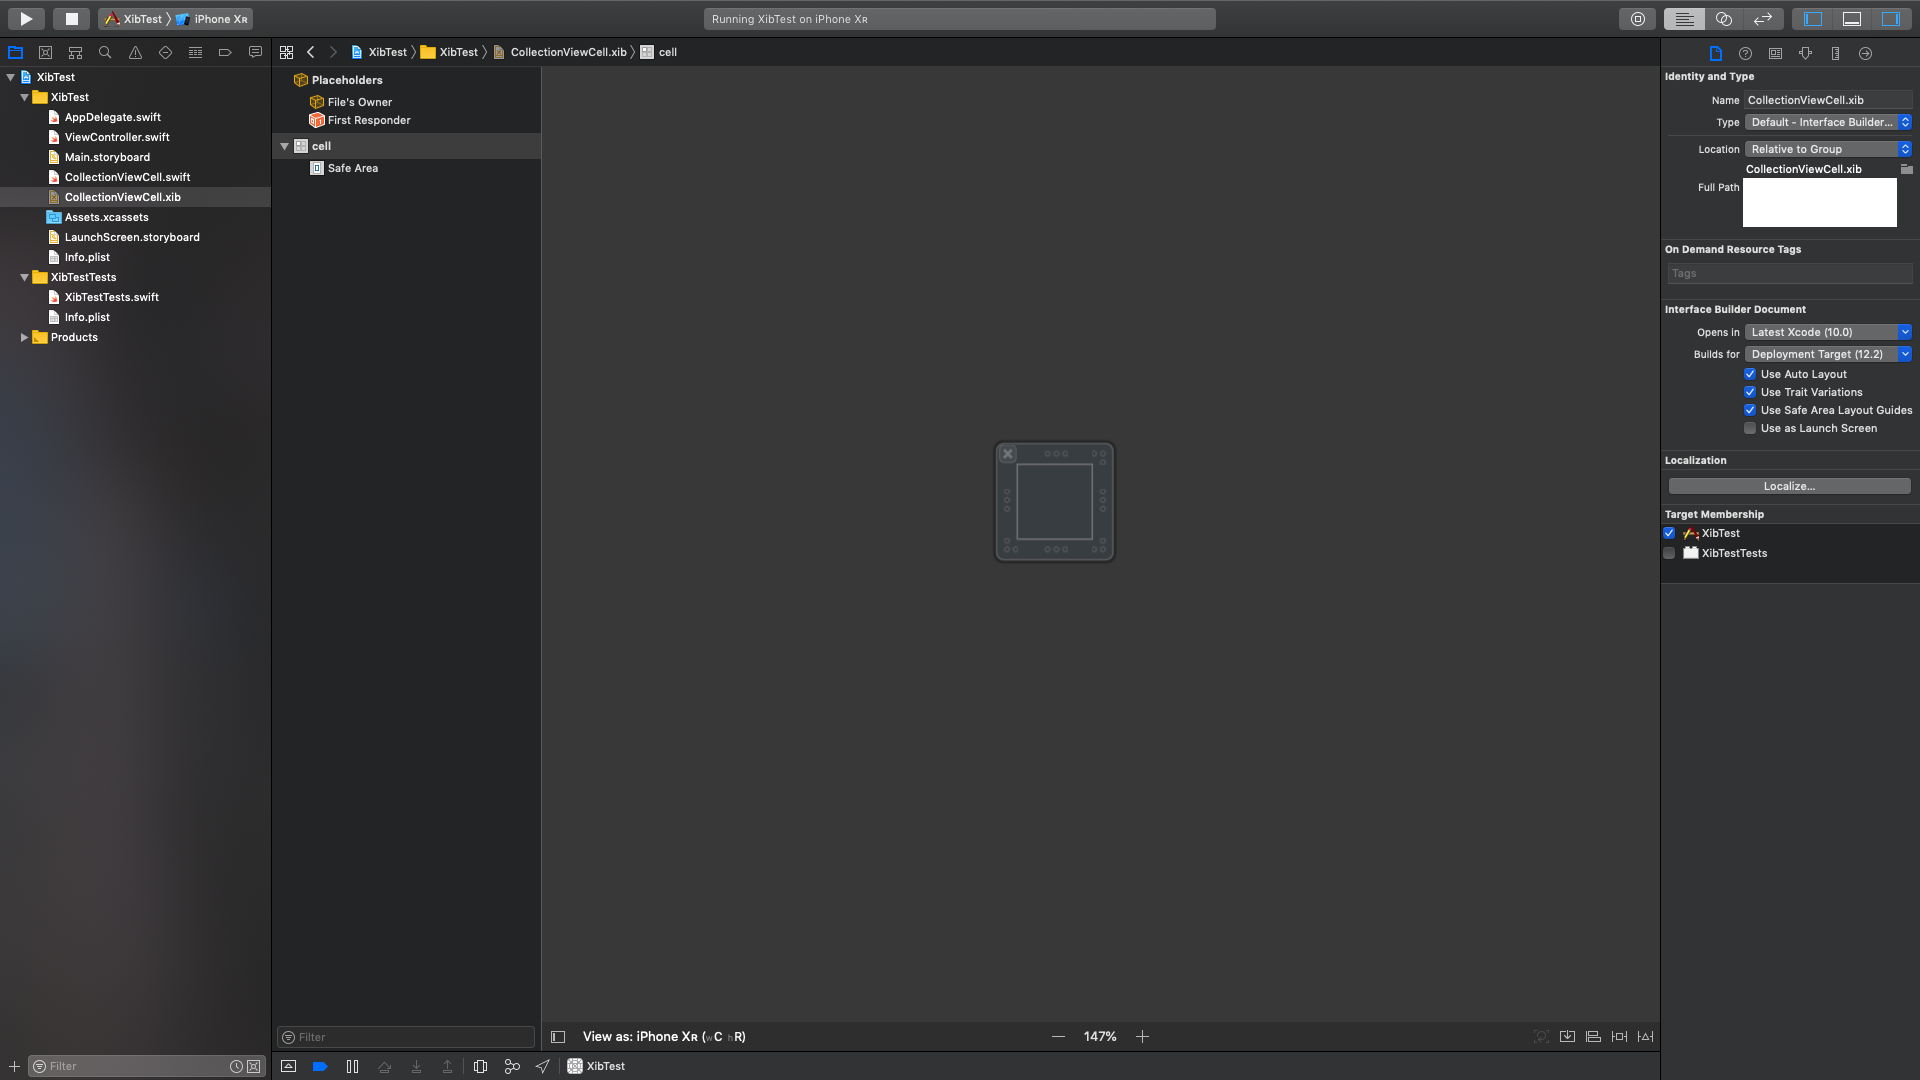
作成したXibファイルを見ると、こんな感じになってます。
Xibの設定
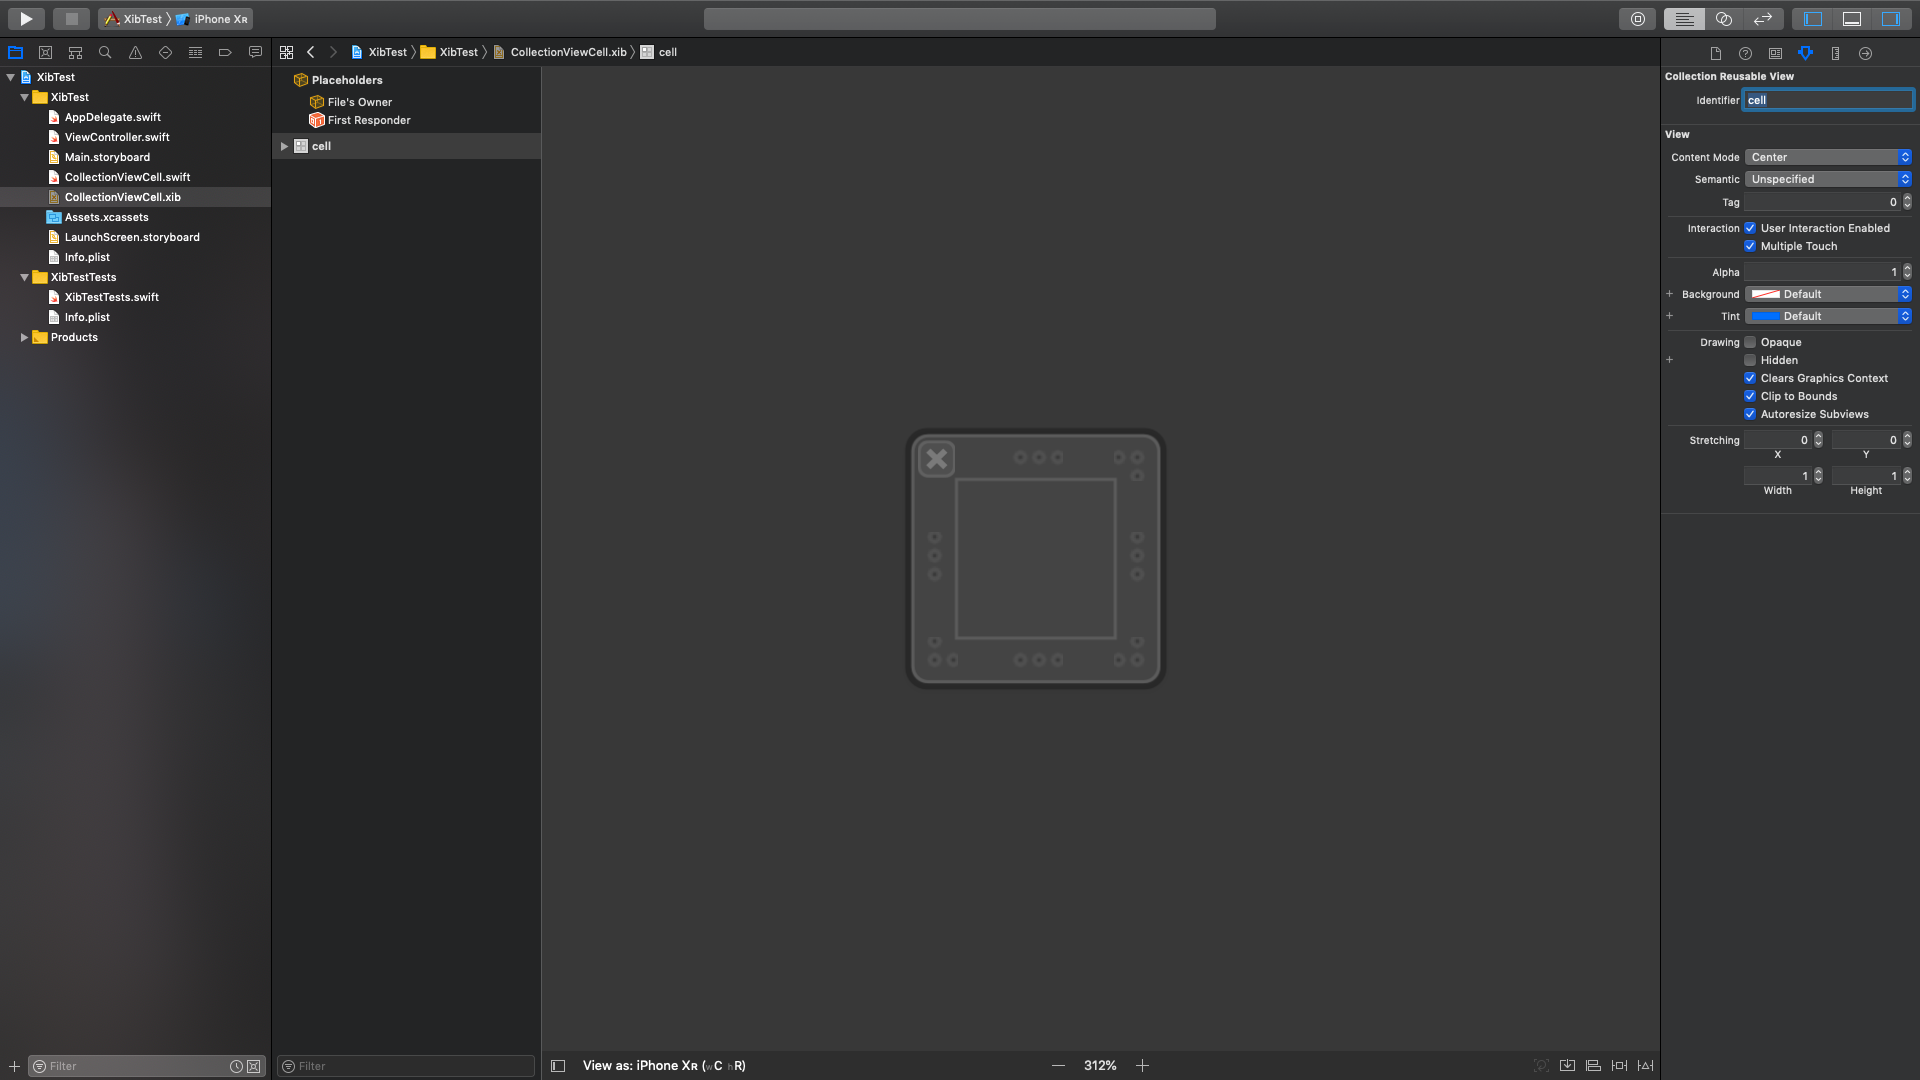
最初に、XibファイルのCellのidentifierを"cell"と設定します。
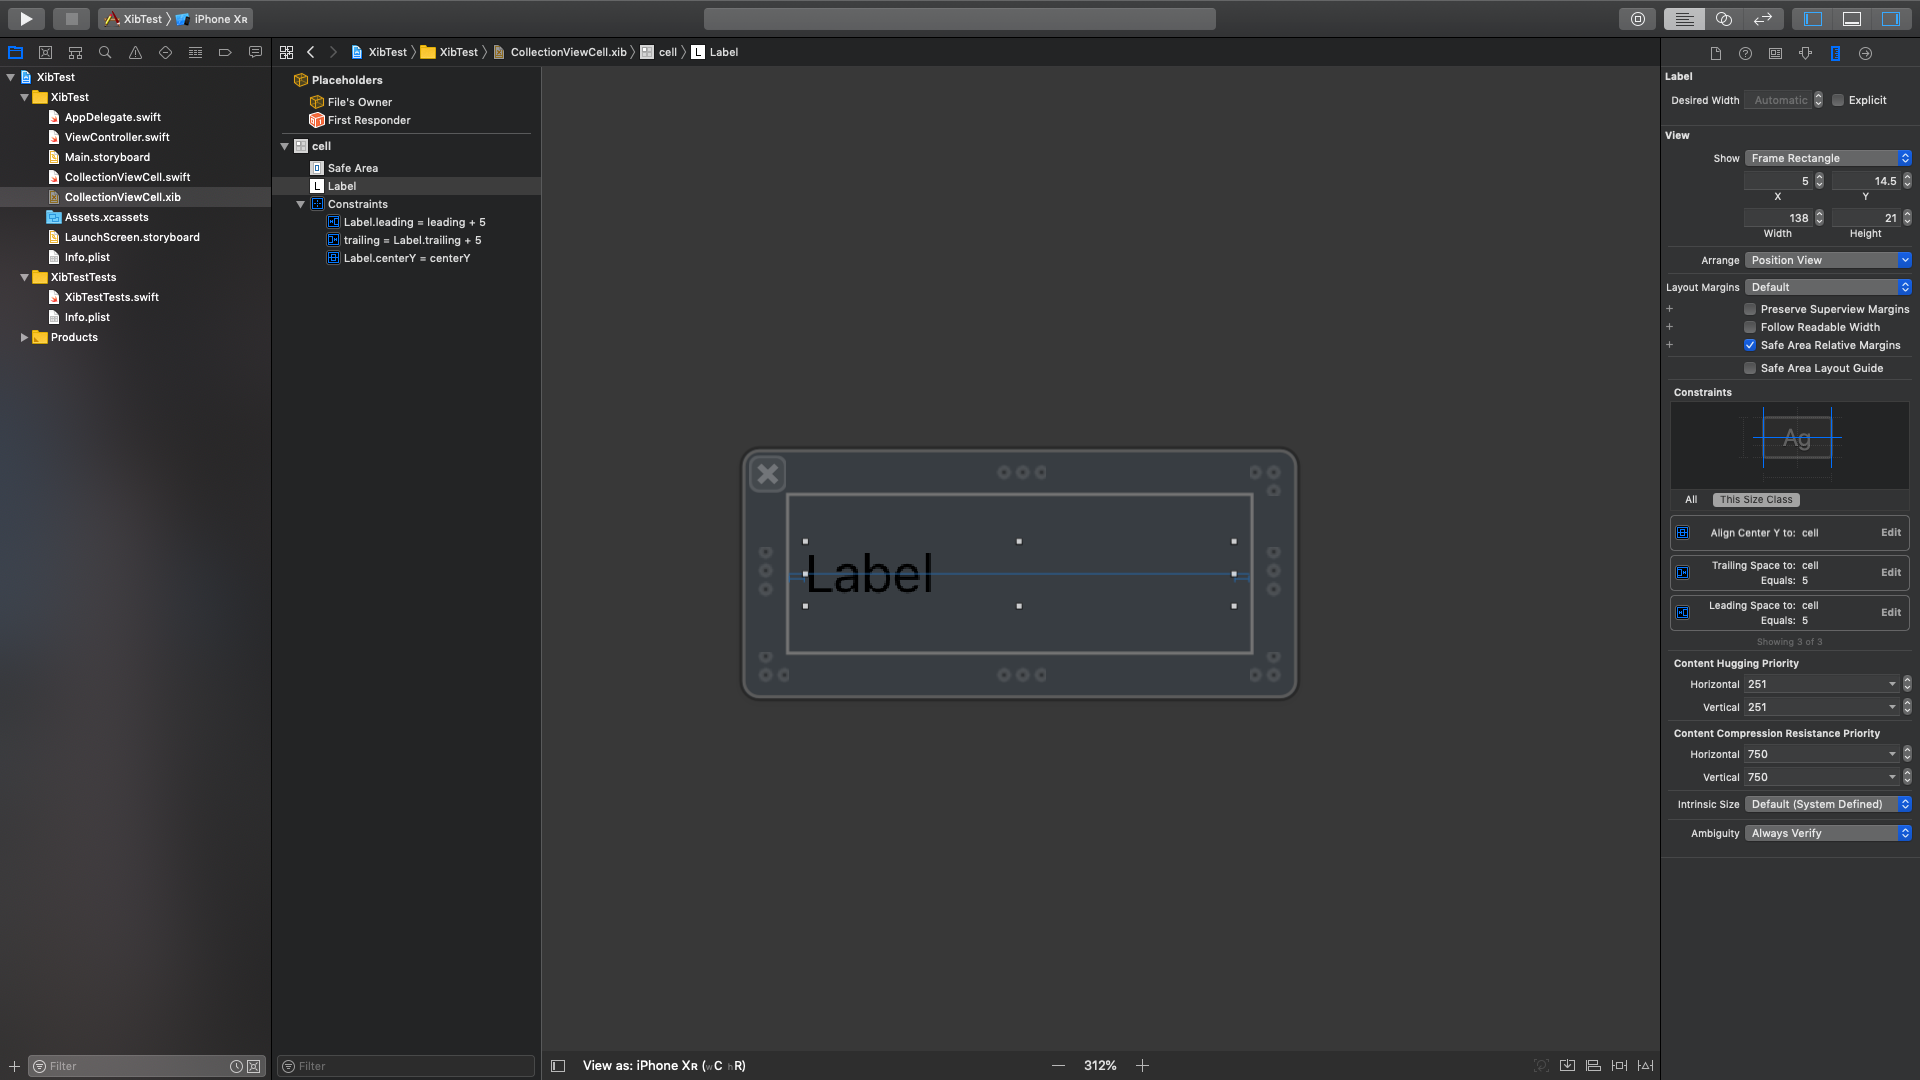
次に、Xibファイル内のCell部分にLabelを1つおいて、AutoLayoutをかけます。
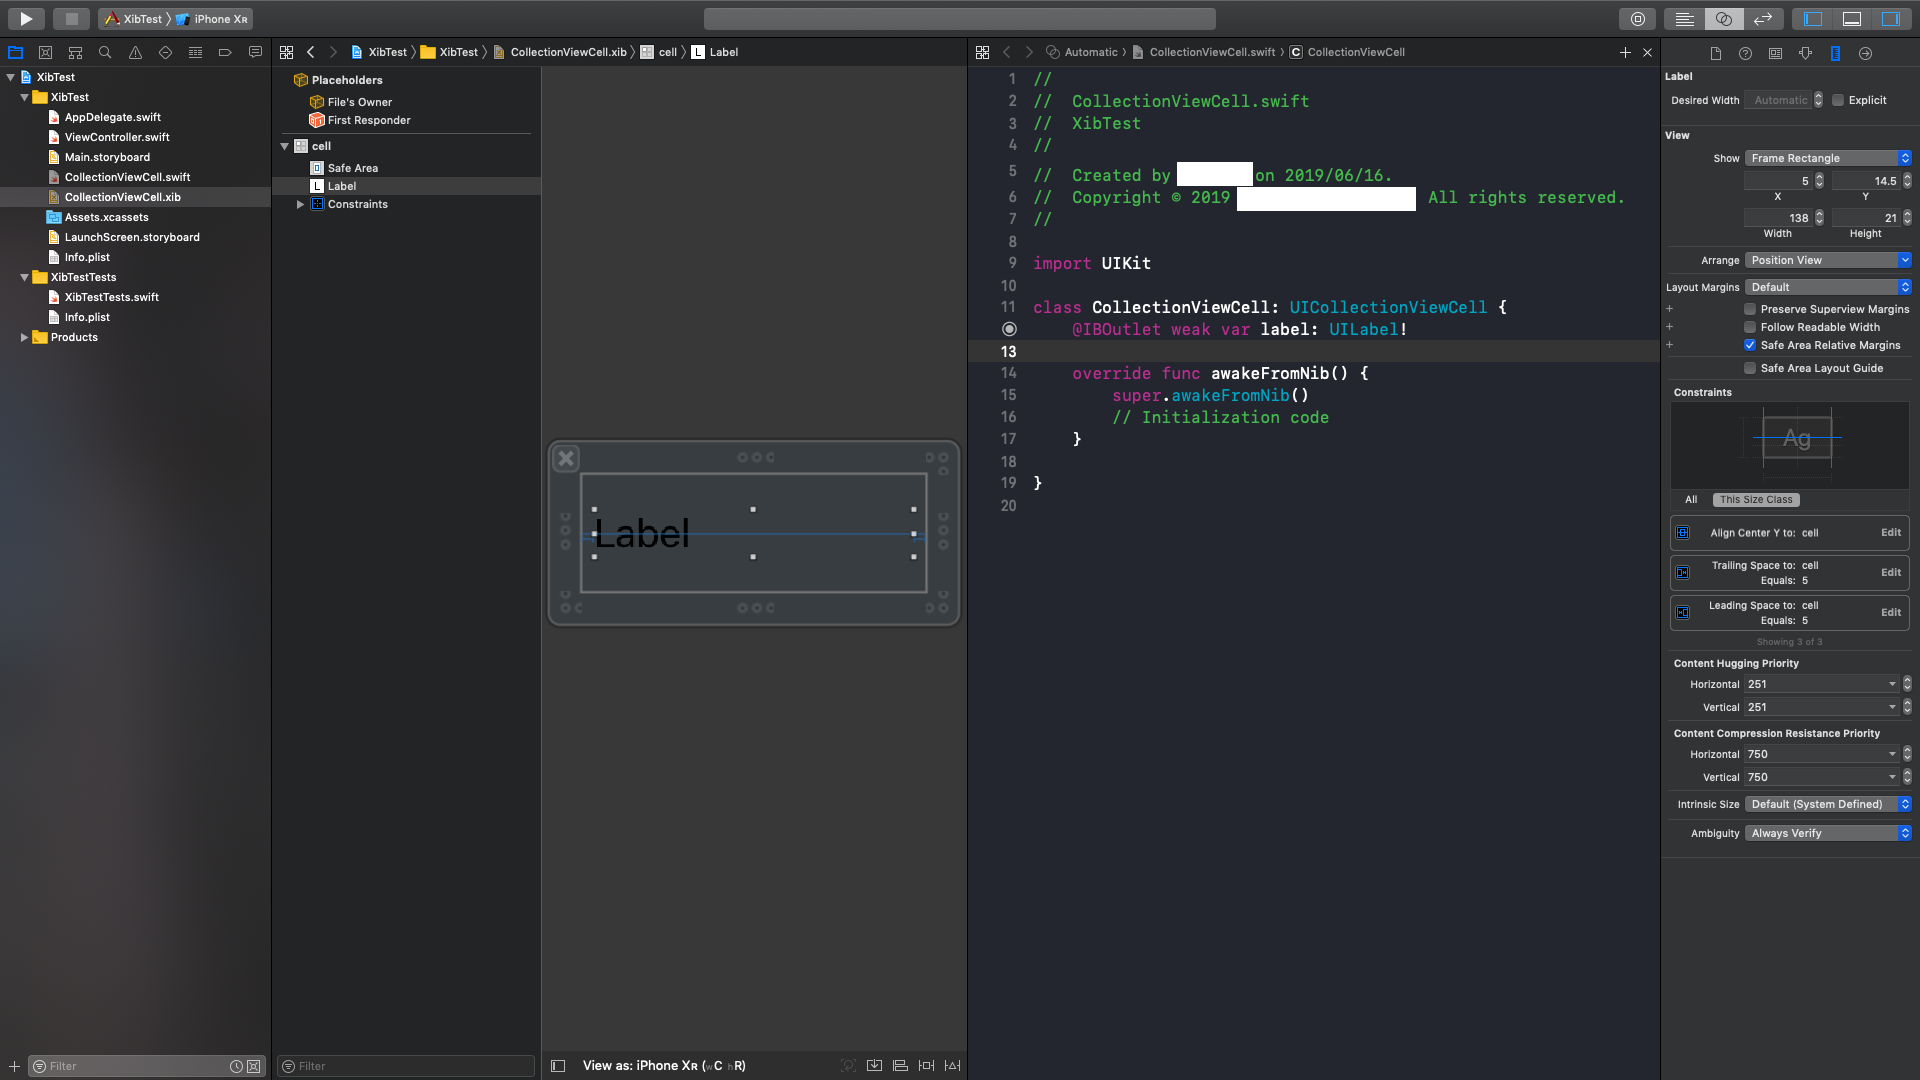
そして、一緒に作成した、CollectioViewCell.swiftにLabelを紐付けます。
storyboardの設定
Main.storyboardの方では、ViewControllerの上にCollectionViewを配置し、AutoLayoutをかけます。
この時、ClloectionViewの中にCollectionViewCellが入っていますが、今回はXibを使うため、消しちゃってください。
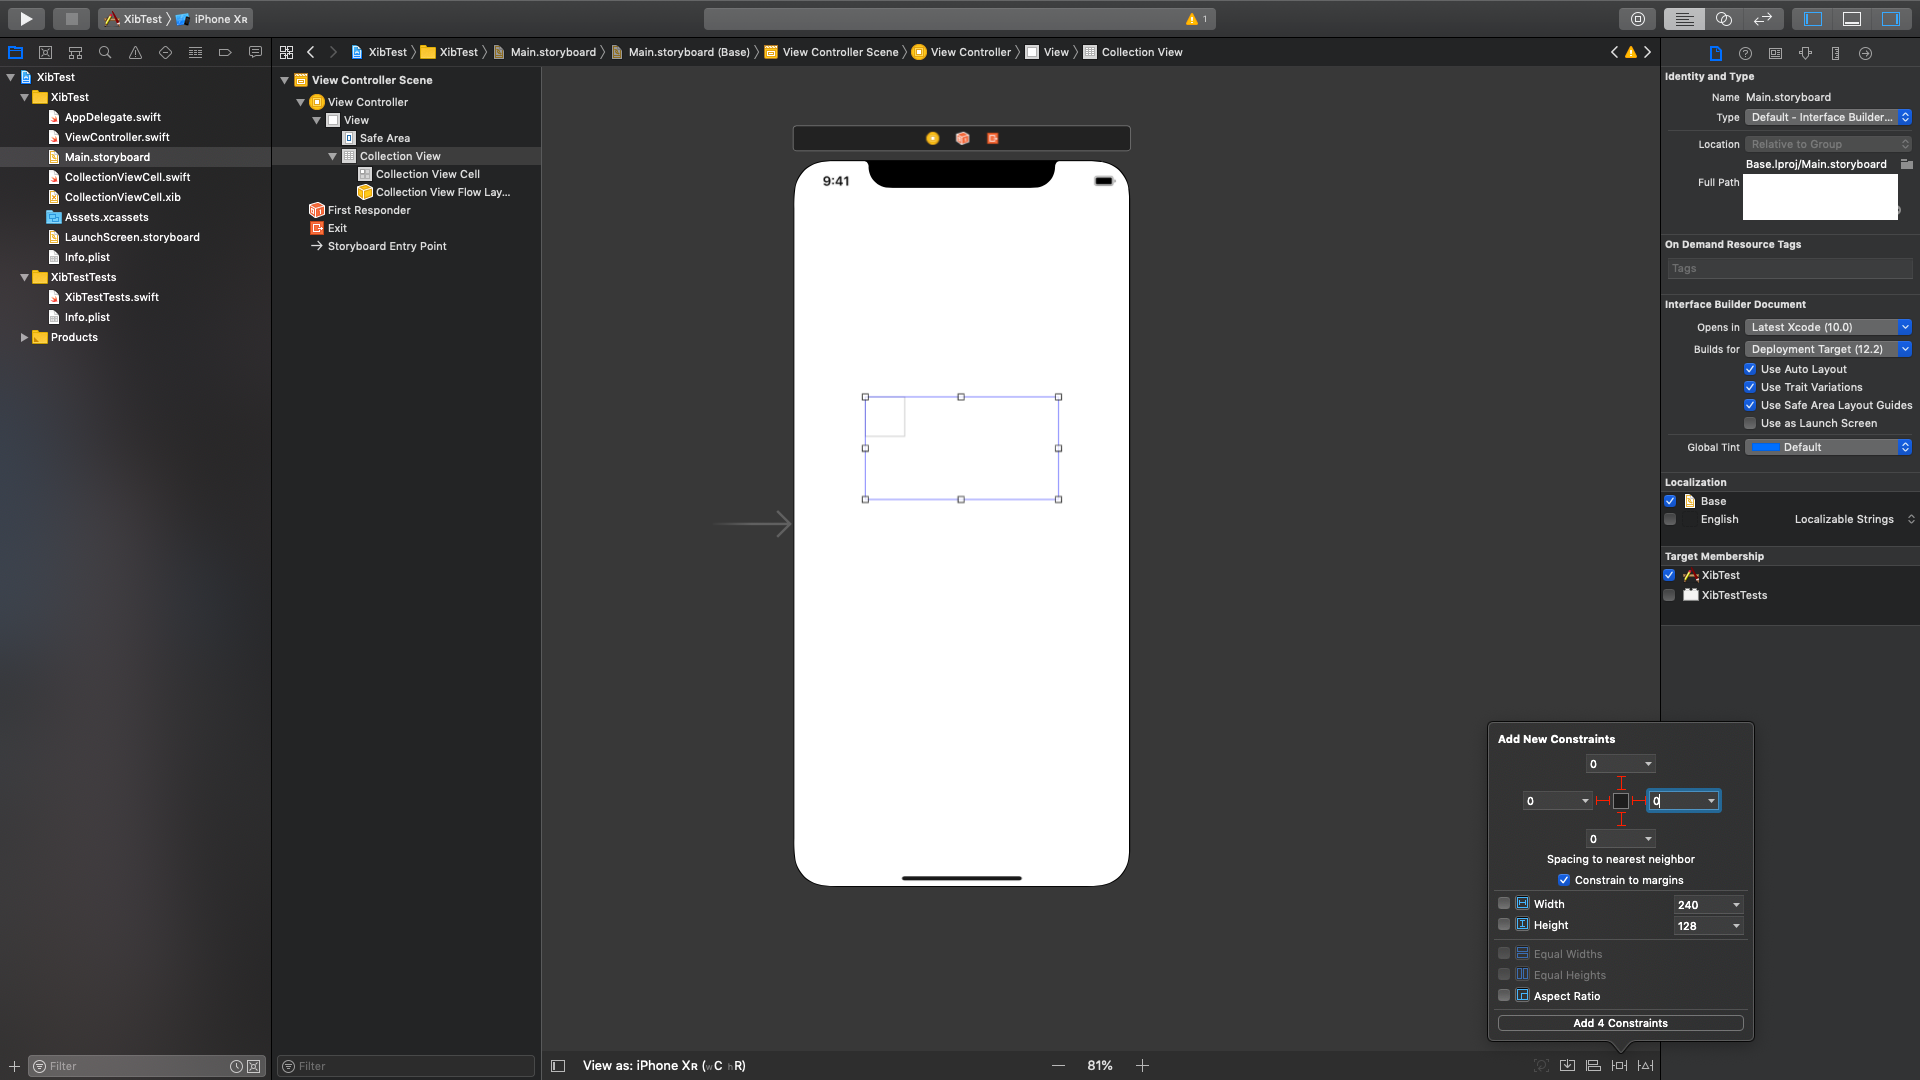
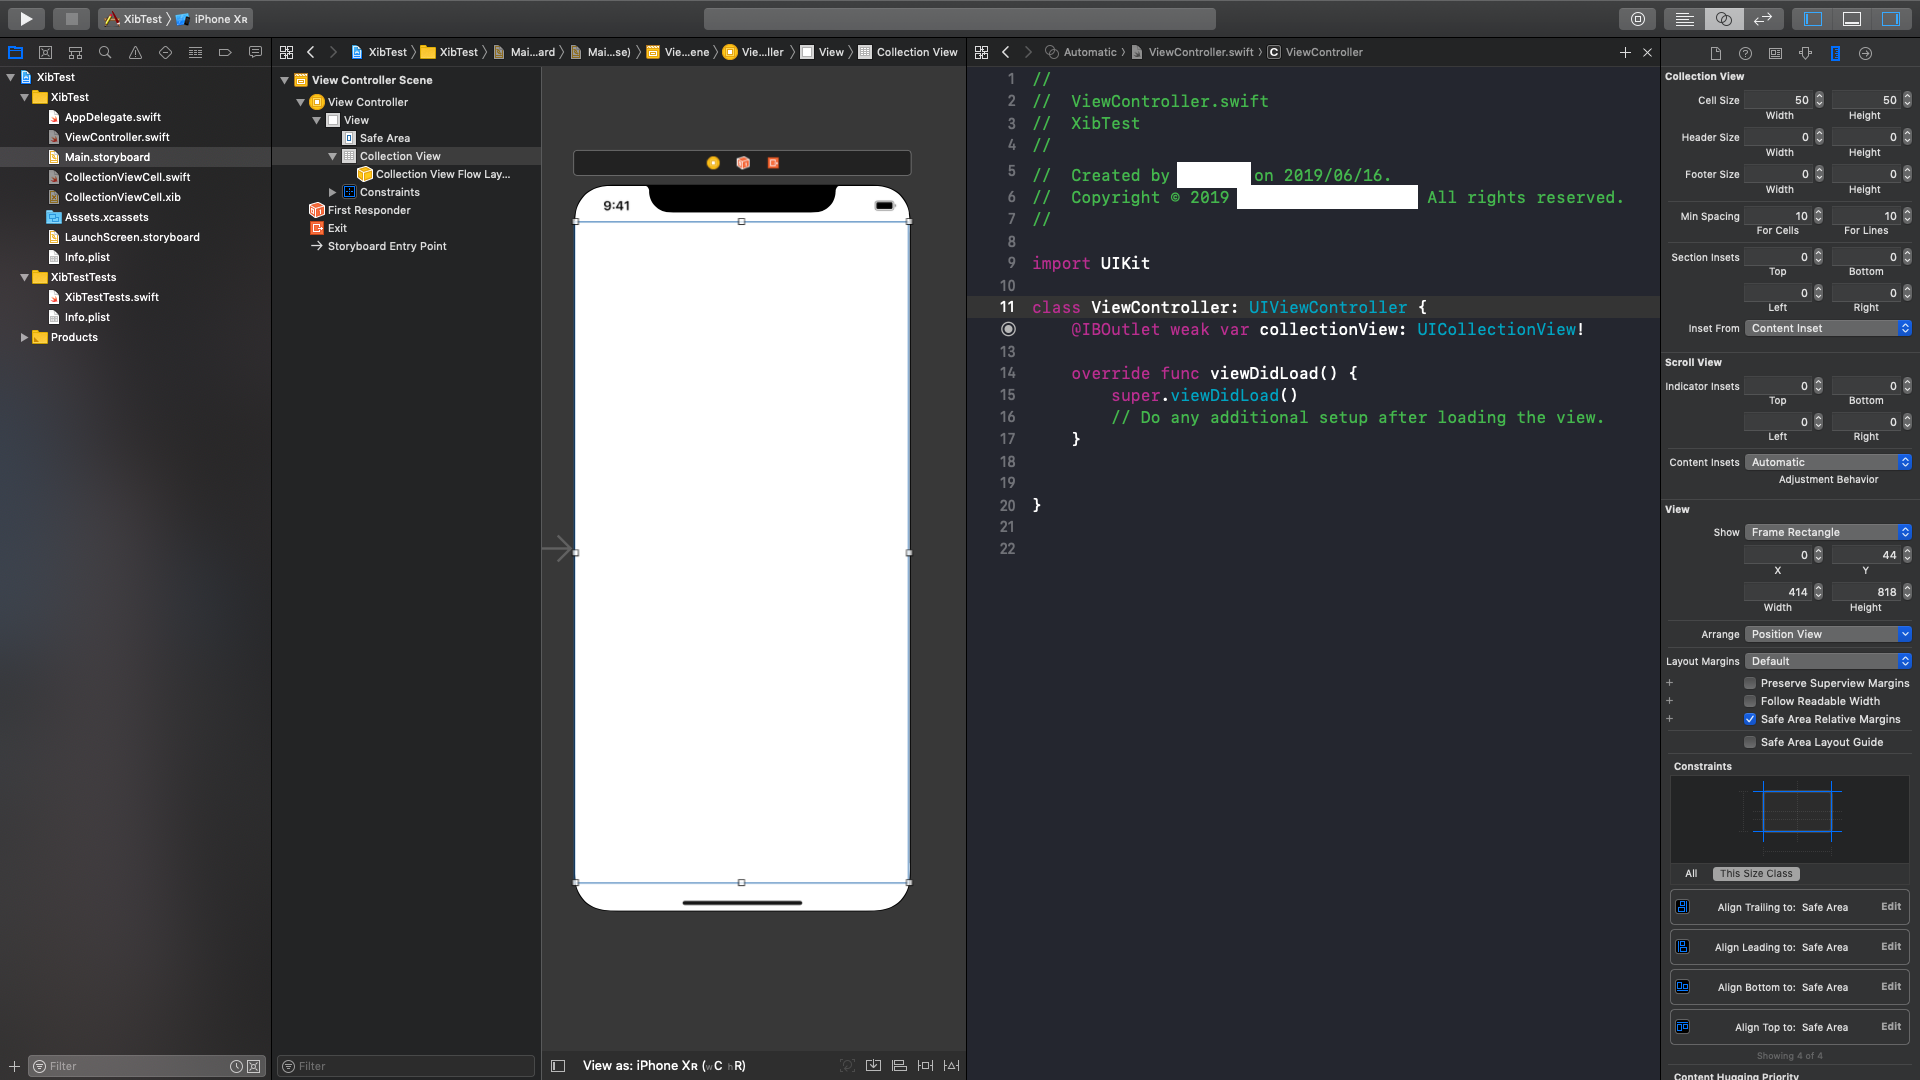
そして、CollectionViewをViewController.swiftの方に紐付けます。
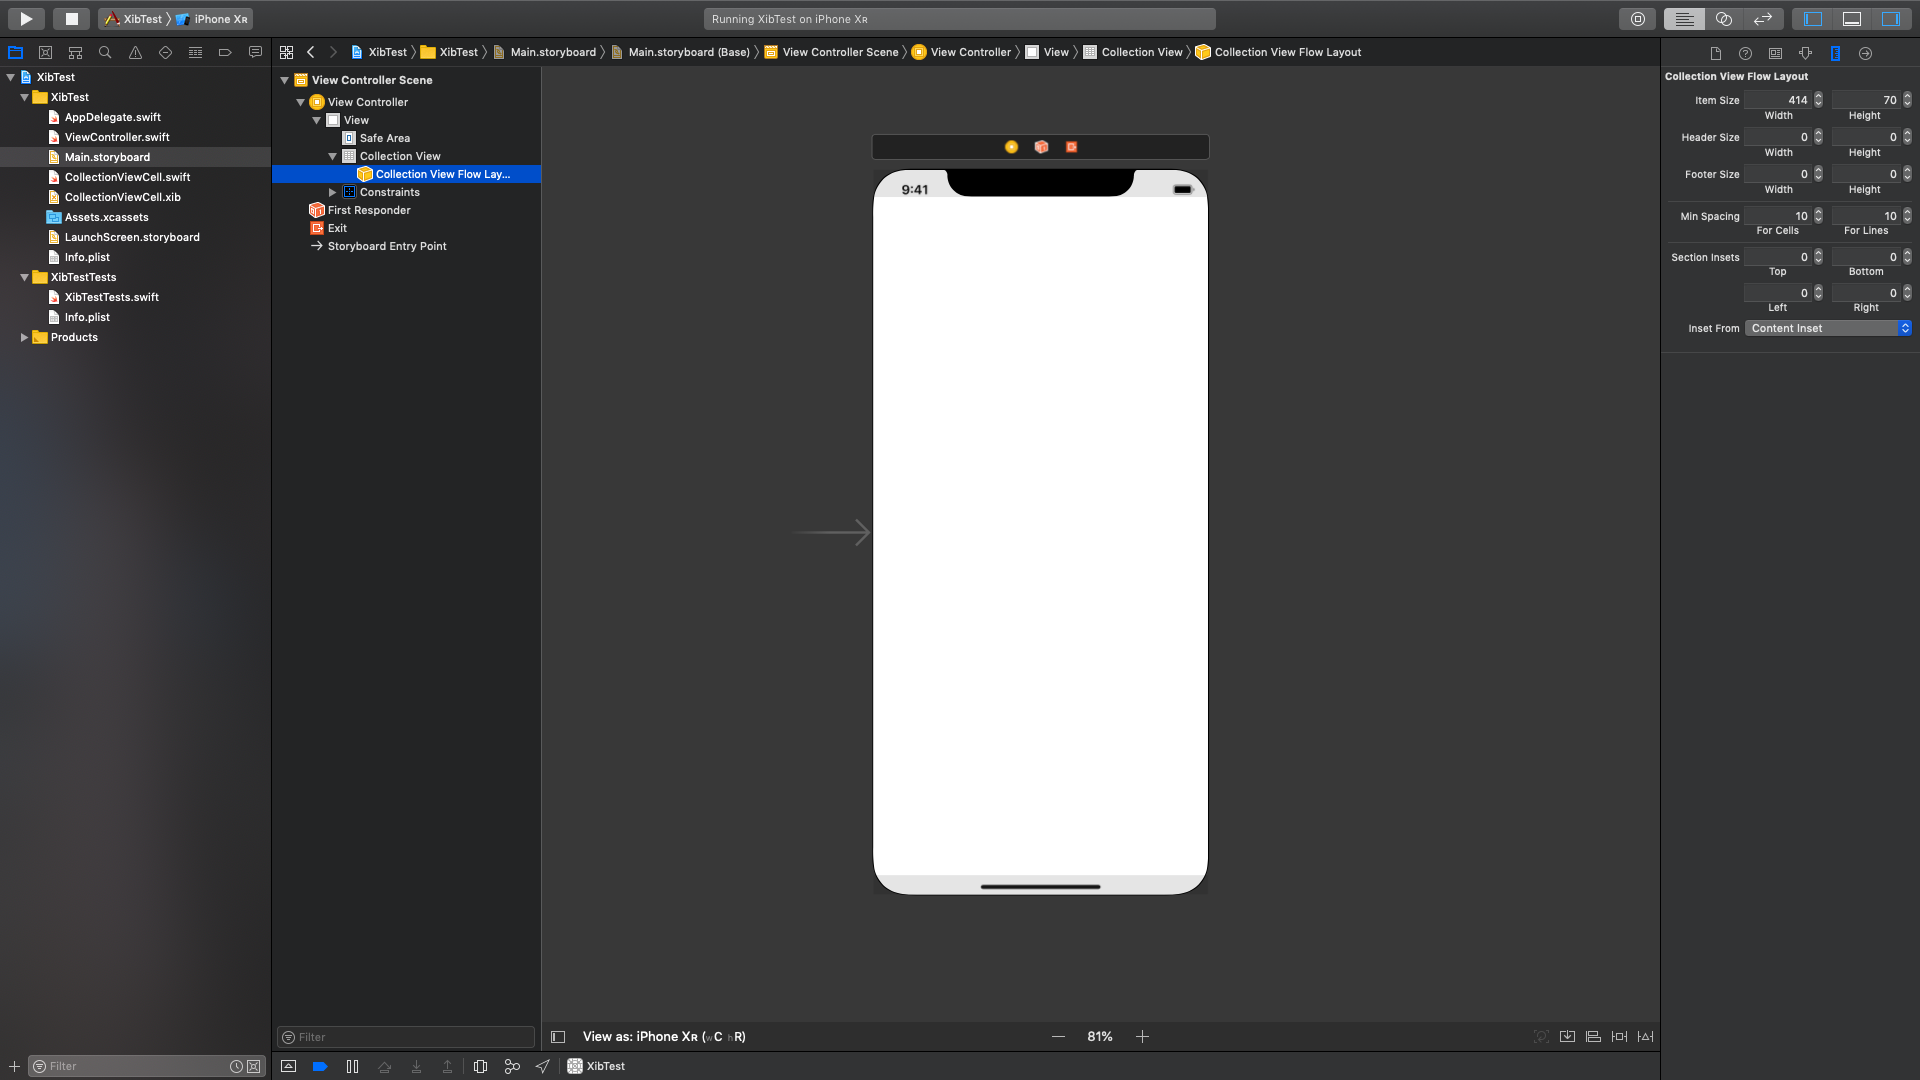
また、今回はUICollectionViewLayoutでレイアウトしないので、直書きでCellのサイズを指定します。
(item Size:width→414, height→70と指定)
これで準備おkです。
実際のコード
実際にコードを書いていきます。(最低限)
class ViewController: UIViewController {
    @IBOutlet weak var collectionView: UICollectionView!

    let array = ["hoge", "ほげほげ", "Hello!"]

    override func viewDidLoad() {
        super.viewDidLoad()

        collectionView.dataSource = self

        let nib = UINib(nibName: "CollectionViewCell", bundle: nil)
        self.collectionView.register(nib, forCellWithReuseIdentifier: "cell")

    }
}

extension ViewController: UICollectionViewDataSource {
    func collectionView(_ collectionView: UICollectionView, numberOfItemsInSection section: Int) -> Int {
        return self.array.count
    }

    func collectionView(_ collectionView: UICollectionView, cellForItemAt indexPath: IndexPath) -> UICollectionViewCell {
        let cell = collectionView.dequeueReusableCell(withReuseIdentifier: "cell", for: indexPath) as! CollectionViewCell

        cell.label.text = array[indexPath.row]
        return cell
    }
}
ここの2行で、XibをcollectionViewに登録しています。
- nibName:CollectionViewCellファイルの名前
- forCellWithReuseIdentifier:Xibファイル内のCellのidentifierで設定した名前
let nib = UINib(nibName: "CollectionViewCell", bundle: nil)
self.collectionView.register(nib, forCellWithReuseIdentifier: "cell")
以上で、簡単なXibの使い方でした。
自分も勉強中なので、ミスがあるかもしれないですが、、
ありがとうございました。