Homesteadはlaravelの開発環境を簡単に構築できるパッケージだが、Ruby on Railsで必要なソフトも入っているため、Homesteadを使用したRuby on Railsの環境を構築していく。
今回はMacで、使用するDBはMySQLとする。
Homesteadとは?
Laravel公式のboxで、Vgrantを使用することで仮想マシンにLaravelの開発環境を簡単に構築することができるパッケージです。
PHPやWebサーバ、その他のサーバソフトウェアをローカルマシンにインストールする必要なく、開発環境を構築できます。
導入されているソフトウェア
公式より以下のソフトが既に含まれています。(2019/5 現在)
- Ubuntu 18.04
- Git
- PHP 7.3
- PHP 7.2
- PHP 7.1
- Nginx
- MySQL
- lmmによるMySQLとMariaDBデータベーススナップショット
- Sqlite3
- PostgreSQL
- Composer
- Node (Yarn、Bower、Bower、Grunt、Gulpを含む)
- Redis
- Memcached
- Beanstalkd
- Mailhog
- avahi
- ngrok
- Xdebug
- XHProf / Tideways / XHGui
- wp-cli
- Minio
オプションで導入できるソフトウェア
- Apache
- Crystal & Lucky Framework
- Dot Net Core
- Elasticsearch
- Go
- MariaDB
- MongoDB
- Neo4j
- Oh My Zsh
- Ruby & Rails
- Webdriver & Laravel Dusk Utilities
- Zend Z-Ray
VirtualBoxとVagrantのインストール
VirtualBoxをインストール
仮想化ソフトは他にもいくつかあるそうですが「VirtualBox」を使用
インストールはこちらから >> https://www.virtualbox.org/
自分の使用しているOSを選択

【注意】
「機能拡張がブロックされました」と表示されたら「システム環境設定」→「セキュリティとプライバシー」から読み込みを許可しましょう
Vagrantをインストール
Vagrantとは仮想化ソフト(VirtualBox)を使用し、コマンドを入力することで仮想環境を管理したり構築したりすることができるツールです。
インストールはこちらから >> https://www.vagrantup.com/
自分の使用しているOSを選択

ダウンロードしたらバージョンを確認してみる。
$ vagrant --version
 Vagrant 2.2.4
これで2.2.4のVagrantがインストールされました。
Homesteadのboxをインストール
boxとはOSのディスクイメージファイルで、これを追加することで仮想環境を作成できる。
上記のリンクの公式を確認すると「laravel/homestead」があるのでこれを取得する。
VagrantCloudにあるboxを追加する場合は名前だけでも良い。
$ vagrant box add laravel/homestead
実行するとproviderは何かと聞かれるので「virtualbox」の「3」を選択する。
結構時間がかかるので終わるまで待つ。
$ vagrant box add laravel/homestead
==> box: Loading metadata for box 'laravel/homestead'
    box: URL: https://vagrantcloud.com/laravel/homestead
This box can work with multiple providers! The providers that it
can work with are listed below. Please review the list and choose
the provider you will be working with.

1) hyperv
2) parallels
3) virtualbox
4) vmware_desktop

Enter your choice: 3
==> box: Adding box 'laravel/homestead' (v7.2.1) for provider: virtualbox
    box: Downloading: https://vagrantcloud.com/laravel/boxes/homestead/versions/7.2.1/providers/virtualbox.box
    box: Download redirected to host: vagrantcloud-files-production.s3.amazonaws.com
==> box: Successfully added box 'laravel/homestead' (v7.2.1) for 'virtualbox'!
Successfulluyとなったので、以下のコマンドでboxがちゃんと追加されたか確認する。
$ vagrant box list
laravel/homestead (virtualbox, 7.2.1)
Homesteadのファイルをダウンロード
ダウンロードしたファイルは任意のディレクトで良いが、今回はホームディレクトリの直下にダウンロードするので移動しておく。
$ cd
$ pwd
/Users/ユーザー名
以下のコマンドでgithubからリポジトリをクローンします。
$ git clone https://github.com/laravel/homestead.git Homestead
Cloning into 'Homestead'...
remote: Enumerating objects: 59, done.
remote: Counting objects: 100% (59/59), done.
remote: Compressing objects: 100% (46/46), done.
remote: Total 3606 (delta 37), reused 22 (delta 13), pack-reused 3547
Receiving objects: 100% (3606/3606), 782.03 KiB | 863.00 KiB/s, done.
Resolving deltas: 100% (2190/2190), done.
Homesteadの初期化
HomesteadはHomestead.yamlというファイルに色々書くことで、任意の設定をすることができる。
Homestead.yamlは初期化することで生成される。
ダウンロードしたHomesteadディレクトリに移動する。
中に色々なファイルが入っているが、初期化をしていないのでHomestead.yamlが生成されていない。
$ cd Homestead/
$ ls
CHANGELOG.md        Vagrantfile     composer.lock       phpunit.xml.dist    scripts
Homestead.yaml.example  bin         init.bat        readme.md       src
LICENSE.txt     composer.json       init.sh         resources       tests
以下のコマンドで初期化する。
$ bash init.sh
Homestead initialized!
$ ls
CHANGELOG.md        LICENSE.txt     aliases         composer.lock       phpunit.xml.dist    scripts
Homestead.yaml      Vagrantfile     bin         init.bat        readme.md       src
Homestead.yaml.example  after.sh        composer.json       init.sh         resources       tests
Homestead initialized!と表示されたので、中を確認するとHomestead.yamlが生成されている。
SSH鍵のファイルの作成
ホストOSとゲストOSの通信はSSHで行うので、それに必要な鍵を作成する。
まずはホームディレクトリに移動して既に鍵があるかを確認。
$ cd
$ ls -la | grep .ssh
id_rsaとid_rsa.pubが表示されれば、既にSSH鍵ファイルはあります。
無い場合は以下のコマンドで作成する。
$ ssh-keygen -t rsa
途中でEnter file in which to save the key (/Users/ユーザー名/.ssh/id_rsa):と保存するディレクトリを聞かれるので、そのままEnterを押す。
次にEnter passphraseとパスフレーズを求められるので任意のパスフレーズを設定する。
Enter same passphrase again:と再度確認を求められるので設定したパスフレーズを入力する。
$ ssh-keygen -t rsa
Generating public/private rsa key pair.
Enter file in which to save the key (/Users/ユーザー名/.ssh/id_rsa):
Enter passphrase (empty for no passphrase):
Enter same passphrase again:
Your identification has been saved in /Users/ユーザー名/.ssh/id_rsa.
Your public key has been saved in /Users/ユーザー名/.ssh/id_rsa.pub.
The key fingerprint is:
...(以下省略)...
ファイルキーが作成されたので、先ほどのコマンドで確認する。
$ ls -la | grep .ssh
Homesteadの設定
Homestead(仮想マシン)の各設定は、初期化した時に生成したhomestead.yamlに記述します。
Homesteadのディレクトリに移動し、vimでHomestead.yamlを編集。
$ cd Homestead/
$ vim Homestead.yaml
下記がHomestead.yamlのデフォルトのです。
---
ip: "192.168.10.10"     # IPアドレス
memory: 2048            # 割り当てるメモリ
cpus: 2                 # 割り当てるCPU
provider: virtualbox    # 使用するプロバイダ

# SSH公開鍵のパス
authorize: ~/.ssh/id_rsa.pub

# SSH秘密鍵のパス
keys:
    - ~/.ssh/id_rsa

# 共有ディレクトリの設定
# map: ホストマシン側で共有したいディレクトリ
# to: ゲストマシン側で共有したいディレクトリ
folders:
    - map: ~/code
      to: /home/vagrant/cod


# Nginxサイトの設定
# map: アクセスするドメイン名の設定
# to: ゲストマシンNginxのドキュメントルートの設定
sites:
    - map: homestead.test
      to: /home/vagrant/code/public

# 使用するDB名
databases:
    - homestead

# ports:
#     - send: 50000
#       to: 5000
#     - send: 7777
#       to: 777
#       protocol: udp

# blackfire:
#     - id: foo
#       token: bar
#       client-id: foo
#       client-token: bar
rails serverは3000なので、コメントアウトを外して新しく記述する。
ports:
    - send: 3000
      to: 3000
それ以外はデフォルトのままで使用しますが、共有ディレクトリの設定や、ドキュメントルートの設定などの変更が可能です。
デフォルトのfoldersだとホストマシンのホームディレクトリ直下にcodeディレクトリが指定されていますが、現在codeディレクトリがないので作成しておきます。
今後プロジェクトフォルダを作成したときは、このcodeディレクトリのなかに入ることになります。
$ mkdir ~/code
【注意】
sitesプロパティをHomestead boxのプロビジョニング後に変更した場合、仮想マシンのNginx設定を更新するため、vagrant reload --provisionを再実行する必要があります。
ホスト名の設定
IPアドレス192.168.10.10にhomestead.testというドメイン名で設定してあり、hostsファイルに追記することで、Webブラウザでhttp://homestead.testにアクセスすることができる。
MacとLinuxでは/etc/hostsにファイルがあるので追加していく。
アクセス権がないと保存できないので、sudoをつけて192.168.10.10 homestead.appを追記する。
$ sudo vim /etc/hosts

##
# Host Database
#
# localhost is used to configure the loopback interface
# when the system is booting.  Do not change this entry.
##
127.0.0.1       localhost
255.255.255.255 broadcasthost
::1             localhost

192.168.10.10 homestead.test
Vagrant Boxの実行
各種設定が終わったら仮想マシンを起動します。
Homesteadのディレクトリ内にVagrantfileがあるので、違うディレクトリにいる場合は移動します。
$ pwd
/Users/ユーザー名/Homestead
下記のコマンドで仮想マシンを起動する。
$ vagrant up
Bringing machine 'homestead-7' up with 'virtualbox' provider...
==> homestead-7: Importing base box 'laravel/homestead'...
==> homestead-7: Matching MAC address for NAT networking...
==> homestead-7: Checking if box 'laravel/homestead' version '7.2.1' is up to date...
==> homestead-7: Setting the name of the VM: homestead-7
==> homestead-7: Clearing any previously set network interfaces...
...(以下省略)...
以下のコマンドで起動できているかを確認。
$ vagrant status
Current machine states:

homestead-7               running (virtualbox)

The VM is running. To stop this VM, you can run `vagrant halt` to
shut it down forcefully, or you can run `vagrant suspend` to simply
suspend the virtual machine. In either case, to restart it again,
simply run `vagrant up`.
running (virtualbox)となっているので起動できていることが確認できます。
あとはsshコマンドで仮想マシンに入ります。
$ vagrant ssh
Welcome to Ubuntu 18.04.2 LTS (GNU/Linux 4.15.0-47-generic x86_64)

Thanks for using
 _                               _                 _
| |                             | |               | |
| |__   ___  _ __ ___   ___  ___| |_ ___  __ _  __| |
| '_ \ / _ \| '_ ` _ \ / _ \/ __| __/ _ \/ _` |/ _` |
| | | | (_) | | | | | |  __/\__ \ ||  __/ (_| | (_| |
|_| |_|\___/|_| |_| |_|\___||___/\__\___|\__,_|\__,_|

* Homestead 8.4.0 released!
* Settler v7.2.1 released! Make sure you update

0 packages can be updated.
0 updates are security updates.


Last login: Thu May 24 08:54:14 2019 from 10.0.2.2
vagrant@homestead:~$
無事に仮想マシンに入れたので、あとはRailsの環境を構築していきます。
Ruby on Railsの環境を構築
Homesteadが立ち上がったのであとは必要なソフトなどを入れていくが、既にあるのがほとんどなのでrbenv等を入れていく。
必要なライブラリをインストール
Ubuntu自体をアップデート(最新化)します。
$ sudo apt update
今回はMysqlを使用するので、必要な関連パッケージをインストール
$ sudo apt install mysql-server mysql-client
$ sudo apt install libmysqlclient-dev
Rubyインストール
rbenvをインストール
rbenvとは、Rubyの「インストール」と「バージョン切替」を簡単におこなえるようにするためのツールです。
Gitを使ってrbenvをインストールします
$ git clone https://github.com/sstephenson/rbenv.git ~/.rbenv
Cloning into '/home/vagrant/.rbenv'...
remote: Enumerating objects: 15, done.
remote: Counting objects: 100% (15/15), done.
remote: Compressing objects: 100% (11/11), done.
remote: Total 2759 (delta 4), reused 8 (delta 4), pack-reused 2744
Receiving objects: 100% (2759/2759), 528.92 KiB | 874.00 KiB/s, done.
Resolving deltas: 100% (1724/1724), done.
インストールできたらrbenvコマンドが使えるように設定する
$ echo 'export PATH="$HOME/.rbenv/bin:$PATH"' >> ~/.bash_profile
$ echo 'eval "$(rbenv init -)"' >> ~/.bash_profile
$ exec $SHELL -l
rbenvコマンドが使えるようになったか確認する
$ rbenv --version
rbenv 1.1.2-2-g4e92322
Rubyをビルドするために使うプラグインの「ruby-build」をインストール
$ git clone https://github.com/sstephenson/ruby-build.git ~/.rbenv/plugins/ruby-build
Cloning into '/home/vagrant/.rbenv/plugins/ruby-build'...
remote: Enumerating objects: 38, done.
remote: Counting objects: 100% (38/38), done.
remote: Compressing objects: 100% (25/25), done.
remote: Total 9750 (delta 14), reused 29 (delta 8), pack-reused 9712
Receiving objects: 100% (9750/9750), 2.08 MiB | 2.10 MiB/s, done.
Resolving deltas: 100% (6340/6340), done.
インストールできるRubyのバージョンを確認する
$ rbenv install --list
Available versions:
  1.8.5-p52
  1.8.5-p113
  1.8.5-p114
  1.8.5-p115
  1.8.5-p231
  1.8.6
  1.8.6-p36
  1.8.6-p110
  1.8.6-p111
  1.8.6-p114

...(途中省略)...

  2.5.4
  2.5.5
  2.6.0-dev
  2.6.0-preview1
  2.6.0-preview2
  2.6.0-preview3
  2.6.0-rc1
  2.6.0-rc2
  2.6.0
  2.6.1
  2.6.2
  2.6.3
  2.7.0-dev
  jruby-1.5.6
  jruby-1.6.3

...(以下省略)...
バージョンを指定してRubyをインストール。
終わったら仮想マシンにインストールされているRubyのバージョンを確認します。
$ rbenv install -v 2.6.3
/tmp/ruby-build.20190524115043.18071 ~
Downloading ruby-2.6.3.tar.bz2...
-> https://cache.ruby-lang.org/pub/ruby/2.6/ruby-2.6.3.tar.bz2
Installing ruby-2.6.3...
/tmp/ruby-build.20190524115043.18071/ruby-2.6.3 /tmp/ruby-build.20190524115043.18071 ~
checking for ruby... /home/vagrant/.rbenv/shims/ruby
config.guess already exists
config.sub already exists
checking build system type... x86_64-pc-linux-gnu

...(以下省略)...

$ rbenv versions
* system (set by /home/vagrant/.rbenv/version)
  2.6.3
インストールされているのを確認できたら、仮想マシン全体で有効にするRubyのバージョンを指定する。
ディレクトリごとに指定する場合はglobalではなく、有効にしたいディレクトリでlocalを指定する。
$ rbenv global 2.6.3
$ rbenv versions
  system
* 2.6.3 (set by /home/vagrant/.rbenv/version)
アスタリスクが移動しました。
ちゃんと最新バージョンがインストールされたかを確認
$ ruby -v
ruby 2.6.3p62 (2019-04-16 revision 67580) [x86_64-linux]
bundlerのインストール
bundlerはプロジェクトごとで使うgemを、インストールしたり使用したりする。
どのバージョンが必要なのかは、プロジェクトフォルダにあるGemfileを読み取りることで実行される。
bundlerはRubyGemsからインストールできるのでgemコマンドでインストールする。
bundleコマンドが使えるようになるので確認する。
$ gem install bundler
Fetching bundler-2.0.1.gem
Successfully installed bundler-2.0.1
Parsing documentation for bundler-2.0.1
Installing ri documentation for bundler-2.0.1
Done installing documentation for bundler after 2 seconds

$ bundle -v
Bundler version 2.0.1
Ruby on Railsのインストール
Ruby on Railsは、gemコマンドでインストールする。
最新ではないバージョンを指定したい場合は-vオプションをつけて指定。
インストールが終わったらrailsコマンドが使用できるので確認する。
$ gem install rails
Fetching i18n-1.6.0.gem
Fetching rack-2.0.7.gem

...(途中省略)...

Removing ruby (1:2.5.1) ...
Removing ruby2.5 (2.5.1-1ubuntu1.2) ...
Removing libruby2.5:amd64 (2.5.1-1ubuntu1.2) ...
Removing rake (12.3.1-1) ...
Removing ruby-test-unit (3.2.5-1) ...
Processing triggers for libc-bin (2.27-3ubuntu1) ...
Processing triggers for man-db (2.8.3-2ubuntu0.1) ...

$ rails -v
Rails 5.2.3
Railsアプリを作成
Homestead.yamlで共有ディレクトリの設定がすでにできているので、codeディレクトリ内にファイルを作る。
$ cd
$ cd code/
今回は例としてtest_appというプロジェクトファイルを作成します。
プロジェクトファイルはrails newというコマンドで作成でき、-dオプションで使用するデータベースを指定できます。
オプションを指定しない場合は「SQLite」というデータベースがデフォルトで使用されますが、今回は「Mysql」を使用するので以下のコマンドでファイルを作成します。
$ rails new test_app -d mysql
      create
      create  README.md
      create  Rakefile
      create  .ruby-version
      create  config.ru
      create  .gitignore
      create  Gemfile
         run  git init from "."
Initialized empty Git repository in /home/vagrant/code/test_app/.git/
      create  package.json
      create  app

...(途中省略)...

Using spring-watcher-listen 2.0.1
Using turbolinks-source 5.2.0
Using turbolinks 5.2.0
Using uglifier 4.1.20
Using web-console 3.7.0
Bundle complete! 18 Gemfile dependencies, 78 gems now installed.
Use `bundle info [gemname]` to see where a bundled gem is installed.
         run  bundle exec spring binstub --all
* bin/rake: spring inserted
* bin/rails: spring inserted

$ ls
test_app
確認するとtest_appというファイルが作成されています。
Railsサーバーの起動
Railsサーバーはプロジェクトフォルダに移動してrails sコマンドで起動できます。
しかしVagrant環境で仮想マシンを起動している場合は、rails s -b 0.0.0.0というコマンドでRailsサーバーを起動させます。
localホスト以外からはアクセスできないため、-b 0.0.0.0オプションをつけて全てのIPアドレスを許可します。
$ cd test_app/
$ rails s -b 0.0.0.0
=> Booting Puma
=> Rails 5.2.3 application starting in development
=> Run `rails server -h` for more startup options
Puma starting in single mode...
* Version 3.12.1 (ruby 2.6.3-p62), codename: Llamas in Pajamas
* Min threads: 5, max threads: 5
* Environment: development
* Listening on tcp://0.0.0.0:3000
Use Ctrl-C to stop
このように表示されれば無事にサーバーが起動したことになります。
サーバーを停止したいときはCtrl + cで停止することできます。
ブラウザでアクセス
ドメイン名の設定もデフォルトでしてあるので、ブラウザにはhomestead.test:3000でアクセスできます。
Mysqlのパスワードを設定
ブラウザにアクセスすると以下のようなエラーが出ました。
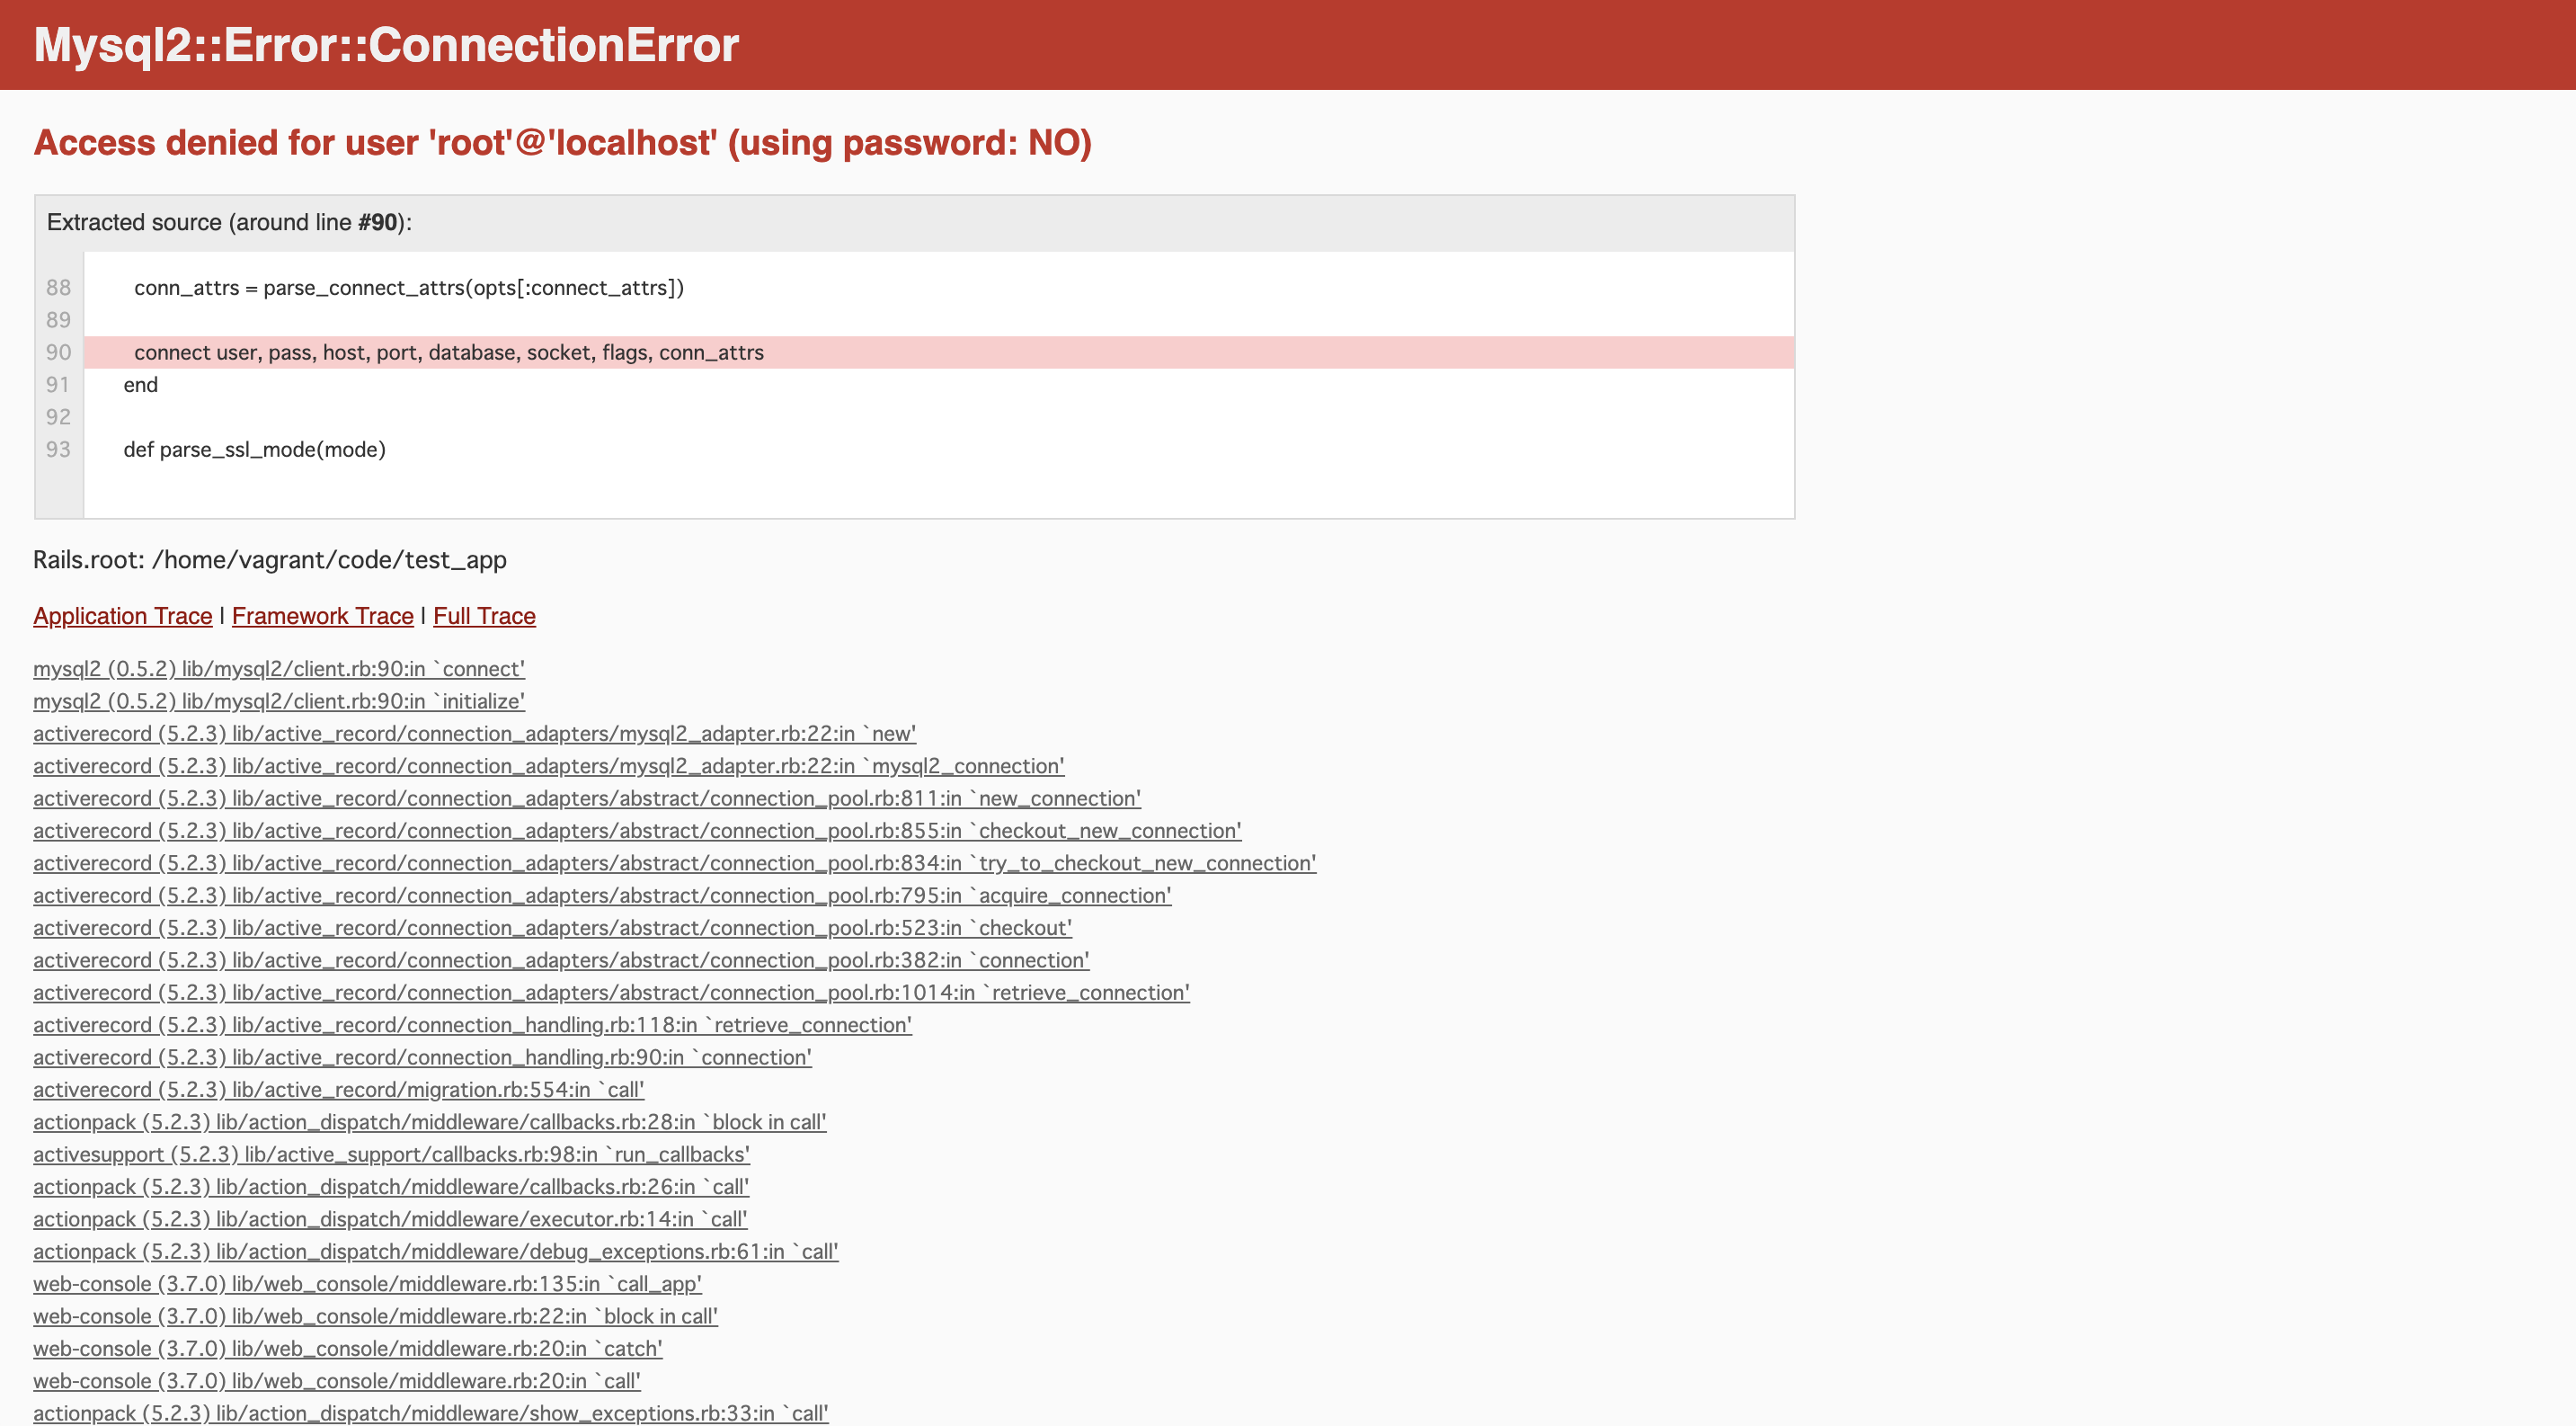
これはRailsアプリがMysqlにhomesteadユーザーでログインしようとした結果、「パスワードがない」と言われていることが原因です。
- データベース : homestead
- ユーザー名 : homestead
- パスワード : secret
Homesteadでは上記のようなデフォルトの設定があるので、データベースの設定ファイルにパスワードを記述します。
【注意】
サーバーを起動しているタブではコマンド操作ができないので、新たにタブを増やし再度sshで仮想マシンに接続します。
データベースの設定ファイルはconfigディレクトリの中にdatabase.ymlという名前で入っています。
$ ls config/
application.rb  credentials.yml.enc  environments  master.key  spring.rb
boot.rb     database.yml         initializers  puma.rb     storage.yml
cable.yml   environment.rb       locales       routes.rb

$ vim config/database.yml
vimで開きpasswordの所にsecretを追記して保存します。
# MySQL. Versions 5.1.10 and up are supported.
#
# Install the MySQL driver
#   gem install mysql2
#
# Ensure the MySQL gem is defined in your Gemfile
#   gem 'mysql2'
#
# And be sure to use new-style password hashing:
#   https://dev.mysql.com/doc/refman/5.7/en/password-hashing.html
#
default: &default
  adapter: mysql2
  encoding: utf8
  pool: <%= ENV.fetch("RAILS_MAX_THREADS") { 5 } %>
  username: root
  password: secret
  socket: /var/run/mysqld/mysqld.sock

development:
  <<: *default
  database: test_app_development

# Warning: The database defined as "test" will be erased and
# re-generated from your development database when you run "rake".
# Do not set this db to the same as development or production.
test:
  <<: *default
  database: test_app_test
保存したらサーバーを一度停止し、再起動してからブラウザにアクセスしてみます。
データベース作成
再びアクセスしてみると先ほどのエラーはなくなりましたが、違うエラーが出てきました。
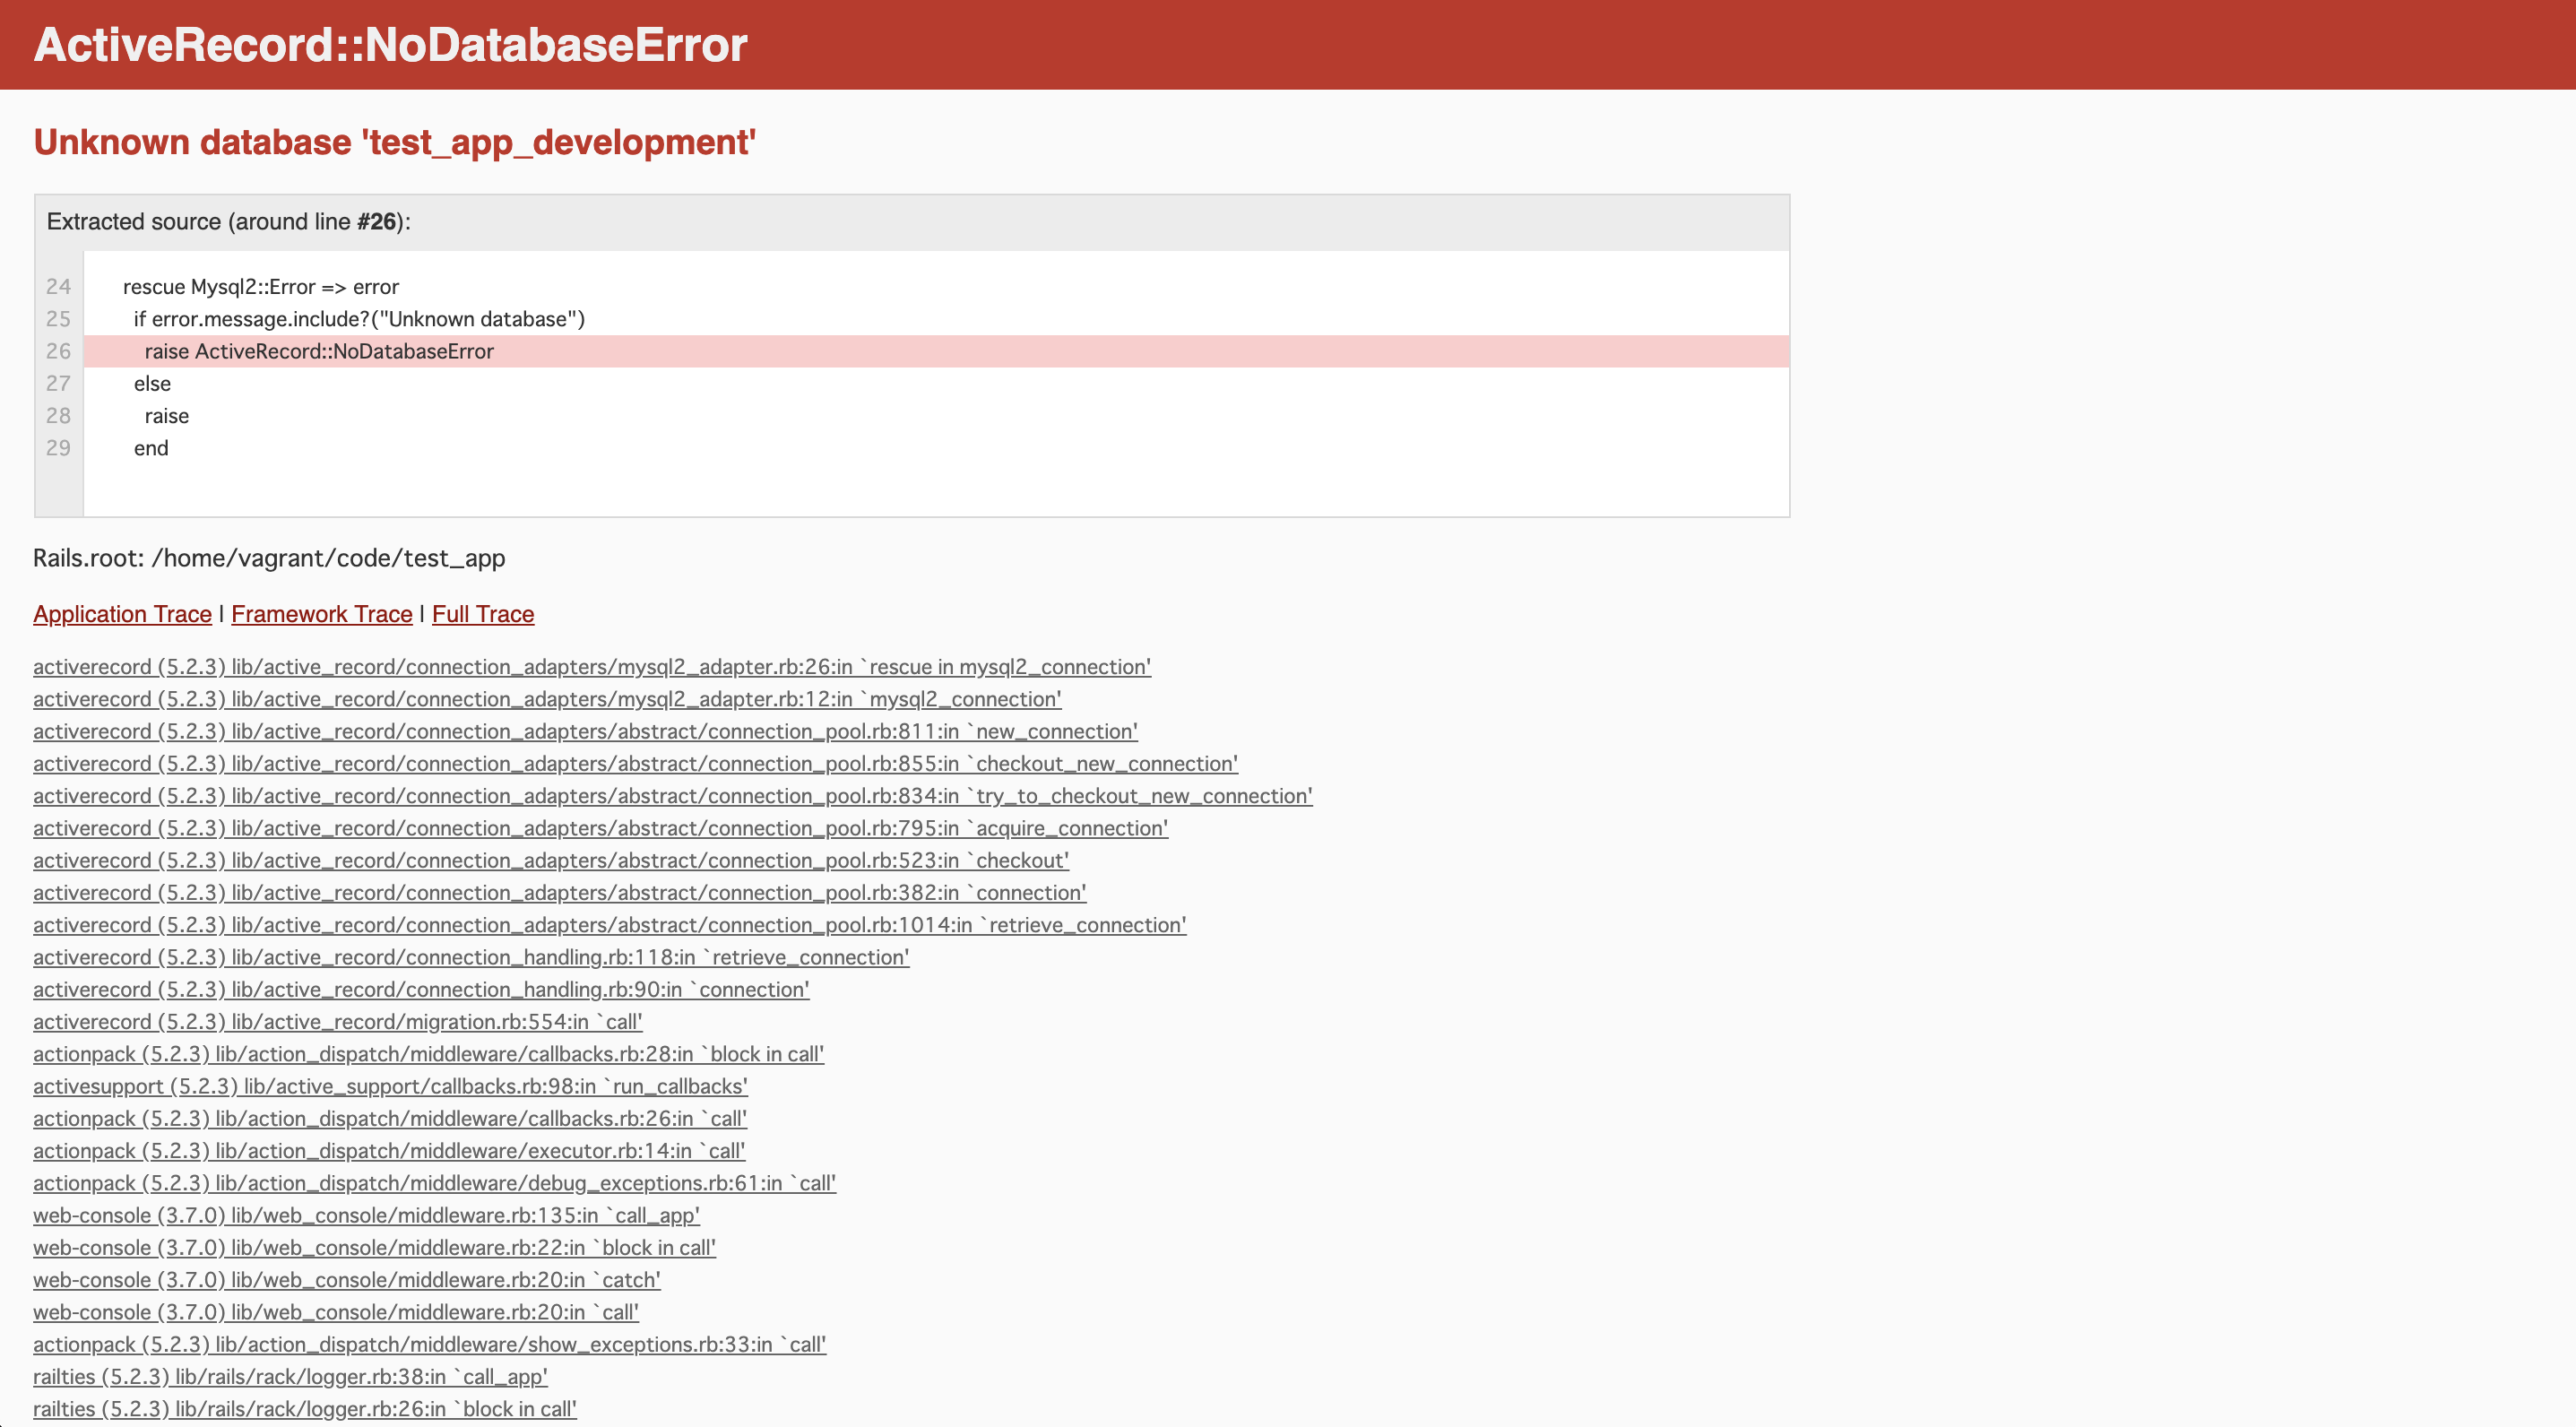
これはUnknown database 'test_app_development'とでていて、test_app_developmentというデータベースが無いよと注意されています。
Railsにはrails db:createというコマンド存在していて、database.ymlに記述されている情報を元に、データベースを作成してくれます。
これらはデフォルトで
プロジェクトフォルダ名_developmentプロジェクトフォルダ名_test
という2つのデータベース名が記述されているので特に変更はせずに、先ほどのrails db:createコマンドを実行して上記の2つのデータベースを作成します。
$ rails db:create
Created database 'test_app_development'
Created database 'test_app_test'
データベースが作成されたので再度ブラウザにアクセスしてみます。

上記のように表示されれば成功です。これで問題なくアクセスができました。
あとはアプリケーション制作
これでHomesteadを使用したRuby on Railsの環境を構築できました。
あとは作成したフォルダでアプリケーションを作ってみてください。
おまけ(gitのブランチ名の表示)
デフォルトだとブランチ名は表示されていないが、設定すれば表示される
vagrant@homestead:~/code/test_app$
vagrant@homestead ~/code/test_app (master *)
$
gitのブランチ名の表示をしたい場合は以下の処理を.bash_profileもしくは.bashrcに追記する。
if [ -f /etc/bash_completion ]; then
    . /etc/bash_completion
fi
if [ -f /etc/bash_completion.d/git-prompt ]; then
    export PS1='\[\033[01;32m\]\u@\h\[\033[01;33m\] \w$(__git_ps1) \n\[\033[01;34m\]\$\[\033[00m\] '
else
    export PS1='\[\033[01;32m\]\u@\h\[\033[01;33m\] \w \n\[\033[01;34m\]\$\[\033[00m\] '
fi
追記したら変更を反映させる
vagrant@homestead:~/code/test_app$ source ~/.bashrc

vagrant@homestead ~/code/test_app (master *)
$