やりたいこと
任意の場所に点を打って、画像を作成したい。
WriteableBitmapを使う
WriteableBitmapは、BitmapSourceクラスから派生したクラス。
他にBitmapSourceから派生したクラスに、BitmapImage、RenderTargetBitmap、TransformedBitmapなどがある。(msdocs/自分のページ)
それぞれ派生クラスには役割があるが、WriteableBitmapは、ピクセル単位で任意の点を打つことができる。
想像するに、写真やwebカメラ画像の上にWriteableBitmapで書いた透明の領域と半透明の黒い領域をを含む画像をかぶせて、「無効領域」などを表現したりできそう。
試しに作成したサンプル(ViewModelのみ抜粋)
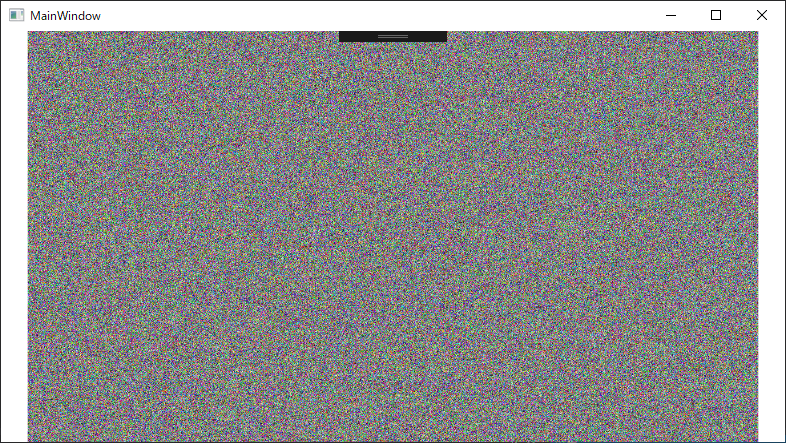
試しに、掲題の「砂嵐」を出すサンプルを作成した。
using System;
using System.Windows;
using System.Windows.Media;
using System.Windows.Media.Imaging;
using System.Windows.Threading;

namespace WpfApp1
{
    class ViewModel : BindingBase
    {
        public WriteableBitmap MyWBitmap { get; set; } = new WriteableBitmap(1280, 720, 96, 96, PixelFormats.Pbgra32, null);

        DispatcherTimer _drawingTimer = new DispatcherTimer();

        public ViewModel()
        {
            // 描画タイマー作動
            _drawingTimer.Interval = new TimeSpan(0, 0, 0, 0, 33);
            _drawingTimer.Tick += _timer_draw_Tick;
            _drawingTimer.Start();
        }

        // 画面の更新はメインスレッドで実施しないといけないので、Task等ではできない。
        // (具体的には、MyWBitmapに値を入れるところを別スレッドにはできない)
        private void _timer_draw_Tick(object sender, EventArgs e)
        {
            int width = (int)1280;
            int height = (int)720;

            // 計算用のバイト列の準備
            int pixelsSize = (int)(width * height * 4);
            byte[] pixels = new byte[pixelsSize];

            // 乱数の準備
            Random rnd = new System.Random();
            int rndMax = 256;                    // 0~256の乱数を取得

            // バイト列に色情報を入れる
            for (int i = 0; i < width * height; i++)
            {
                pixels[4 * i] = (byte)rnd.Next(rndMax);        //blue;
                pixels[4 * i + 1] = (byte)rnd.Next(rndMax);    // green;
                pixels[4 * i + 2] = (byte)rnd.Next(rndMax);    // red;
                pixels[4 * i + 3] = (byte)255;                 //alpha
            }

            // バイト列をBitmapImageに変換する
            int stride = width * 4; // 一行あたりのバイトサイズ(Pbgra32だから、1ピクセル当たり4バイトとなるので、ピクセル数に4を掛ける)
            MyWBitmap.WritePixels(new Int32Rect(0, 0, width, height), pixels, stride, 0, 0);
        }
    }
}
ViewModelの概要
- コードの「// バイト列に色情報を入れる」のところで、ピクセルのデータを作成している。forループ1回分が、1ピクセルのイメージ。
- 1ピクセル当たり4バイトを使っていて、それぞれ前から[青][緑][赤][アルファ]を示す。
- なので、透明の領域を作りたい場合は、各ピクセルの4バイト目のアルファ値を0にすればよい。
- ((未検証)各ピクセルが4バイトなのは、PixelFormats.Pbgra32の場合で、ほかの形式を指定した場合は1ピクセル当たりのバイト数が変わるっぽい(こちら参照)
- 作ったバイト列を作ったWriteableBitmapのWritePixelsメソッドに渡せば、画像が更新される。
- 砂嵐は、byte列に値を入れるときに、乱数を入れるだけで作れる。
Xaml側
<Window x:Class="WpfApp1.MainWindow"
        xmlns="http://schemas.microsoft.com/winfx/2006/xaml/presentation"
        xmlns:x="http://schemas.microsoft.com/winfx/2006/xaml"
        xmlns:d="http://schemas.microsoft.com/expression/blend/2008"
        xmlns:mc="http://schemas.openxmlformats.org/markup-compatibility/2006"
        xmlns:local="clr-namespace:WpfApp1"
        mc:Ignorable="d"
        Title="MainWindow" Height="450" Width="800">
    <Grid>
        <Viewbox Grid.Row="0" Grid.Column="1">
            <Image Source="{Binding MyWBitmap}"/>
        </Viewbox>
    </Grid>
</Window>
動かした画面
unsafeなし
ここでは、byte配列を普通に作って、それをWritePixelsに渡す形で実現したのでunsafeは出てこなかったが、unsafeにして、byteのポインタを使って実現する方法もあるらしい。
C++のライブラリで作成された画像データのbyte配列をC#で受け取るときにそういうことをしているのを見たことがある。
参考:https://blogs.yahoo.co.jp/gogowaten/15497771.html
Taskで処理したバージョン
こちら。
Taskは別スレッドで処理が行われるので、Taskの中でも、UI関連の処理をするときだけUIスレッドに戻すということをしないといけない。
コード
参考
WriteableBitmap Class
https://docs.microsoft.com/ja-jp/dotnet/api/system.windows.media.imaging.writeablebitmap?view=netframework-4.8
PixelFormats Class
https://docs.microsoft.com/ja-jp/dotnet/api/system.windows.media.pixelformats?view=netframework-4.8
C#で画像を描いてみた(WPFでWritableBitmap編)
https://water2litter.net/gin/?p=984