最近友達にアプリ開発を教える機会がありました。
その際にUITableViewに躓いていたのですが、ネットの記事が微妙だったので自分で書いてみました。
■ この記事でできること
- tableViewの簡単な使い方をマスターできます
| 都道府県を地方別に表示する | カスタムセルを使用するより実践的な例 |
|---|---|
 |
 |
■ 最小限の実装でTableViewを使ってみる。
まず画面全体に座標指定でtableViewを追加します。
class ViewController: UIViewController {

    private var tableView = UITableView()

    override func viewDidLoad() {
        super.viewDidLoad()
        tableView.frame = view.bounds
        view.addSubview(tableView)
    }
}
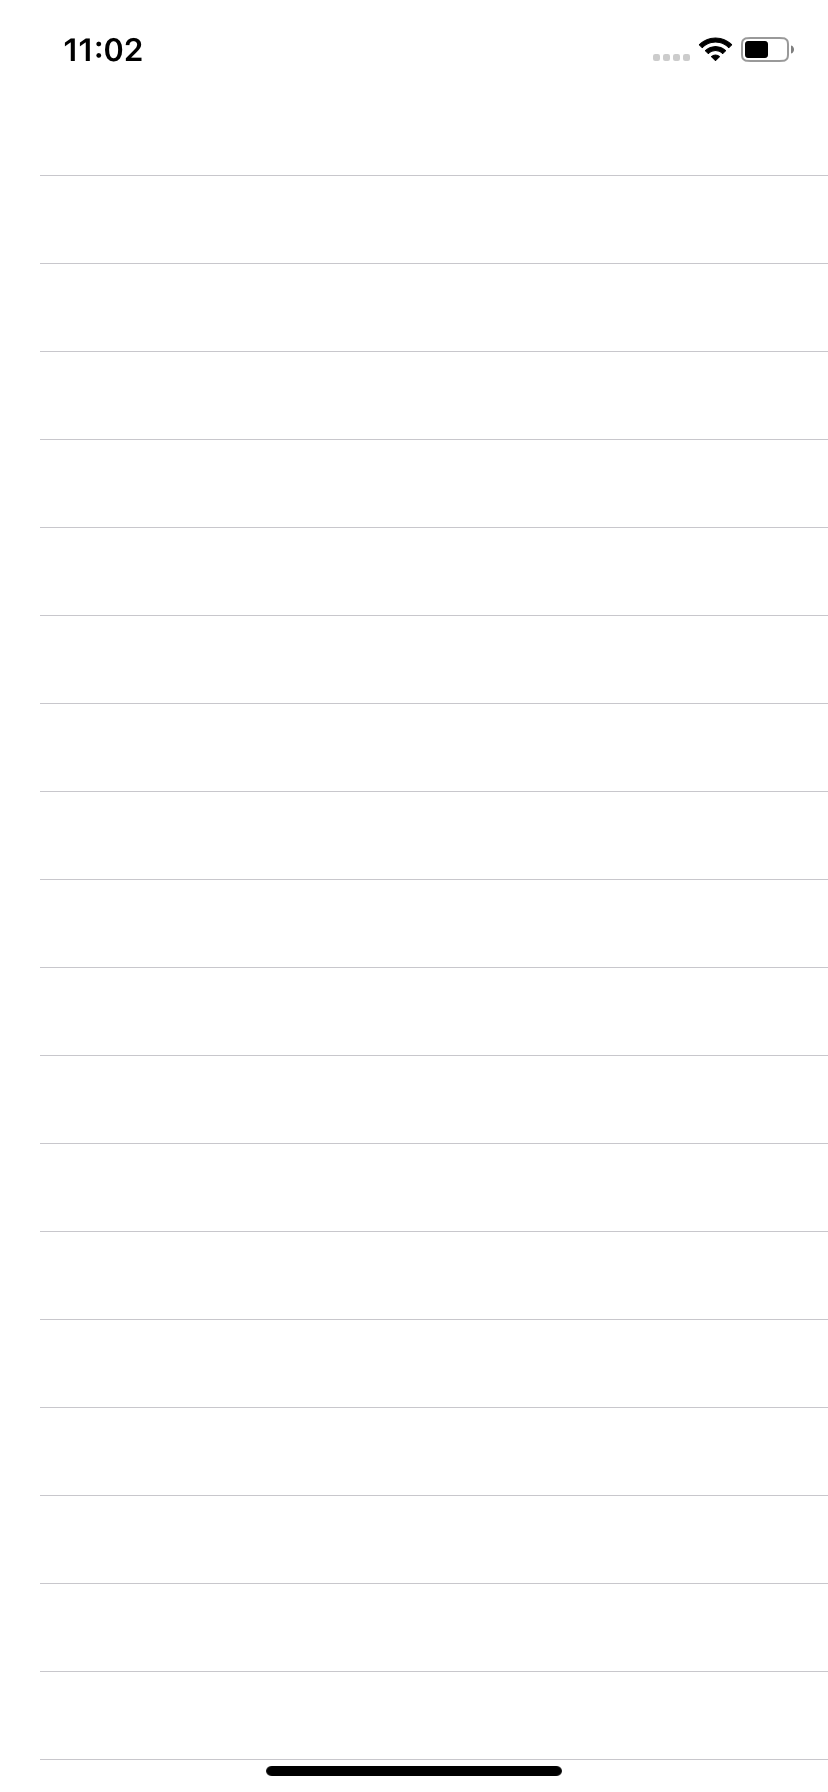
この状態でビルドするとこんな感じです。
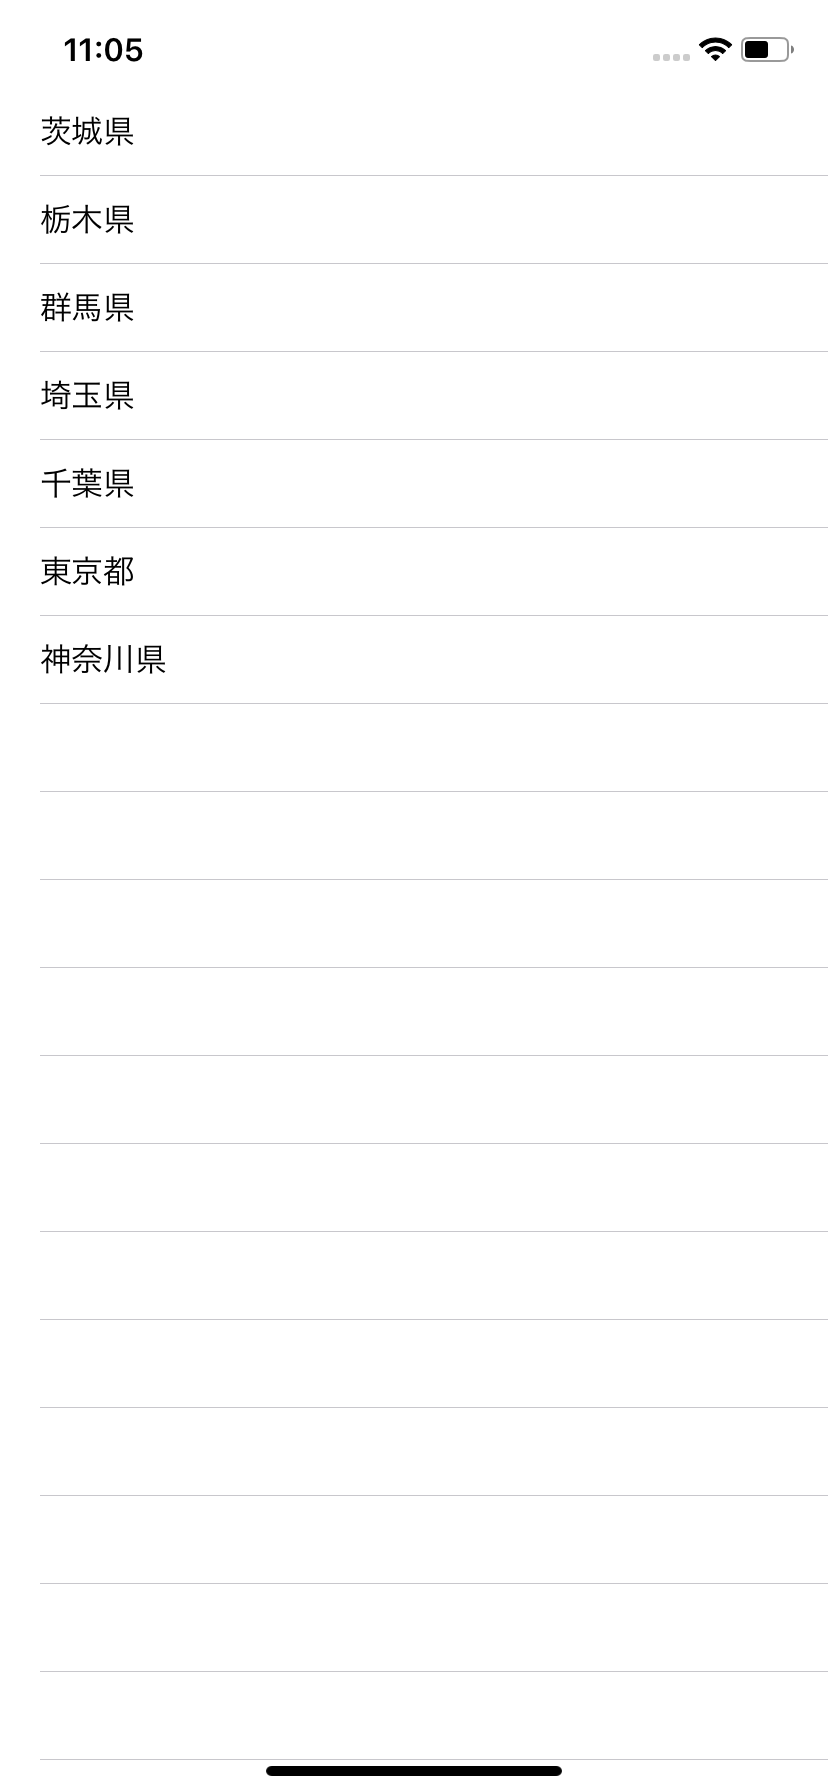
では試しに関東地方の1都6県を表示してみましょう。
class ViewController: UIViewController {

    private var tableView = UITableView()
    private var items: [String] = ["茨城県", "栃木県", "群馬県", "埼玉県", "千葉県", "東京都", "神奈川県"]

    override func viewDidLoad() {
        super.viewDidLoad()
        tableView.frame = view.bounds
        tableView.dataSource = self
        view.addSubview(tableView)
    }
}

extension ViewController: UITableViewDataSource {

    func tableView(_ tableView: UITableView, numberOfRowsInSection section: Int) -> Int {
        return items.count
    }

    func tableView(_ tableView: UITableView, cellForRowAt indexPath: IndexPath) -> UITableViewCell {
        let cell = UITableViewCell()
        cell.textLabel?.text = items[indexPath.row]
        return cell
    }
}
ビルドをしてみると写真のように表示されたと思います。
この時点で難しいと感じる人がいるかもしれません。難しいと思う原因は主に2点だと思います。
①
tableView.dataSource = self
この部分はtableViewのdataSourceプロパティの値を指定します。
dataSourceプロパティはUITableViewDataSource型(UITableViewDataSourceプロトコルに準拠するクラス)である必要があります。
この例ではUIViewContorollerクラスのインスタンスであるselfを代入しています。
そしてUIViewControllerは後述の処理によりUITableViewDataSourceに準拠します
②
extension ViewController: UITableViewDataSource {
まずこの書き方はprotocol extensionというやつです。こうやって書く利点は可読性です。
ここら辺がいまいちな人は勉強不足です。ドキュメントを読みましょう🤲5分程度で読めると思います。
では具体的にUITableViewDataSourceのメソッドをみていきましょう。
メソッドが長くて少し難しく感じるかもしれませんがやってることは簡単です。
    func tableView(_ tableView: UITableView, numberOfRowsInSection section: Int) -> Int {
        return items.count
    }
このメソッドはtableViewの各セクションに表示されるセルの数を指定します。
    func tableView(_ tableView: UITableView, cellForRowAt indexPath: IndexPath) -> UITableViewCell {
        let cell = UITableViewCell()
        cell.textLabel?.text = items[indexPath.row]
        return cell
    }
このメソッドでは各indexPathに表示されるCell(View)を生成します。
蛇足だと思いますがIndexPathはsectionとrowのindexの情報を持つ構造体です。
上記のメソッドの実装はtableViewにリストを表示する際に最低限必要なものになります。
■ もう少し直感的に書いてみる
ちょっとしたリストを表示したい場合に上記の手順は少しややこしく感じてしまうと思います。
例えばUILabelに文字を表示する場合を考えます。
    let label = UILabel()
    label.text = "ラベルのテキスト"
このように直感的にテキストを指定できます。
UITableViewの場合ももっと直感的に下のように書けたら理解しやすいのかもしれません。
tableView.data = ["茨城県", "栃木県", "群馬県", "埼玉県", "千葉県", "東京都", "神奈川県"]
もう少し直感的に理解できるようにここではDataSourceクラスを分けてみることにします。
final class DataSource: NSObject {
    private var items: [String] = ["茨城県", "栃木県", "群馬県", "埼玉県", "千葉県", "東京都", "神奈川県"]
}

extension DataSource: UITableViewDataSource {

    func tableView(_ tableView: UITableView, numberOfRowsInSection section: Int) -> Int {
        return items.count
    }

    func tableView(_ tableView: UITableView, cellForRowAt indexPath: IndexPath) -> UITableViewCell {
        let cell = UITableViewCell()
        cell.textLabel?.text = items[indexPath.row]
        return cell
    }
}
ViewControllerクラスの実装は下記のようになります
class ViewController: UIViewController {

    private var tableView = UITableView()
    private var dataSource = DataSource()   // ①

    override func viewDidLoad() {
        super.viewDidLoad()
        tableView.frame = view.bounds
        tableView.dataSource = dataSource  // ②
        view.addSubview(tableView)
    }
}
tableViewに表示するデータの情報を渡しているのが少し直感的になったでしょうか?(セルを何個表示するのか、何番目にどう行ったセルを表示するのか)
UILabelの場合はtextプロパティに文字列(String型)を指定するのに対して、
UITableViewの場合はdataSourceにUITableViewDataSourceプロトコルに準拠したクラスのインスタンスを指定しています。
最初はUITableViewのこの設計が少し複雑で遠回りに感じるかもしれません。
しかし慣れてくると非常に便利でカスタマイズ性が高いことに気づきます。
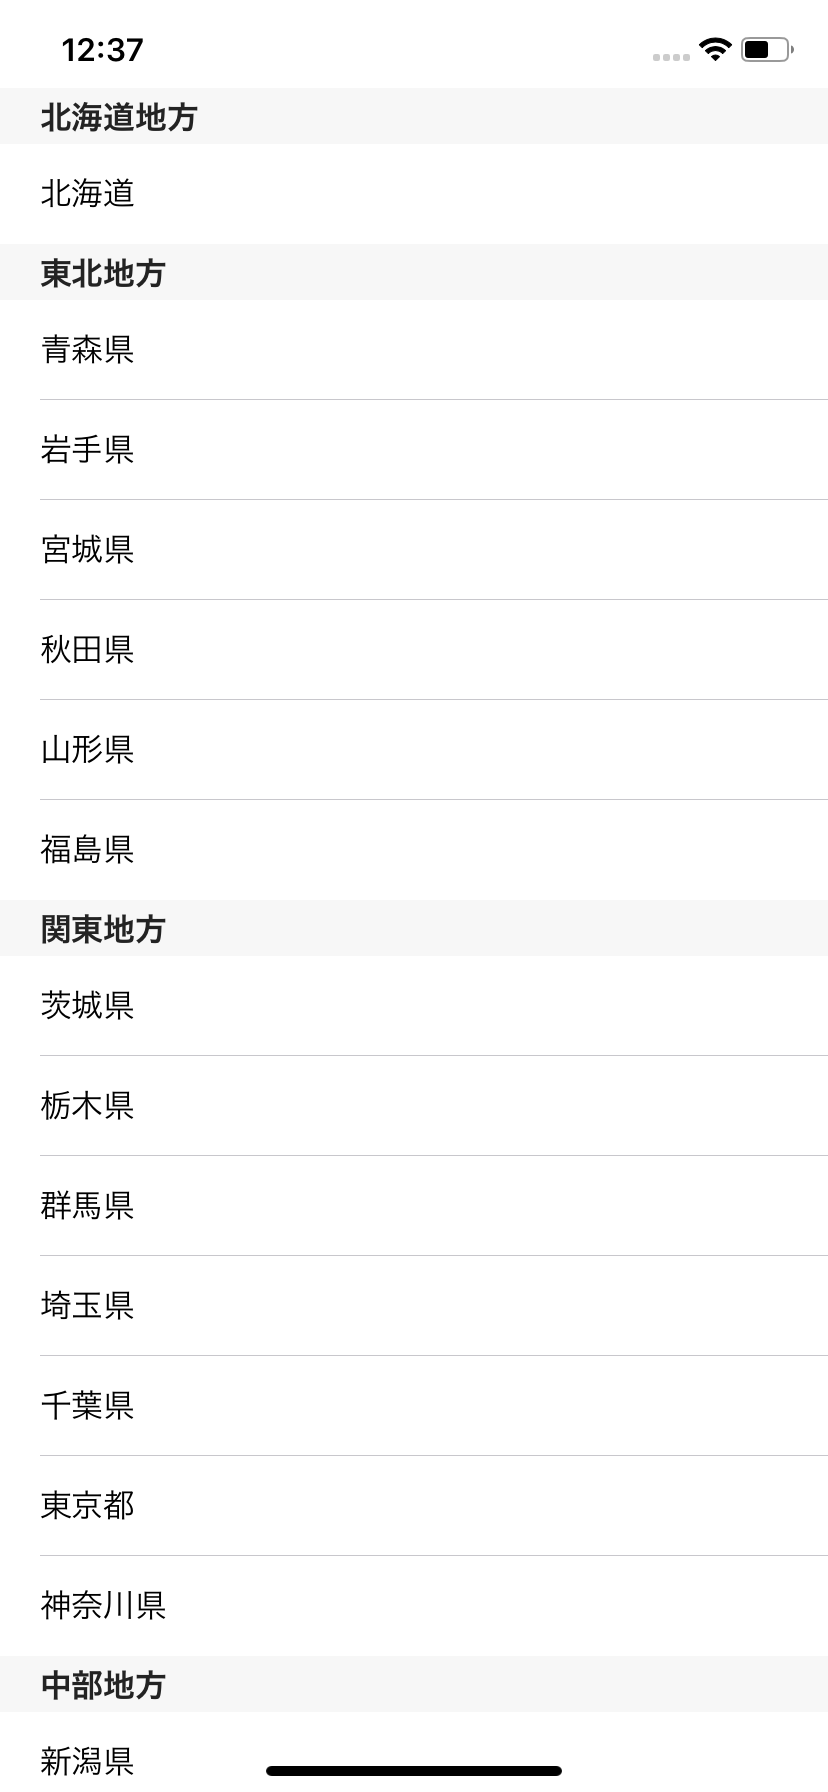
例えば下の写真は冒頭に掲載した47都道府県を表示したものです。各地方ごとにセクション分けされ地方名のタイトルがありその地方に属している都道府県名が表示されています。このような画面を簡単に作成することができます。
ちなみにソースコードをGistに投稿したので、この記事を最後まで閲覧の上確認してみて下さい。
■ Cellを再利用する
今までの例ではUITableViewDataSourceメソッド内でcellをその都度生成していました。
しかしtableViewはセルを再利用します。(いい画像が見つかればリンクを共有します)
①tableViewにセルを任意のidで登録する
②tableViewのdequeueReusableCellメソッドを使ってセルを取得
上記の手順を踏むことでセルを再利用することができます。
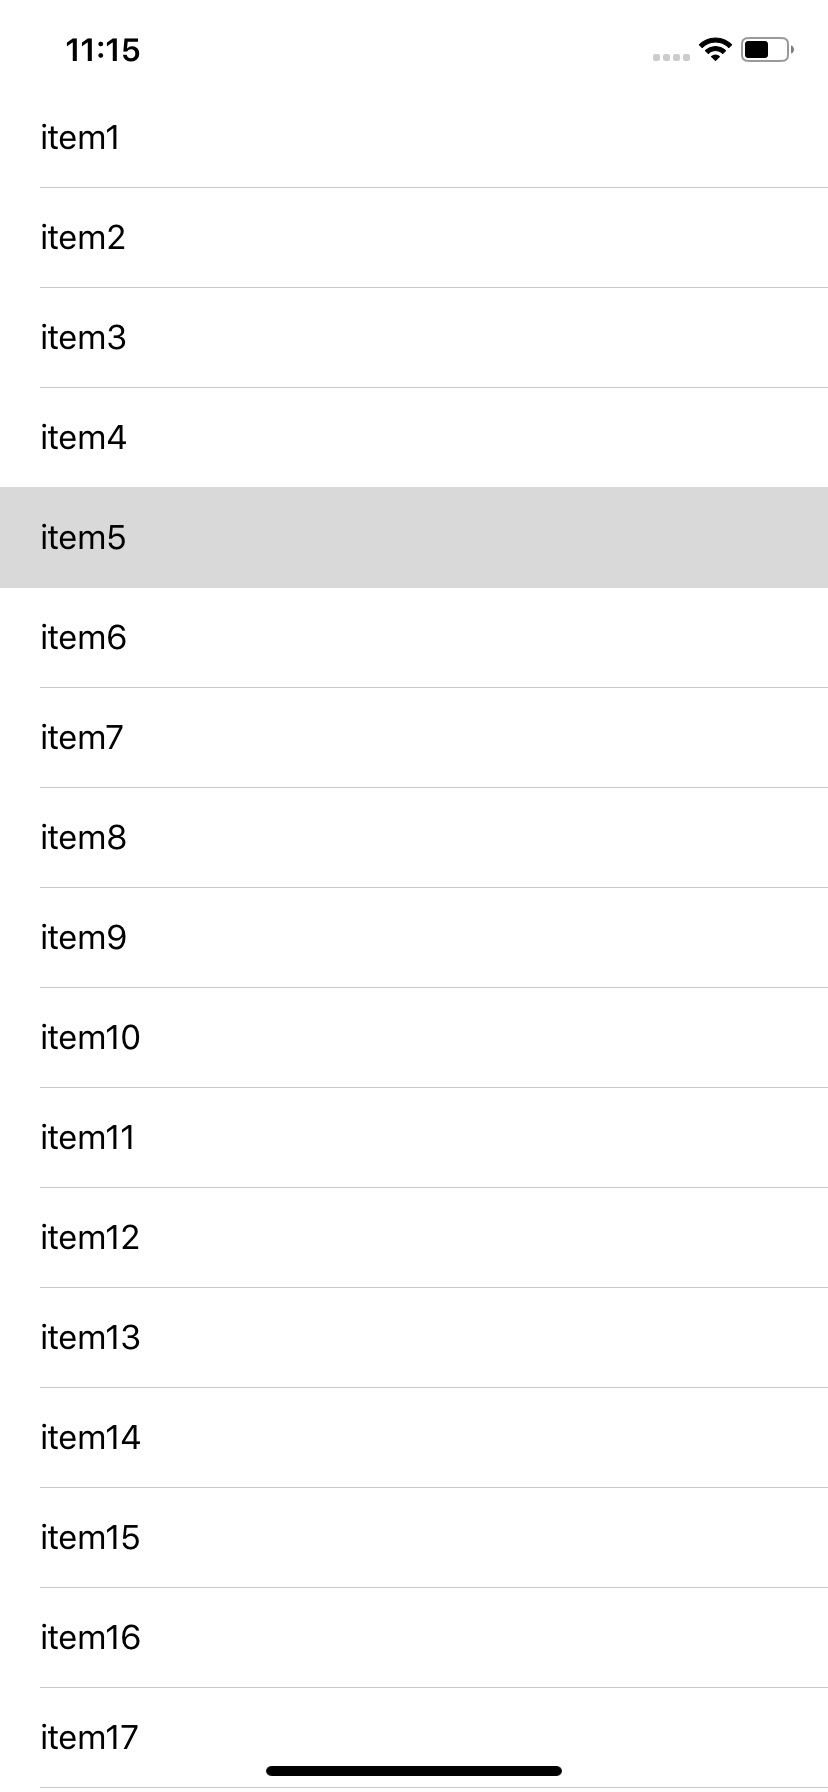
class ViewController: UIViewController {

    private var tableView = UITableView()
    private var items: [String] = (1...100).map { "item\($0)" }

    override func viewDidLoad() {
        super.viewDidLoad()
        tableView.frame = view.bounds
        tableView.dataSource = self
        tableView.register(UITableViewCell.self, forCellReuseIdentifier: "cell")  // ①
        view.addSubview(tableView)
    }
}

extension ViewController: UITableViewDataSource {

    func tableView(_ tableView: UITableView, numberOfRowsInSection section: Int) -> Int {
        return items.count
    }

    func tableView(_ tableView: UITableView, cellForRowAt indexPath: IndexPath) -> UITableViewCell {
        let cell = tableView.dequeueReusableCell(withIdentifier: "cell", for: indexPath)  // ②
        cell.textLabel?.text = items[indexPath.row]
        return cell
    }
}
今回はUITableViewCellクラスを"cell"というIdentifierでtableViewにregisterしました。
違いはわかりにくいかもしれませんがこれでセルを再利用することができました。
ちなみこの部分のコードを初めてみた人がいるかもしれません
private var items: [String] = (1...100).map { "item\($0)" }
これは下記と同じです
private var items: [String] = ["item1", "item2", "item3", ... "item100" ]
こういった書き方は便利なので知らなかった人ここで覚えてしまいましょう。
■ Delegateとは?
- delegateとは日本語で代理人とか委譲と訳されます。
- プログラミングにおいてdelegateとはデザインパターンです。
- UIKitのクラスの多くはdelegateパターンを使っています
具体的にUITableviewDelegateに限った話をします。
UITableViewDelegateのメソッドでは具体的に下記のことができます
- セルを選択した時の処理
- 高さやヘッダーフッターなどを設定する
- 削除や並び替えの際に必要な処理
では実際にdelegateを使ってみます。
先ほどのコードに下記を追記してみてください。
tableView.delegate = self
extension ViewController: UITableViewDelegate {

    func tableView(_ tableView: UITableView, didSelectRowAt indexPath: IndexPath) {
        print(items[indexPath.row])
    }

    func tableView(_ tableView: UITableView, heightForRowAt indexPath: IndexPath) -> CGFloat {
        return 50
    }
}
セルの幅が少し広くなって余裕のあるレイアウトになりました。
セルをタップしてみるとコンソールに出力されていると思います。
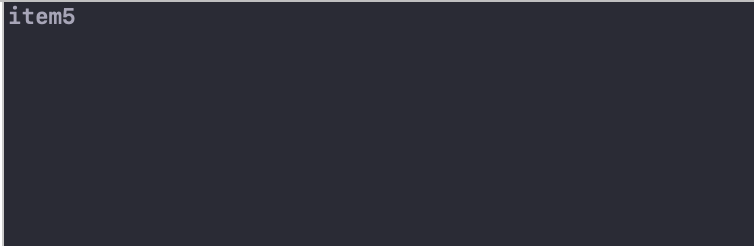
今回の例ではUITableViewクラスの処理をUIViewControllerに委譲しているということががお分り頂けるでしょうか。tableViewを選択した時の処理はUITableViewクラスには書かれていません。実際に呼ばれるのはViewControllerクラスに記述したdelegateメソッドです。そしてUITableViewクラスとViewControllerクラスを仲介しているのがUITableViewDelegateプロトコルとなっています。
■ カスタムCellを利用する
時間がある時に編集するのでとりあえずサクッと書いておきます。
① UITableViewCellのサブクラスを作成します
final class CustomCell: UITableViewCell {

    override init(style: UITableViewCell.CellStyle, reuseIdentifier: String?) {
        super.init(style: style, reuseIdentifier: reuseIdentifier)
    }

    required init?(coder aDecoder: NSCoder) {
        fatalError("init(coder:) has not been implemented")
    }

    func configure(model: Model) {
        // configure cell
    }
}
② tableViewにregisterします
tableView.register(CustomCell.self, forCellReuseIdentifier: "cell")
③ dequeueReusableCellメソッドで取得したセルをキャストして扱います
    func tableView(_ tableView: UITableView, cellForRowAt indexPath: IndexPath) -> UITableViewCell {
        let cell = tableView.dequeueReusableCell(withIdentifier: "cell", for: indexPath) as! CustomCell
        // configure cell
        cell.configure(model: models[indexPath.row])
        return cell
    }
■ Reusable Extension
protocol Reusable {
    static var reuseIdentifier: String { get }
}

extension Reusable {
    static var reuseIdentifier: String {
        String(describing: self)
    }
}

extension UITableView {
    func register<T: UITableViewCell>(cellType: T.Type)
      where T: Reusable {
        register(cellType.self, forCellReuseIdentifier: cellType.reuseIdentifier)
    }

    func dequeueReusableCell<T: UITableViewCell>(for indexPath: IndexPath, cellType: T.Type = T.self) -> T
      where T: Reusable {
        guard let cell = dequeueReusableCell(withIdentifier: cellType.reuseIdentifier, for: indexPath) as? T else {
          fatalError("")
        }
        return cell
    }
}
tableView.register(cellType: UserListCell.self)
    func tableView(_ tableView: UITableView, cellForRowAt indexPath: IndexPath) -> UITableViewCell {
        let cell: UserListCell = tableView.dequeueReusableCell(for: indexPath)
        cell.configure()
        return cell
    }
■ Next Step
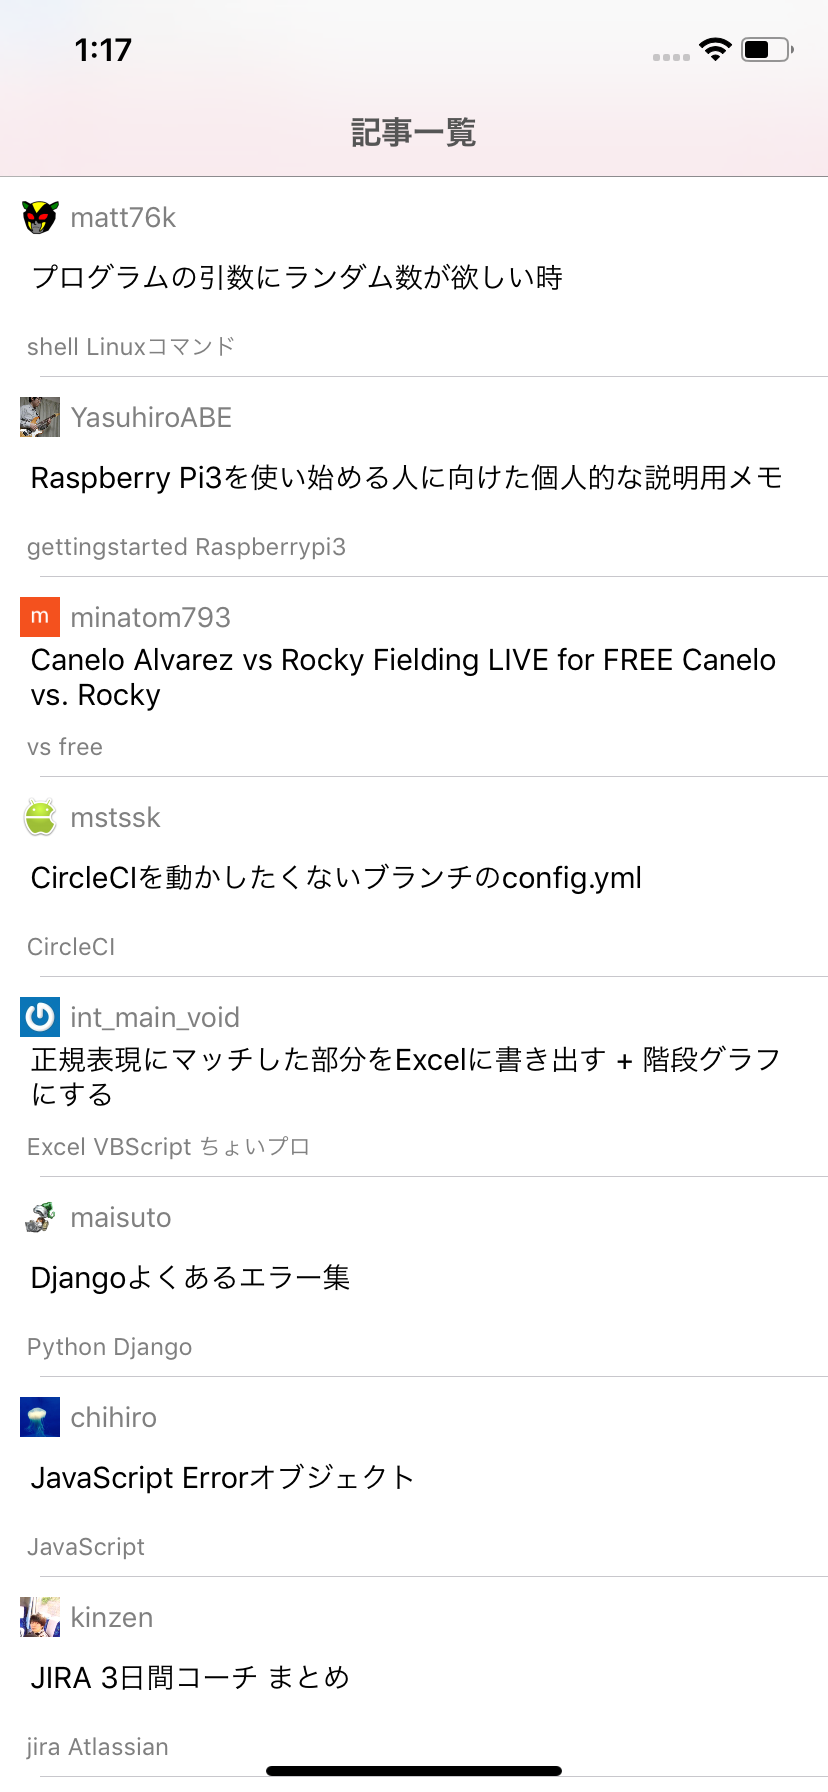
以前こちらの記事を書きました。冒頭の実践的な例の詳細は実はこちらになります🙏
iOS開発: 再入門 apiを叩いてtableViewに表示する (Qiita編)
実際のアプリの多くは通信して取得したデータをViewに表示しています。
その練習になると思います。合わせてご覧ください。