tl;dr
- PhoenixでWebsocket使ったことなかったので使ってみた
- Phoenixのガイド通りにやってみたらすごい簡単にできた
- せっかくだったのでReactで作ったアプリからつないでみた
バージョン
今回使用した言語と主なフレームワークのバージョンは下記の通りです。
- Elixir: 1.7.3
- Phoenix: 1.4.0
- Node.js: 10.13.0
- React: 16.6.0
Websocketを使ってみる
PhoenixではChannelを使うことで簡単にWebsocketを使ったアプリケーションが実装できます。
Channelについてはガイドがとても親切なので詳しい内容はそちらを参照してください。
今回は実装した内容だけ紹介します。
Phoenixプロジェクトをつくる
まずはPhoenixのプロジェクトを作成します。
今回データベースは使いませんが、手元に入っているのがMySQLなので--databaseオプションでMySQLの設定で作成しています。
デフォルトではPostgreSQLで設定されます。
$ mix phx.new rechat --database mysql
$ cd rechat
$ mix ecto.create
$ mix phx.server
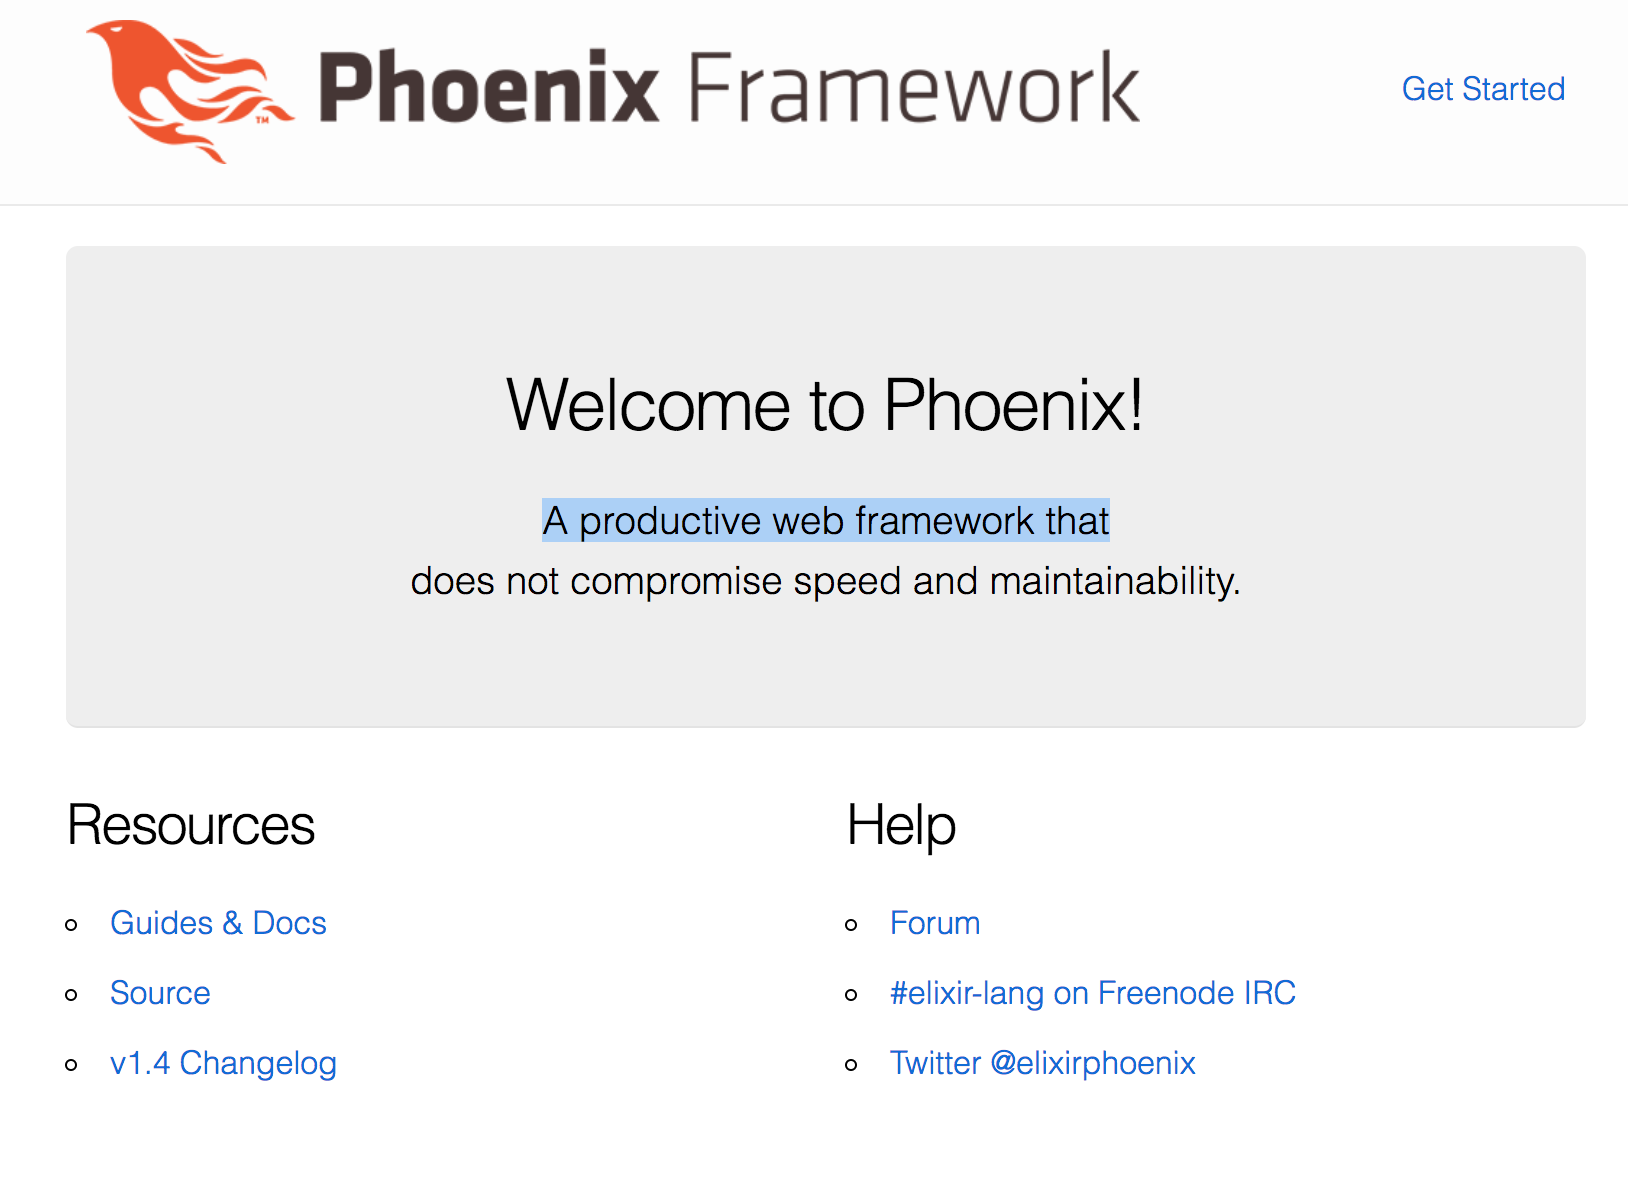
↓のような画面が開ければ成功です。
channelを使ってみる
まずはchannelのルーティングを用意してあげます。
lib/${appname_web}/channels/user_socket.exの5行目あたりにあるコメントアウトを外してあげます。
channel "room:*", RechatWeb.RoomChannel
次にルーティングする先を用意してあげます。
lib/${appname_web}/channels/room_channel.exを作成して下記のように記載します。
  defmodule RechatWeb.RoomChannel do
    use Phoenix.Channel

    def join("room:lobby", _message, socket) do
      {:ok, socket}
    end

    def join("room:" <> _private_room_id, _params, _socket) do
      {:error, %{reason: "authorized"}}
    end

    def handle_in("new_msg", %{"body" => body}, socket) do
      broadcast!(socket, "new_msg", %{body: body})
      {:noreply, socket}
    end
  end
これだけでPhoenix側はWebsocketの通信を受け取ることができます。(簡単)
次にブラウザからWebsocketでつなぎに来る部分を実装します。
assets/js/socket.jsの55行目付近を以下のように書き換えます。
  socket.connect()

  // Now that you are connected, you can join channels with a topic:
  const channel = socket.channel('room:lobby', {})
  const chatInput = document.querySelector('#chat-input')
  const messagesContainer = document.querySelector('#messages')

  chatInput.addEventListener('keypress', event => {
    if (event.keyCode === 13) {
      channel.push('new_msg', { body: chatInput.value })
      chatInput.value = ''
    }
  })

  channel.on('new_msg', payload => {
    const messageItem = document.createElement('li')
    messageItem.innerText = `[${Date()}] ${payload.body}`
    messagesContainer.appendChild(messageItem)
  })

  channel
    .join()
    .receive('ok', resp => {
      console.log('Joined successfully', resp)
    })
最後にlib/${appname}_web/templates/page/index.htmlに↓の2行を追記して完成です。
<div id="messages"></div>
<input id="chat-input" type="text"></input>
Phoenixサーバを立ち上げて、http://localhost:4000 に接続すると簡単なチャットアプリが使えます。
$ mix phx.server
Reactで接続する
Phoenixのtemplateで実装していたWebアプリをReactで実装したものに置き換えていきます。
Reactの初期設定などについては、create-react-appを使うなどして簡単に用意できるので今回は省略します。
今回のアプリケーションは、React+Reduxの標準的な構成にしています。
$ tree assets/js

assets/js
├── actions
│   └── index.js
├── components
│   └── index.js
├── configureStore.js
├── containers
│   └── index.js
├── main.js
└── reducers
    ├── Form.js
    └── index.js

4 directories, 7 files
実装した内容の一部を抜粋します。
// actions/index.js
  import { Socket } from 'phoenix'

  export const TEXT_CHANGE = 'TEXT_CHANGE'
  export const RECIEVE_COMMENT = 'RECIEVE_COMMENT'

  const socket = new Socket('/socket', { params: { token: window.userToken } })
  socket.connect()
  const channel = socket.channel('room:lobby', {})

  export const join = dispatch => {
    channel
      .join()
      .receive('ok', resp => {
        console.log('Join successfully', resp)
        subscribe(dispatch)
      })
      .receive('error', resp => {
        console.log('Unable to join', resp)
      })
  }

  export const subscribe = dispatch => {
    channel.on('new_msg', payload => {
      dispatch({
        type: RECIEVE_COMMENT,
        comment: payload.body
      })
    })
  }

  export const push = message => {
    channel.push('new_msg', { body: `[${Date()}] ${message}` })
  }
// containers/index.js
import React from 'react'
import PropTypes from 'prop-types'
import { connect } from 'react-redux'

import AppComponent from '../components'
import { textChange, join, push } from '../actions'

class App extends React.Component {
  constructor() {
    super()
    this.onClickHandle = this.onClickHandle.bind(this)
    this.onChangeHandle = this.onChangeHandle.bind(this)
  }

  componentDidMount() {
    const { dispatch } = this.props
    join(dispatch)
  }

  onChangeHandle(event) {
    const { dispatch } = this.props
    dispatch(textChange('text', event.target.value))
  }

  onClickHandle() {
    const { text } = this.props
    push(text)
  }

  render() {
    const { text, comments } = this.props
    return (
      <AppComponent
        text={text}
        comments={comments}
        onClick={this.onClickHandle}
        onChange={this.onChangeHandle}
      />
    )
  }
}

App.propTypes = {
  dispatch: PropTypes.func.isRequired,
  text: PropTypes.string,
  comments: PropTypes.array
}

const mapStateToProps = state => ({
  text: state.Form.text,
  comments: state.Form.comments
})

export default connect(mapStateToProps)(App)
// reducers/index.js
import { RECIEVE_COMMENT } from '../actions'

const initialState = {
  text: '',
  comments: []
}
export default (state = initialState, action) => {
  switch (action.type) {
    case RECIEVE_COMMENT:
      return {
        ...state,
        comments: state.comments.concat([action.comment]),
        text: ''
      }
    default:
      return state
  }
}
ポイントになる部分を見ていくと、
今回のサンプルの場合やりたいことは下記の3つです。
1. ページがロードされたときにWebsocketで接続する
2. メッセージの受信イベントをsubscribeする
3. ボタンが押されたときにメッセージを送る
1.のWebsocketに接続するのはReactのcomponentDidMountで呼び出すことで実現できます。
// containers/index.js
  componentDidMount() {
    const { dispatch } = this.props
    join(dispatch)
  }

// actions/index.js
  import { Socket } from 'phoenix'

  const socket = new Socket('/socket', { params: { token: window.userToken } })
  socket.connect()
  const channel = socket.channel('room:lobby', {})

  export const join = dispatch => {
    channel
      .join()
      .receive('ok', resp => {
        ...
正確にはjsファイルがロードされたタイミングで接続しているのですが、今回はそこをハンドリングしたいという欲求はなかったのでファイルのスコープに変数をおいています。
ハンドリングしたい場合には、connectのラッパーを書いてあげるとよさそうです。
joinも成功・失敗のハンドリングを今の所していないので、joinのハンドリングを外側でやりたい場合にはPromiseでラップしてあげるといいかもしれません。
export const join = () => {
  return new Promise((resolve, reject) => {
    channel
      .join()
      .receive('ok', resp => {
        resolve(resp)
      })
      .receive('error', resp => {
        reject(resp)
      })
  })
}

// ハンドリングする関数
async function handler() {
  try {
    resp = await join()
    // 正常処理
  } catch(err) {
    // 例外処理
  }
}
また、今回の場合はsubscribeのタイミングを任意にする必要がなかったので、joinと同時にsubscribeをしています。
joinに成功した時にのみsubscribeしたかったので"ok"のコールバックで呼び出しています。
react-reduxのdispatchをsubscribeに渡しているあたりがポイントです。
こうすることでメッセージを受信するたびにRECIEVE_COMMENTアクションがdispatchされます。
  export const join = dispatch => {
    channel
      .join()
      .receive('ok', resp => {
        console.log('Join successfully', resp)
        subscribe(dispatch)
      })
      .receive('error', resp => {
        console.log('Unable to join', resp)
      })
  }

  export const subscribe = dispatch => {
    channel.on('new_msg', payload => {
      dispatch({
        type: RECIEVE_COMMENT,
        comment: payload.body
      })
    })
  }
メッセージの送信はボタンが押されたときにchannel.pushを実行するようにしています。
メッセージがPhoenixサーバに着信するとbroadcastされて自分にもメッセージが届くので、送信時には特に要素の追加などはせず、↑でsubscribeしたイベントに任せています。
  export const push = message => {
    channel.push('new_msg', { body: `[${Date()}] ${message}` })
  }
devserverの設定
webpack-dev-serverからPhoenixにつなぐときに、websocketのproxyの設定は下記の通りです。
devServer.proxy.${path}にtargetにws://から始まるproxy先を指定して、wsにtrueと書いてあげるだけ。
その他の細かいことがしたければhttp-proxy-middlewareを見に行くと幸せになれるかもしれません。
  devServer: {
    proxy: {
      '/socket/websocket': {
        target: 'ws://localhost:4000',
        ws: true
      }
    }
  },
まとめ
- Websocketがさくっと使えるPhoenixすごい。
- Phoenix.jsのAPIがイベント駆動な作りなので、fluxと相性がいい気がする。
- 今回のソースコードはGithubで公開しています。

