はじめに
本記事はXamarin Advent Calendar 2018の12日目として、Xamarin.Macでスクリーンキャプチャを撮る手法をご紹介します。
また、スクリーンキャプチャのメインとなる処理はこちらの記事を参考にさせていただきました。
環境
macOS Mojave(10.14.2)
Visual Studio for Mac Community(7.6.11)
Xcode(10.1)
実装
ボタンを押下したらその時点での画面のスクリーンキャプチャを撮る実装をしてみました。実装全体はこちらを参照していただければと思います。
スクリーンキャプチャ
さて、肝となるスクリーンキャプチャの実装ですが、以下の通りです。
using System;
using System.Runtime.InteropServices;
using CoreGraphics;

namespace XamarinMacScreenCapture
{
    public static class ScreenCapture
    {
        public const string DllName = "/System/Library/Frameworks/CoreGraphics.framework/CoreGraphics";

        [DllImport(DllName)]
        extern static IntPtr CGDisplayCreateImage(UInt32 displayId);

        [DllImport(DllName)]
        extern static void CFRelease(IntPtr handle);

        public static CGImage CreateImage(UInt32 displayId)
        {
            IntPtr handle = IntPtr.Zero;

            try
            {
                handle = CGDisplayCreateImage(displayId);
                return new CGImage(handle);
            }
            finally
            {
                if (handle != IntPtr.Zero)
                {
                    CFRelease(handle);
                }
            }
        }
    }
}
DllImportを行うあたりはWindowsのスクリーンキャプチャと変わりないのかなという印象です。
画面全体をCGImageとして取得できるようになったので、あとは画面に表示するだけです。
using System;
using System.Drawing;
using AppKit;
using Foundation;

namespace XamarinMacScreenCapture
{
    public partial class ViewController : NSViewController
    {
        public ViewController(IntPtr handle) : base(handle)
        {
        }

        public override void ViewDidLoad()
        {
            base.ViewDidLoad();
        }

        public override NSObject RepresentedObject
        {
            get
            {
                return base.RepresentedObject;
            }
            set
            {
                base.RepresentedObject = value;
            }
        }

        partial void ClickedCaptureButton(NSObject sender)
        {
            var mainScreen = (NSNumber)NSScreen.MainScreen.DeviceDescription["NSScreenNumber"];

            using (var cgImage = ScreenCapture.CreateImage(mainScreen.UInt32Value))
            using (var nsImage = new NSImage(cgImage, new SizeF(cgImage.Width, cgImage.Height)))
            {
                ImageView.Image = nsImage;
            }
        }
    }
}
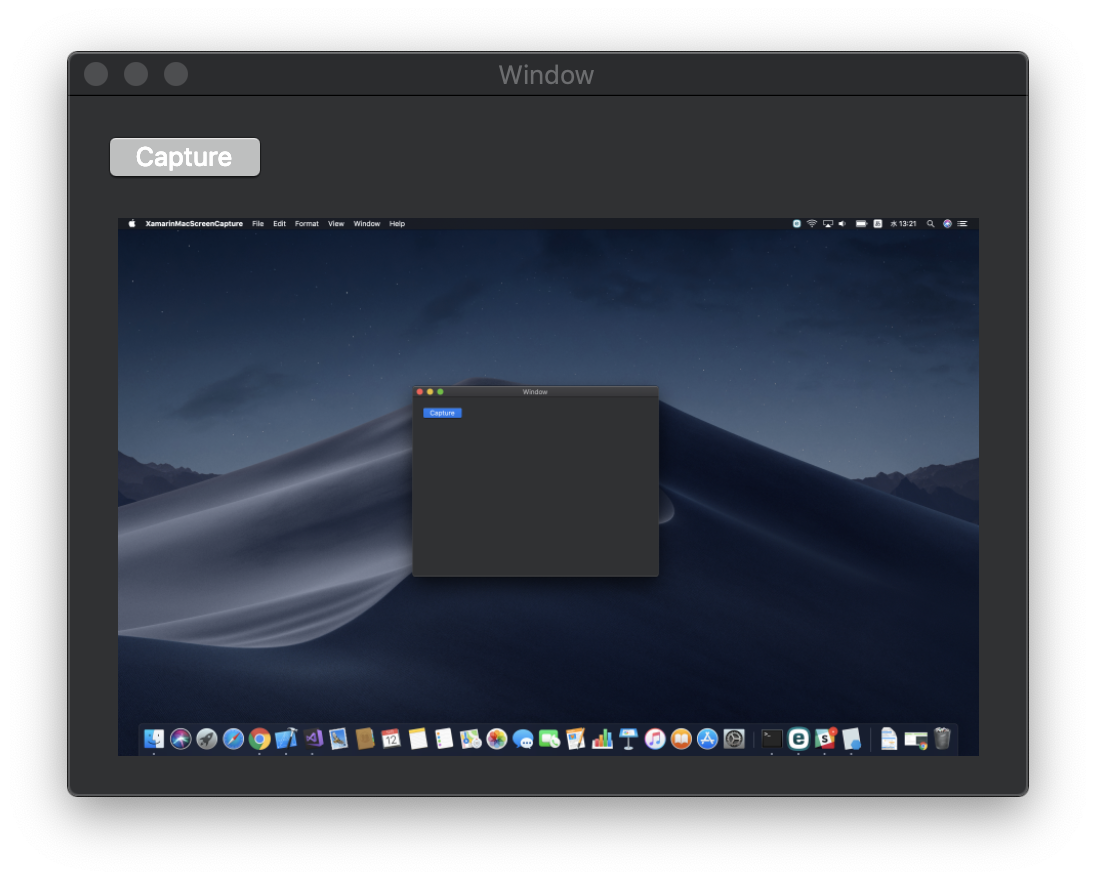
少し分かりづらいですが、画面全体をスクリーンキャプチャしたものがアプリ内に画像として表示されています。
所感
Xamarin.Macは触ったことがない状態からのスタートでしたが、事前に簡単なMacアプリを作成していたことと、Xamarin.Macチュートリアルを一通りこなしたおかげで、それほど苦労なくやりたいことを実装することができました。非常に小さな規模でのXamarin.Macのサンプルプログラムでしたが、やはりmacOS固有の知識は必須だなと実感できました。これを機に引き続きXamarin.Macを触っていきたいと思います。